You’ve downloaded some Melonheadz clipart…… Now what?
We know that clipart can be used to make cards, flyers, decor, worksheets, etc. I’d like to show you some of my favorite crafty projects, as well as some made by my friends.
I hope it’ll help you find the drive to create some goodies for yourself.
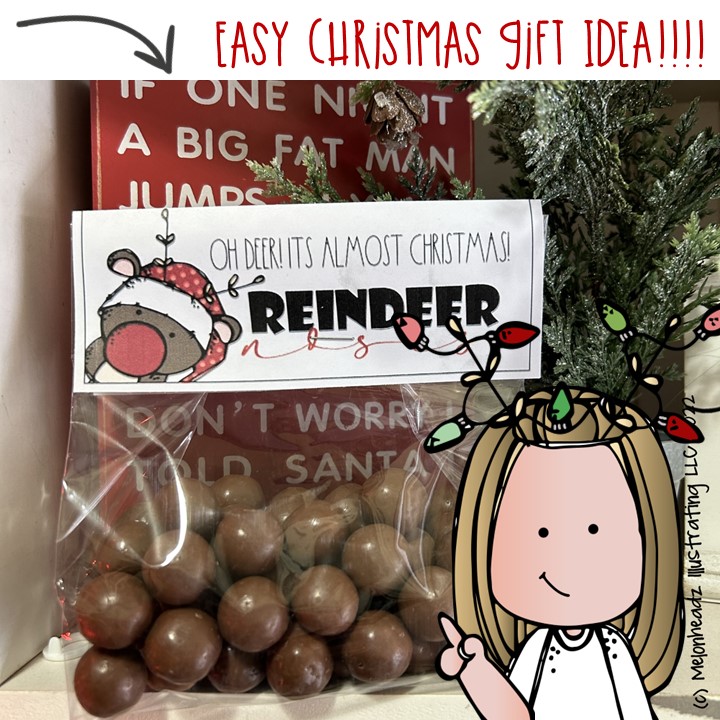
Reindeer Noses Christmas Gift Idea
I found some Whoppers Candy and placed them in a a clear cellophane gift bag.
{Tags are approximately 5″ x 4″.} The PDF contains 1 sheet with 4 toppers.
Simply print cut, and fold the toppers, and attach to the top of the bag.
You can download this SuPeR CuTe reindeer noses topper for FREE!!!!
Just CLICK HERE
Felt Christmas Kidlette Ornaments
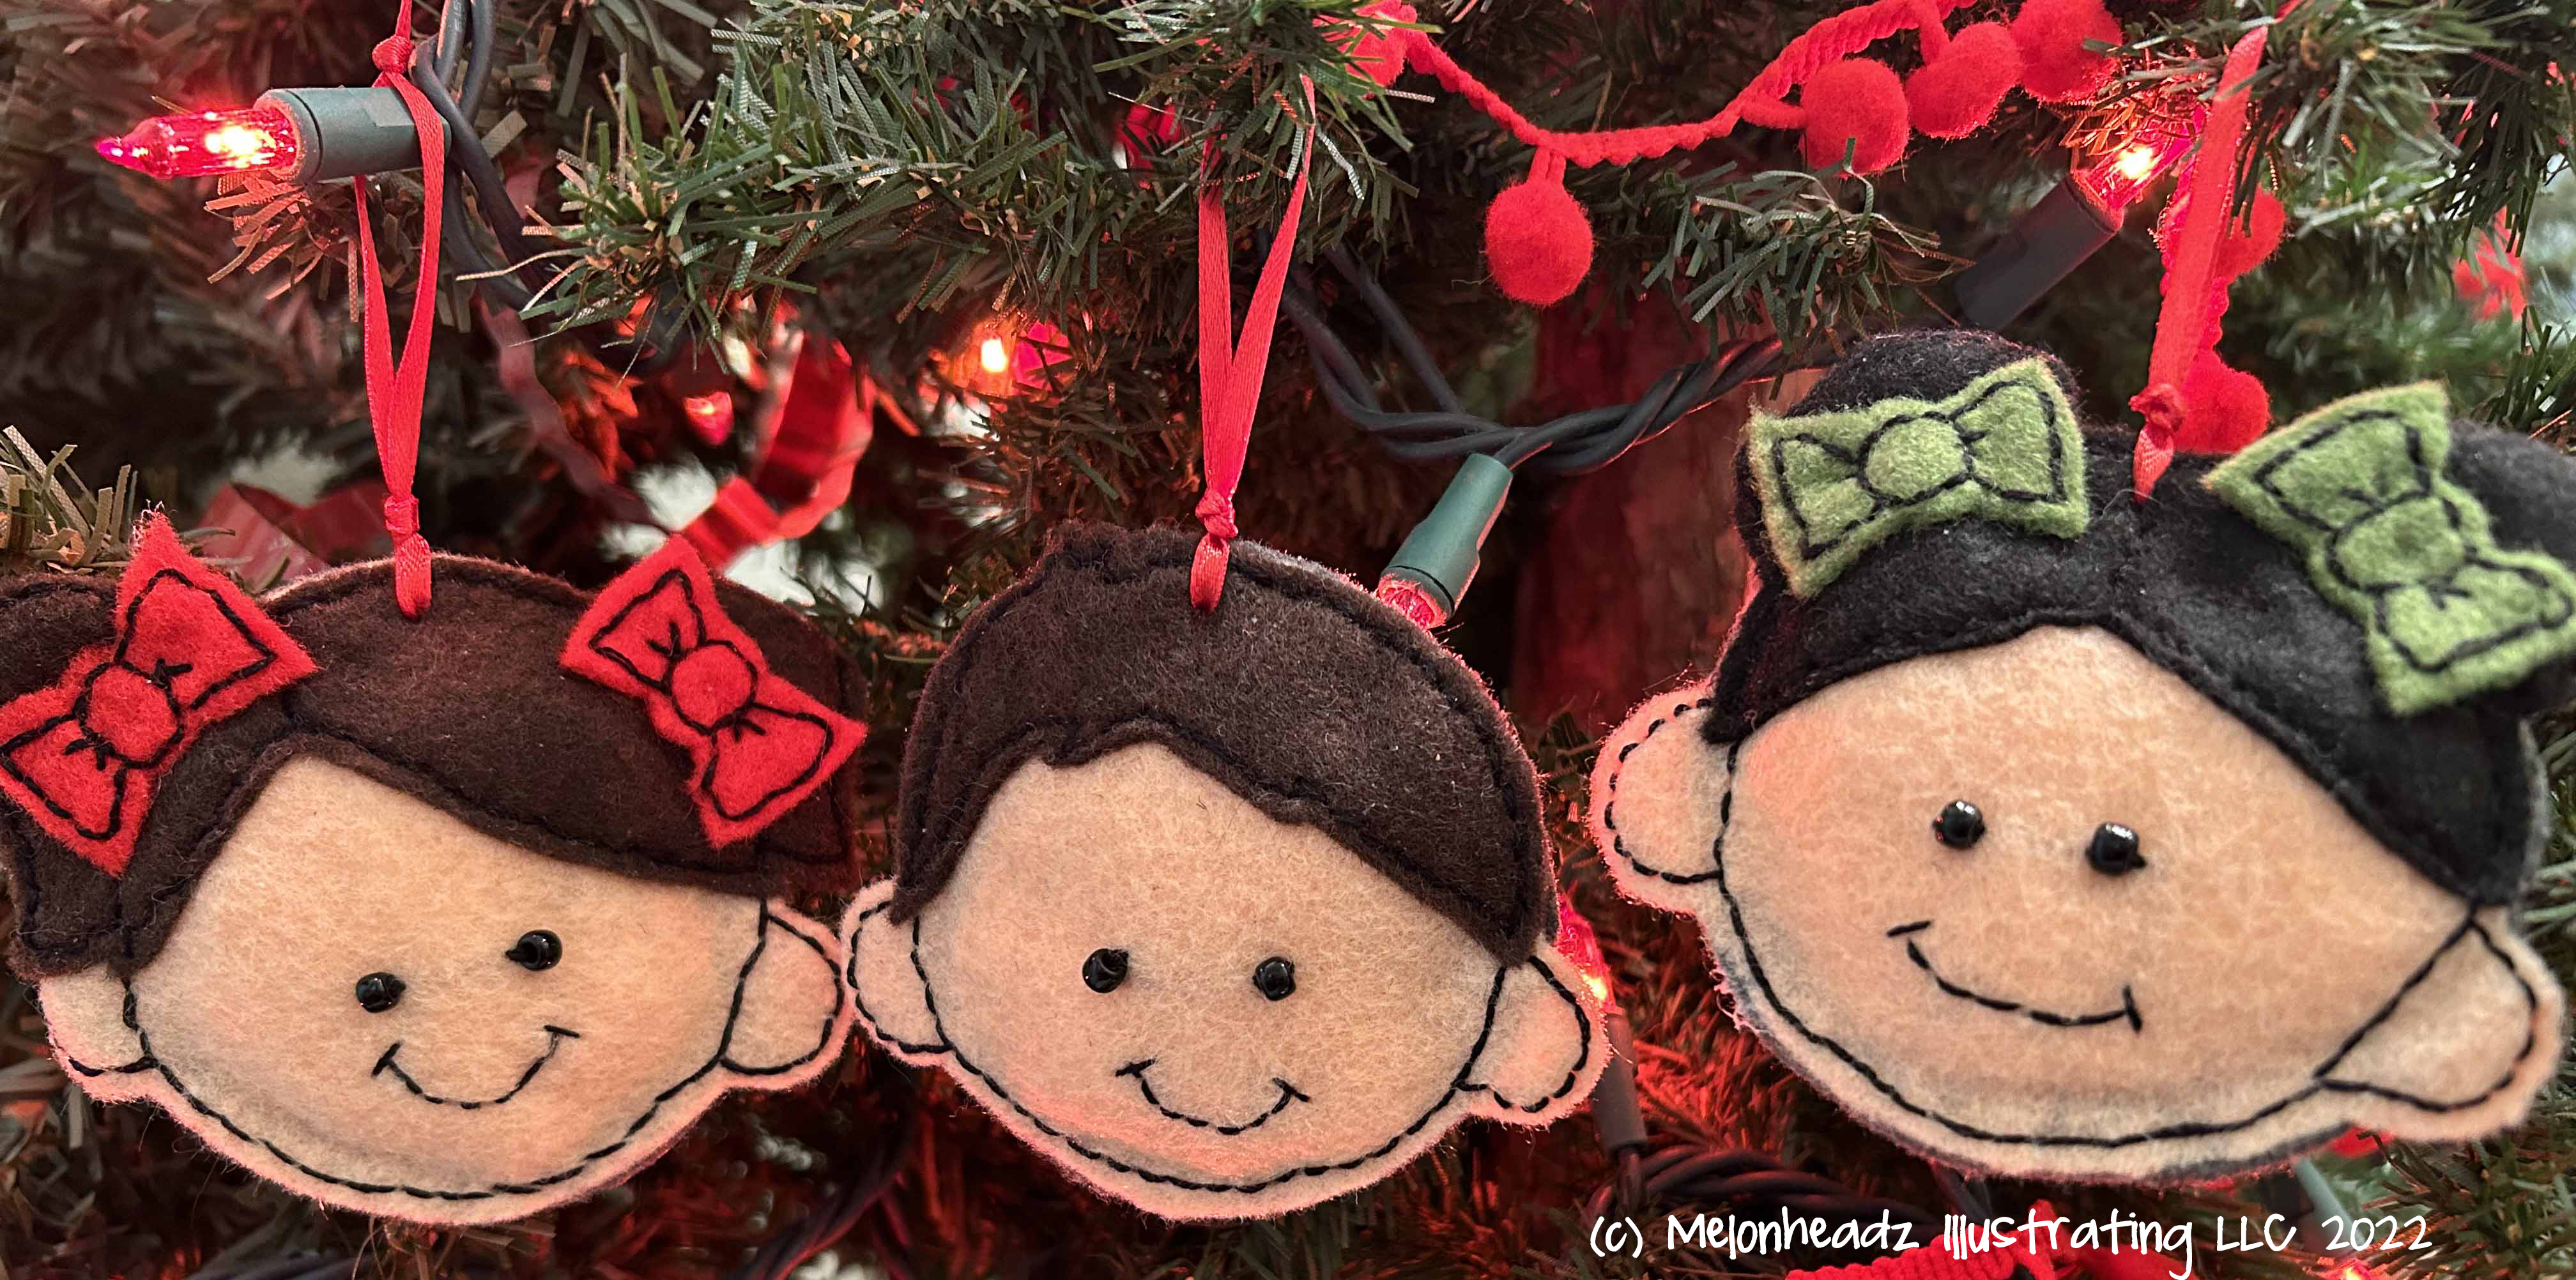
I decided I wanted to make some felt ornaments for my grandbabies. They turned out SUPER cute! I think I’ll make the rest of my family too.
To download the instructions, CLICK HERE
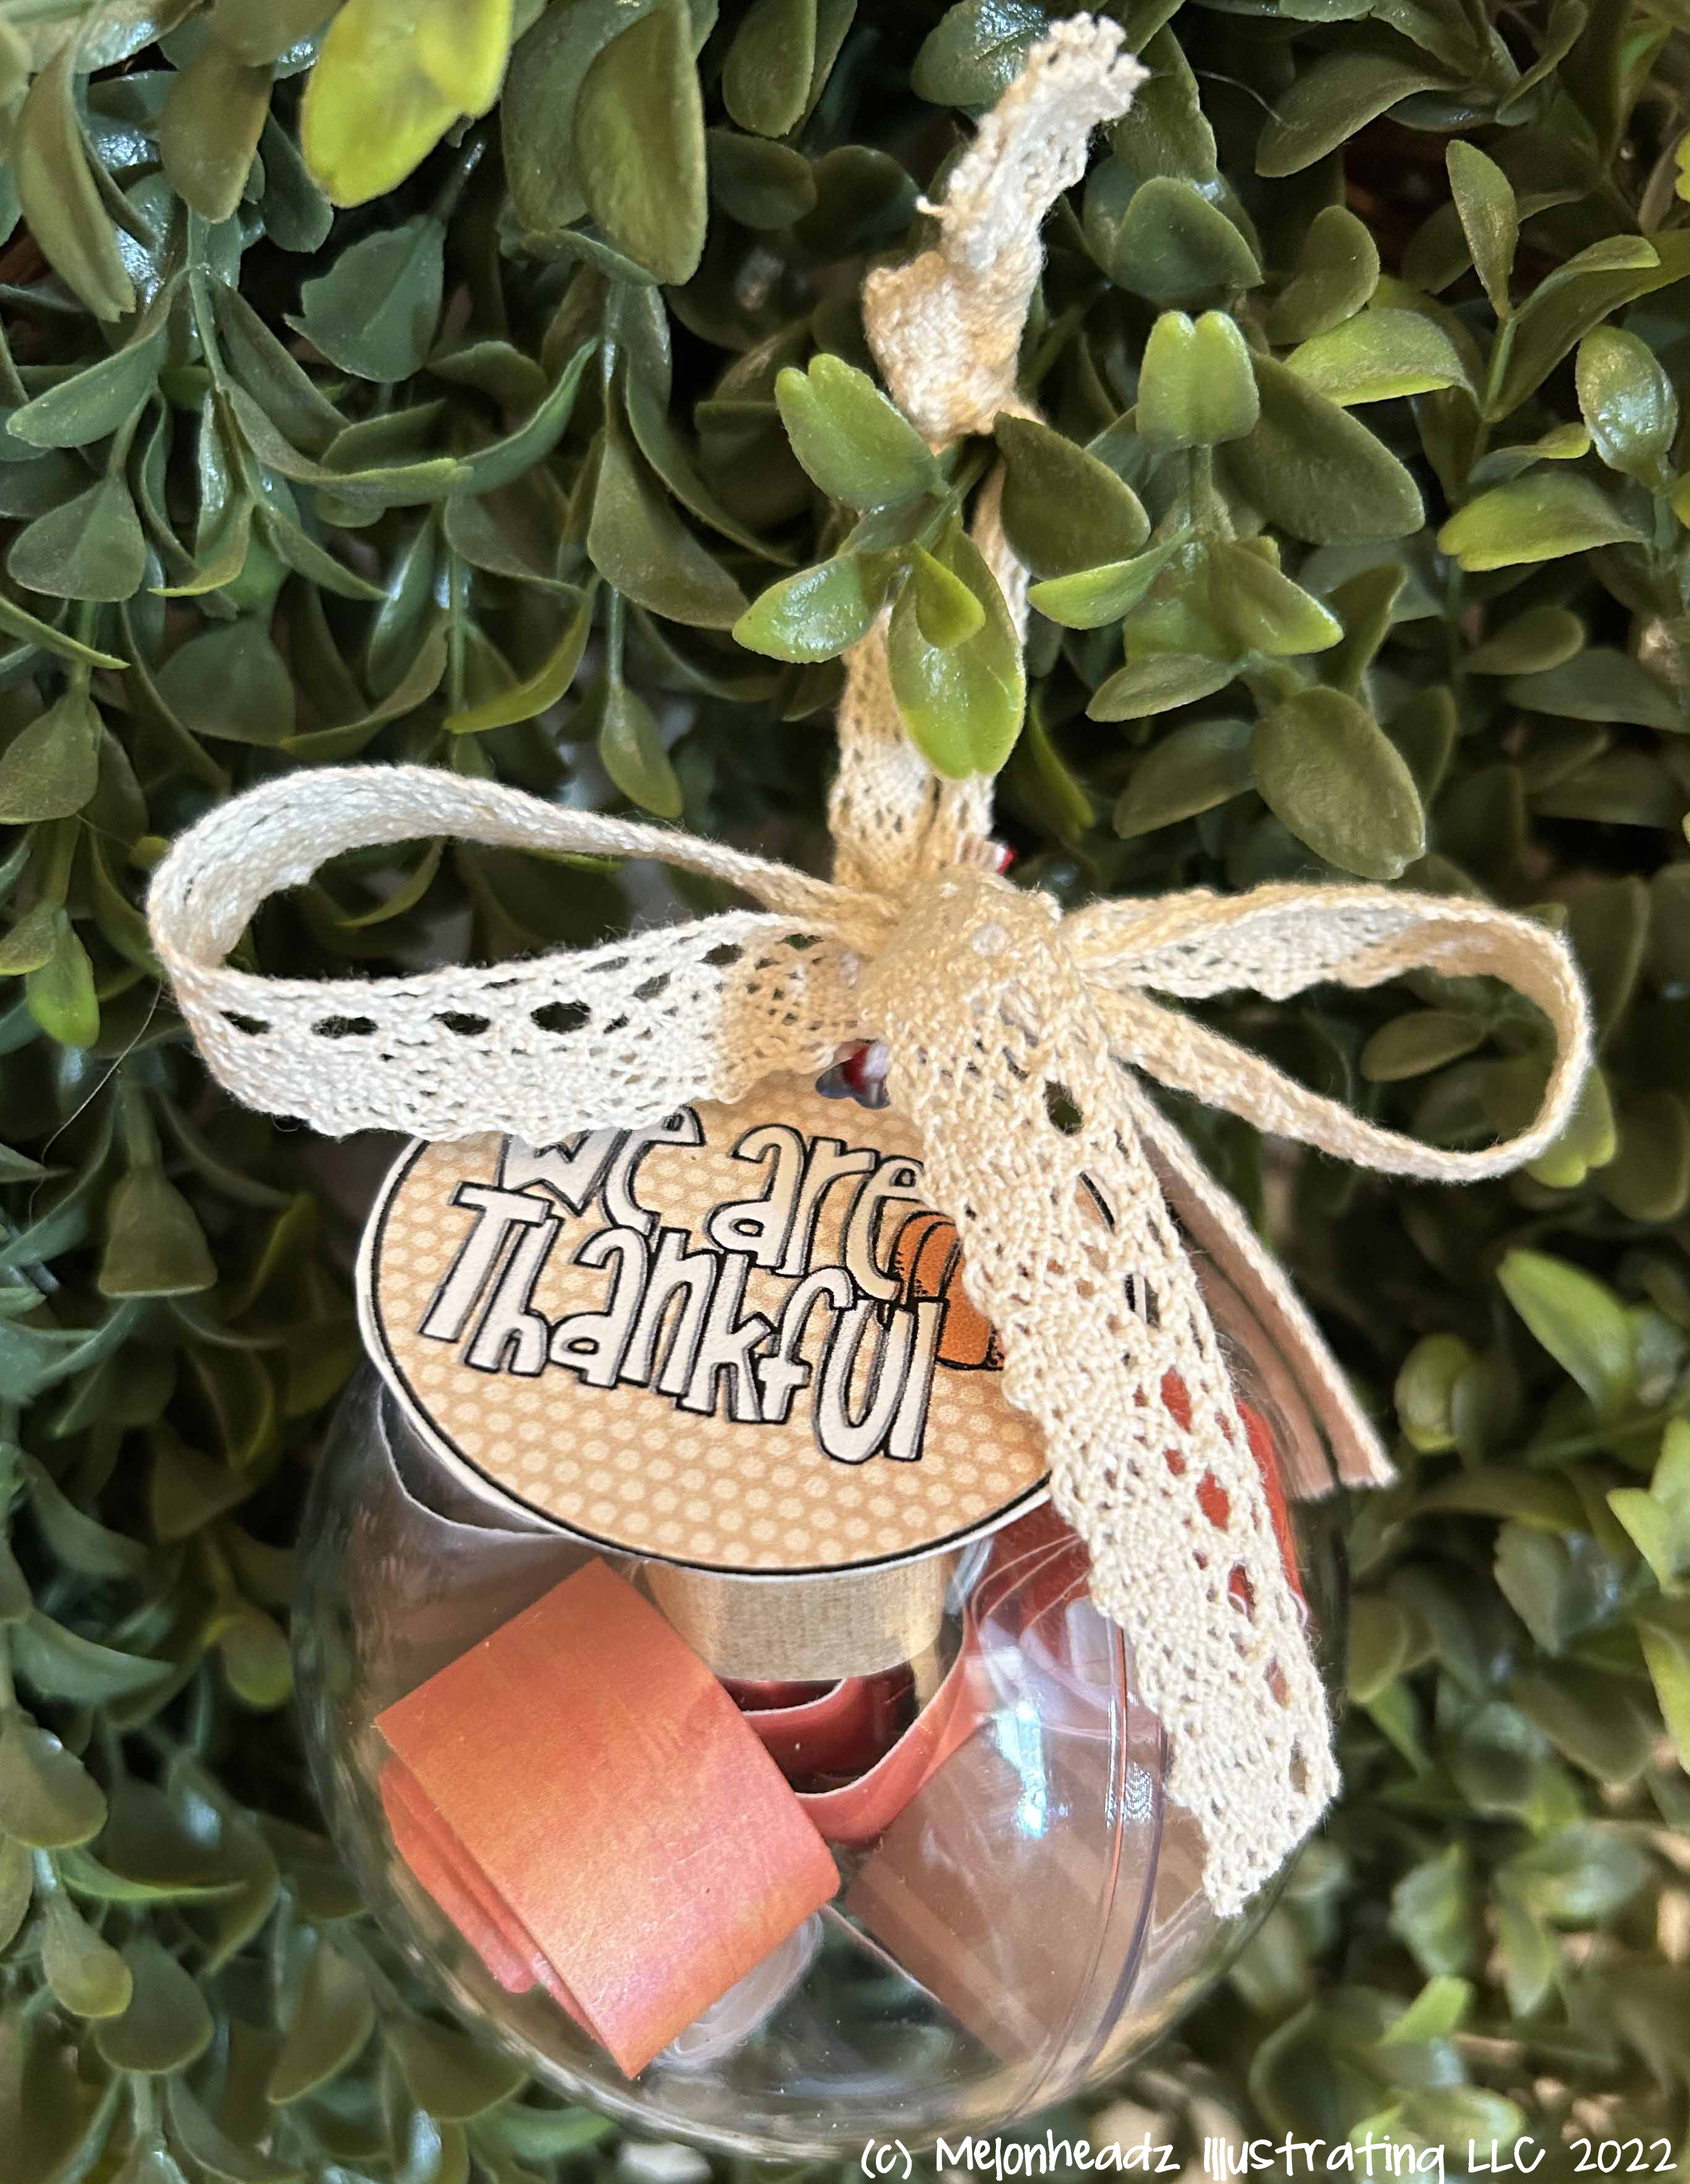
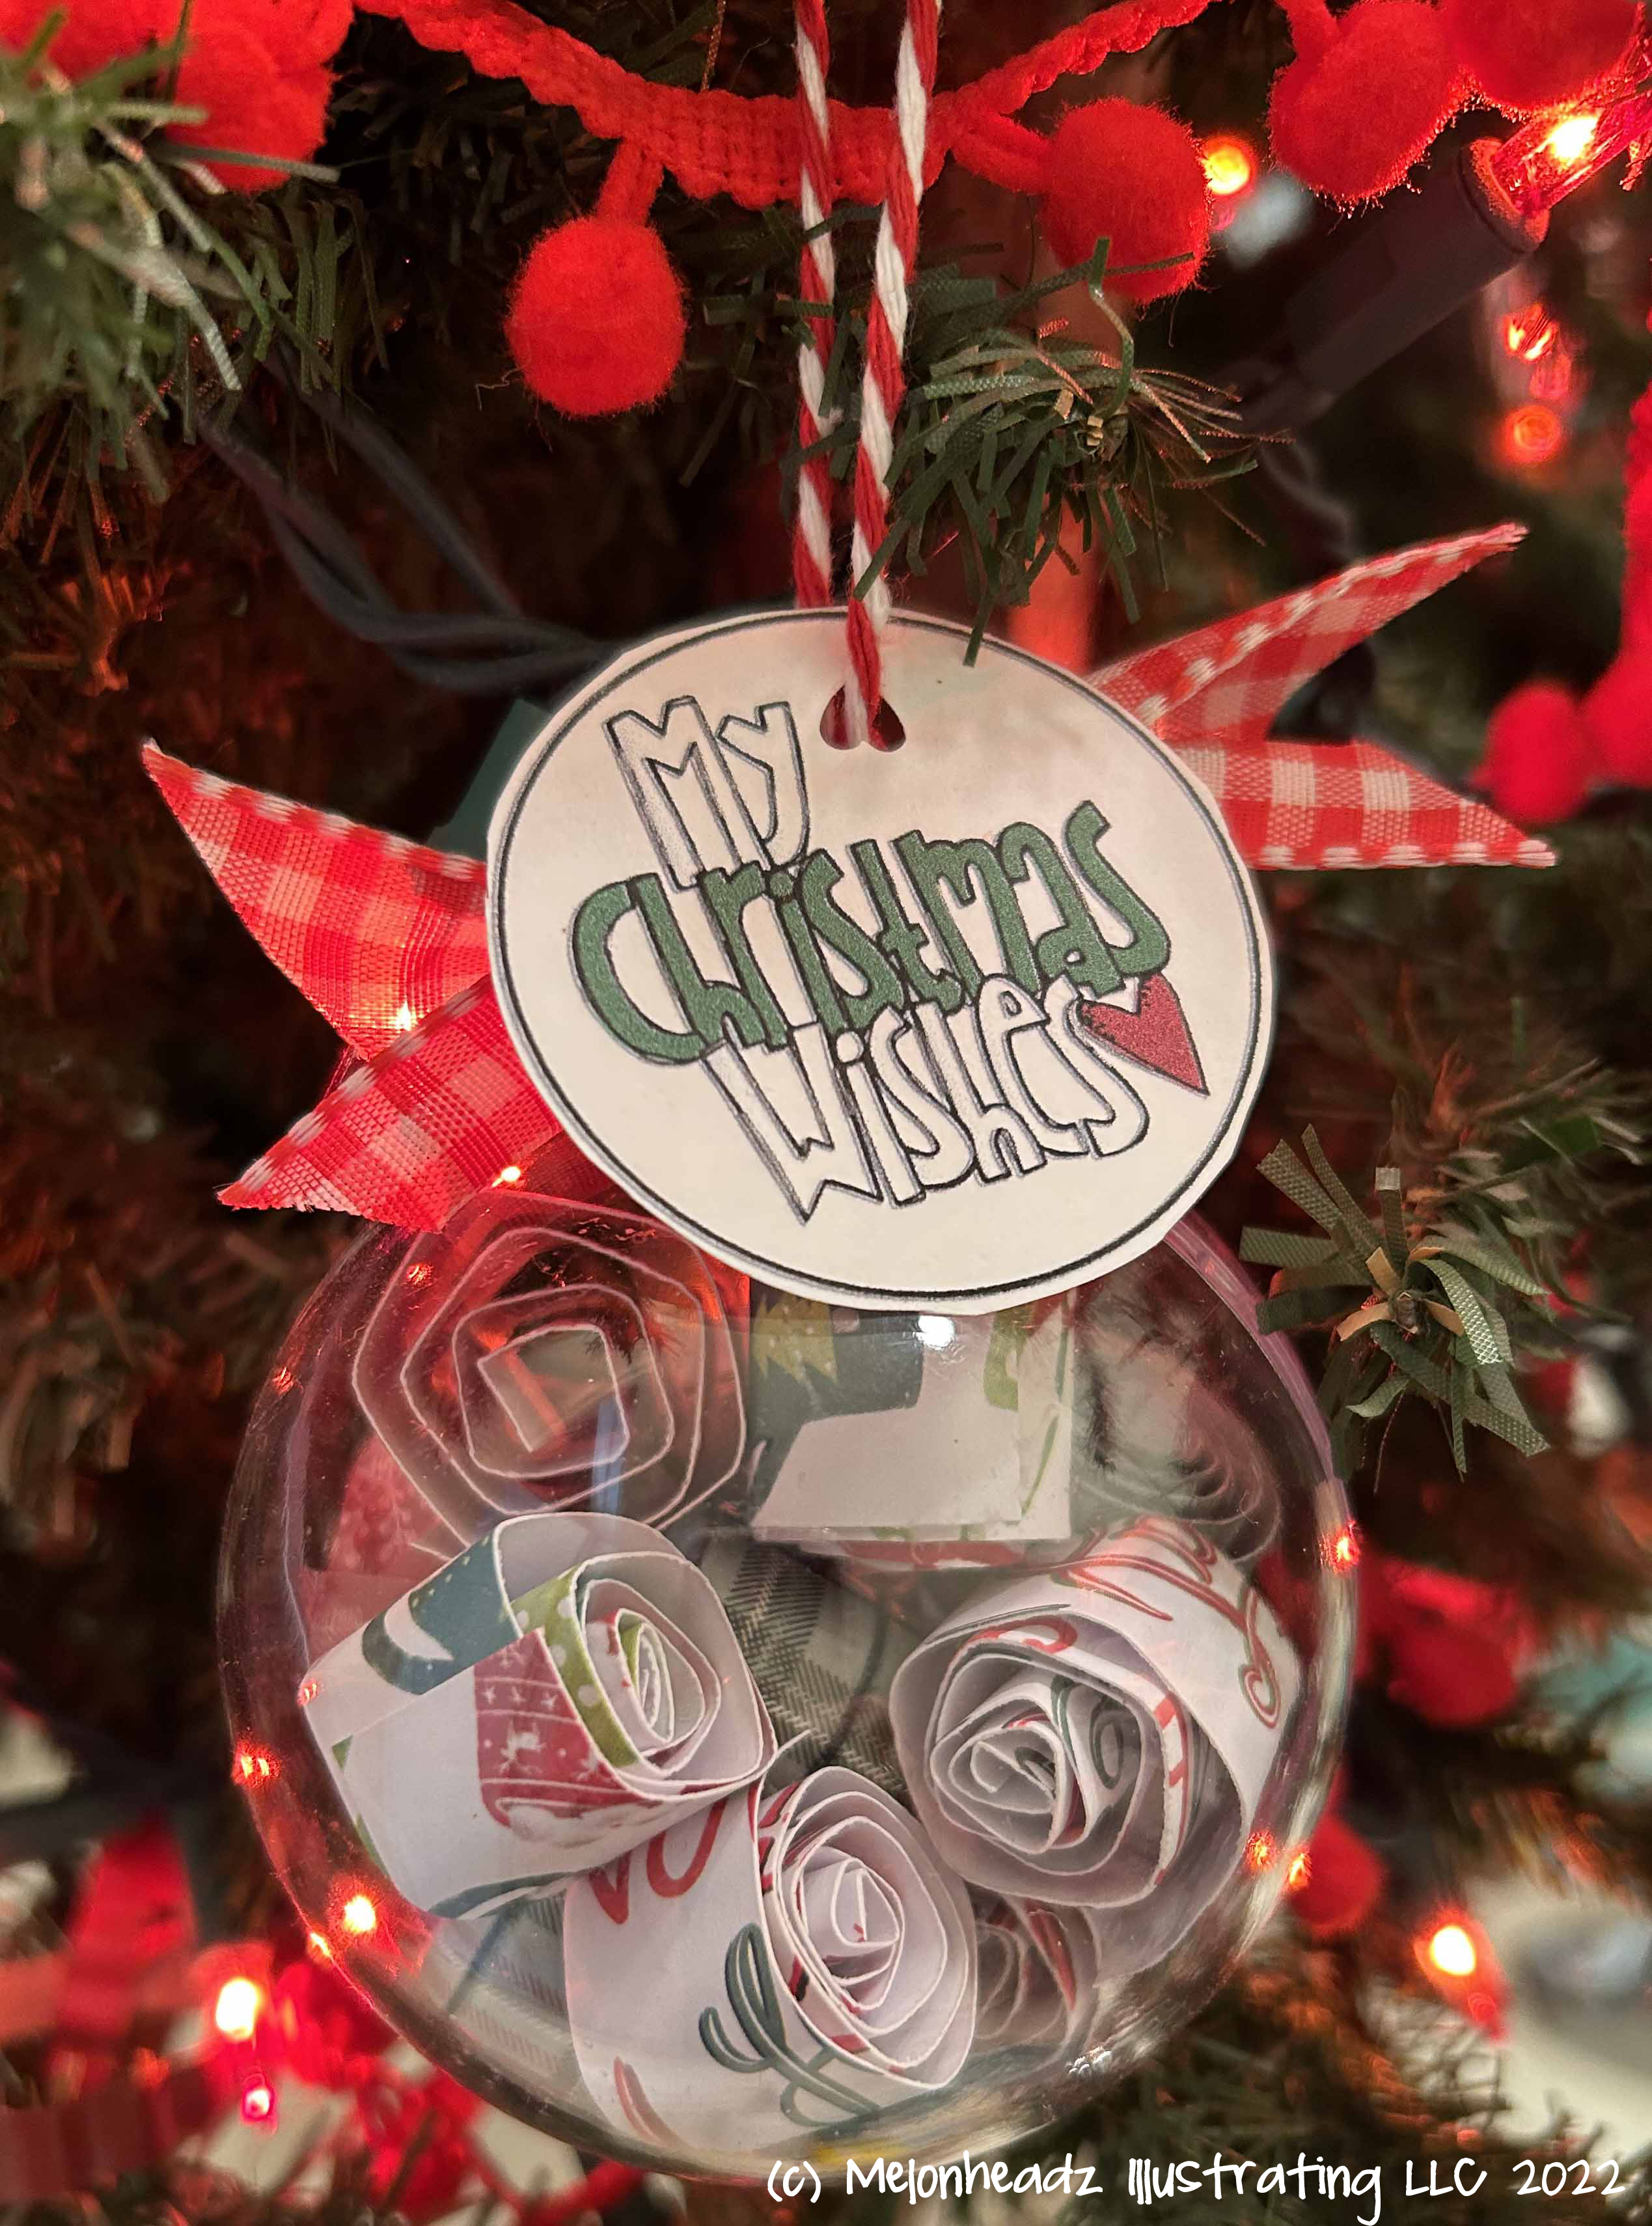
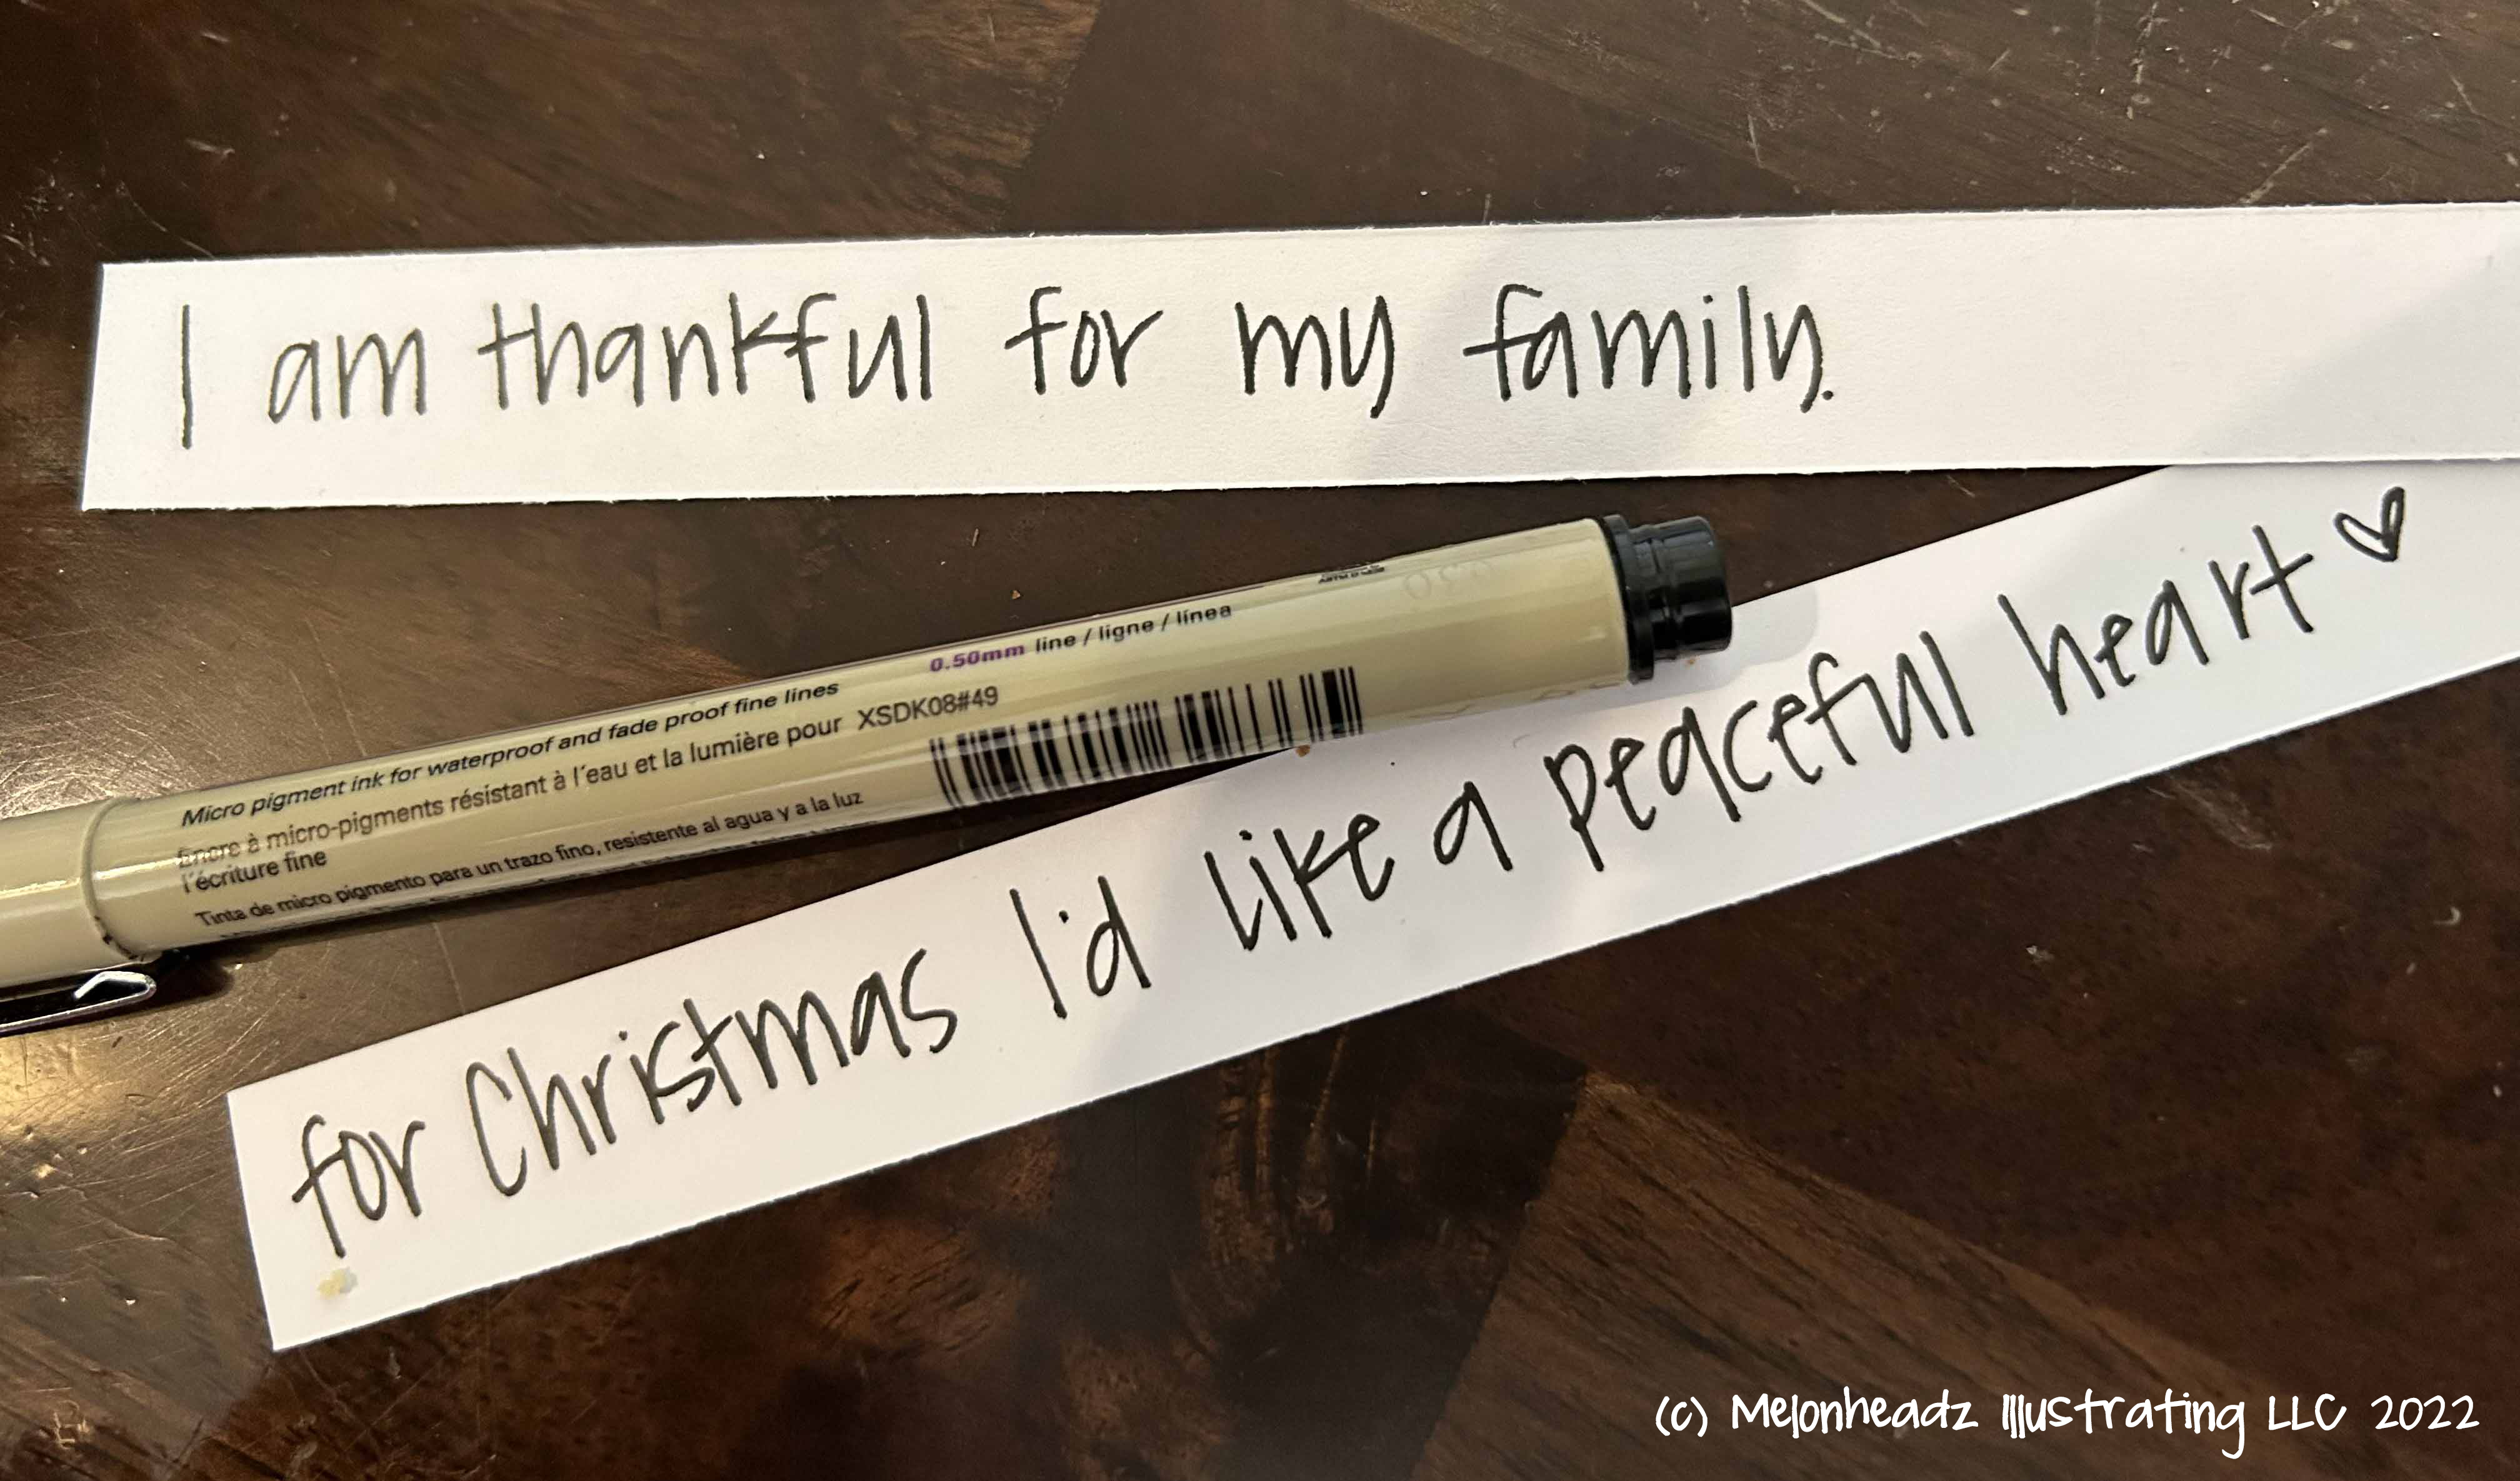
I made 2 versions of these ornaments. They are filled with blessings and wishes. Just cut your paper in strips, and roll them up!
They would be fun if:
Each person wrote their wish, and they were all rolled up and put in the ornament. The ornament could be labled by year…
OR….If each person put a new wish in each year!
I purchased the ornaments from Michaels that come apart in 2 halves, because I wanted to be able to read them year after year. You could also use the ornaments where you would drop them down in the top, but they would be harder to read.
If you’d like to download the Thanksgiving gift tag, CLICK HERE
If you’d like to download the Christmas gift tag, CLICK HERE
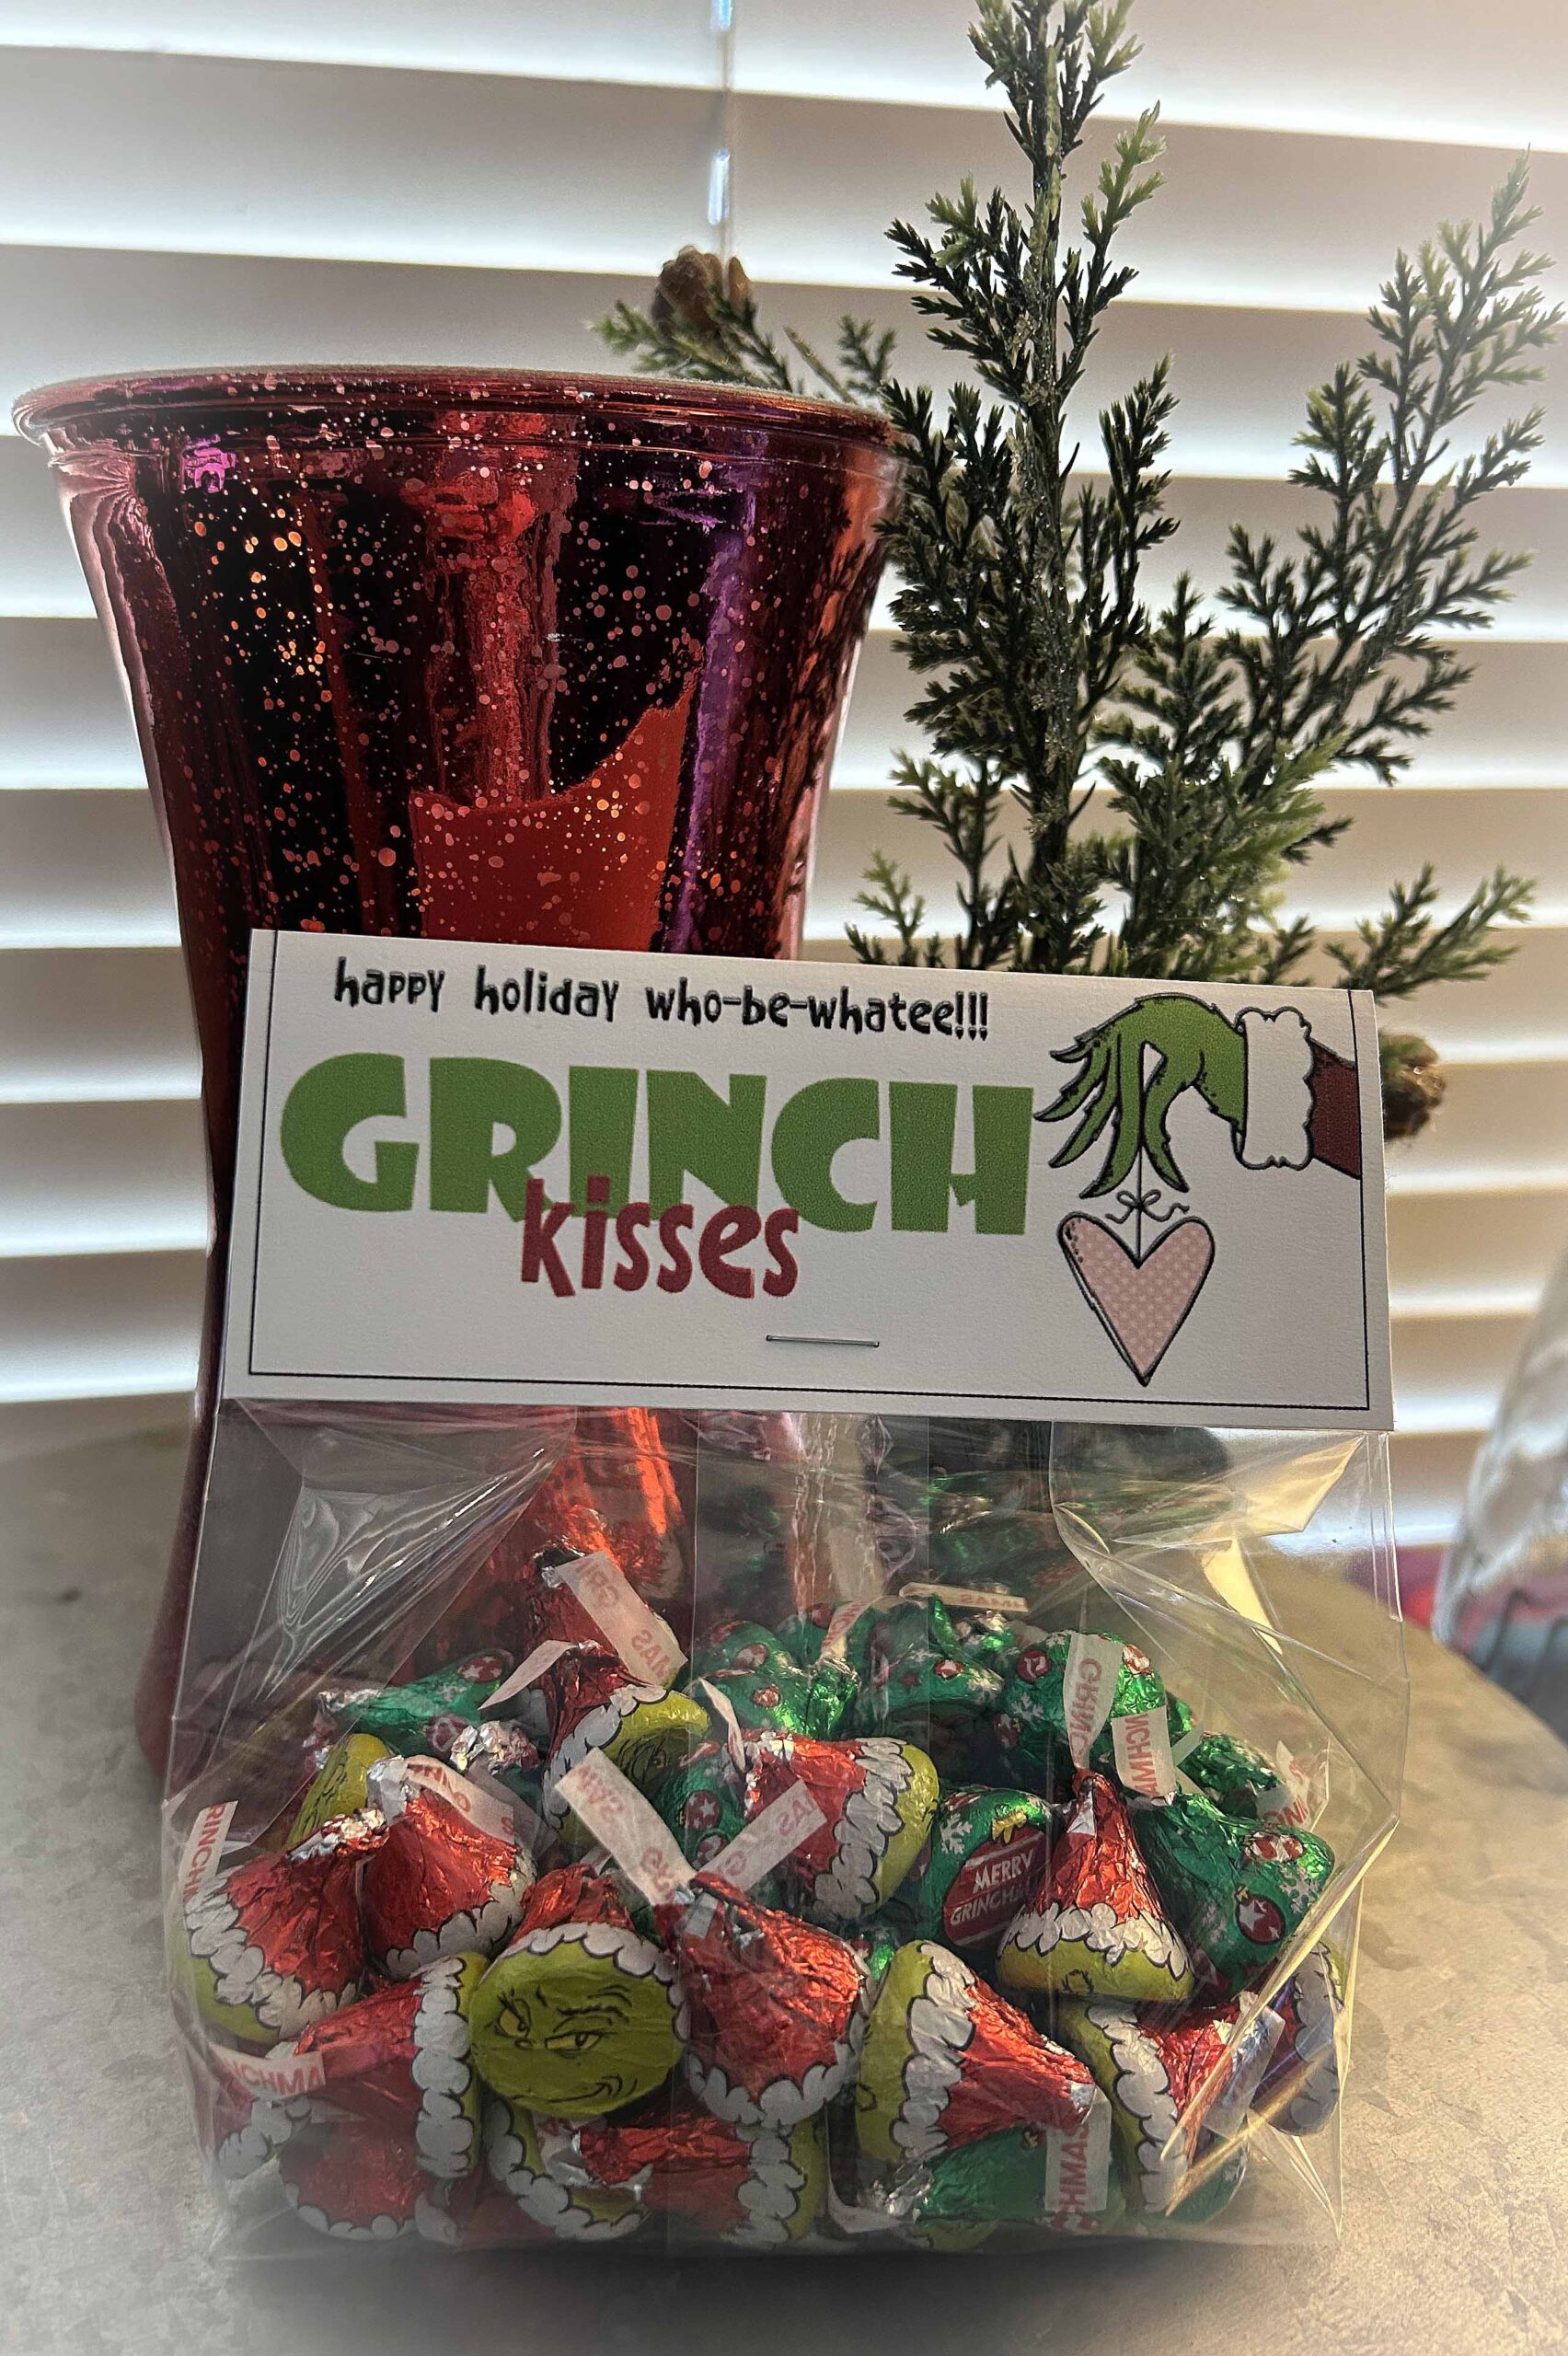
I found some Grinchy Hershey kisses and placed them in a a clear cellophane gift bag.
{Tags are approximately 5″ x 4″.} The PDF contains 1 sheet with 4 toppers.
Simply print cut, and fold the toppers, and attach to the top of the bag.
You can download this darling Grinch Kisses topper for FREE!!!!
Just CLICK HERE
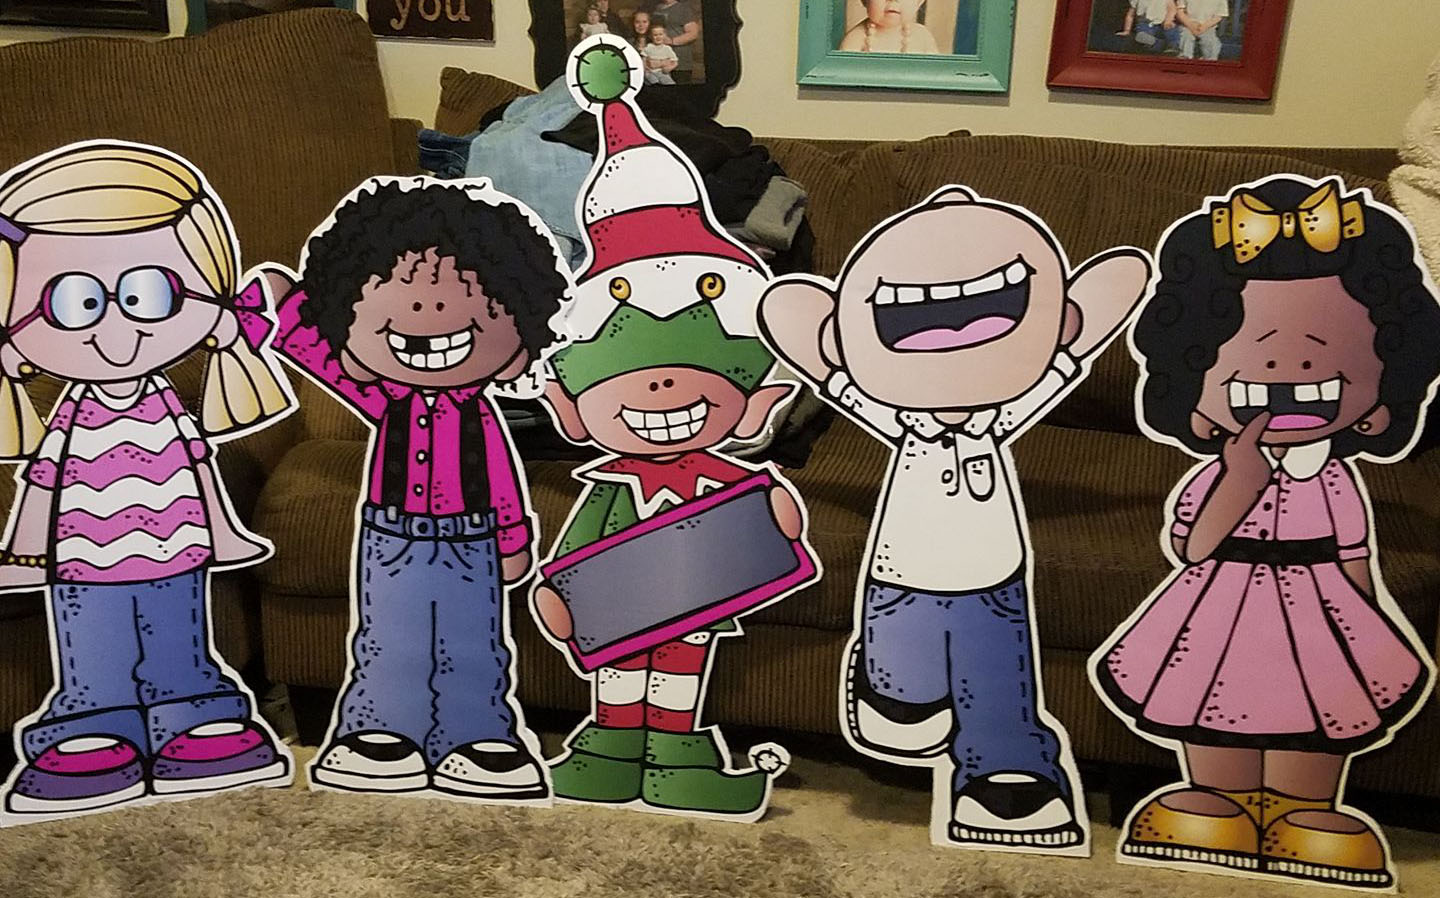
STAND ALONE CARDBOARD CUT OUTS
These cuties were printed at around 3 feet tall at my local print shop. I cut them out and glued them to some foam poster board. You can’t see, but there is a prop on the back that allows them to stand alone.
Most of my files are saved at 10 inches. Blowing them up to 3 feet tall made no difference on the clarity at all. They turned out to be just what I had hoped for!
PROJECT DISPLAYS
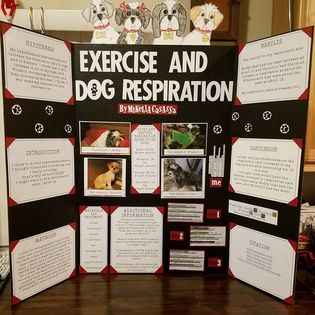
Drew created this display for a school project.
This child is my animal lover….. how sweet are the fur babies peeking out over the top?
BRANDING
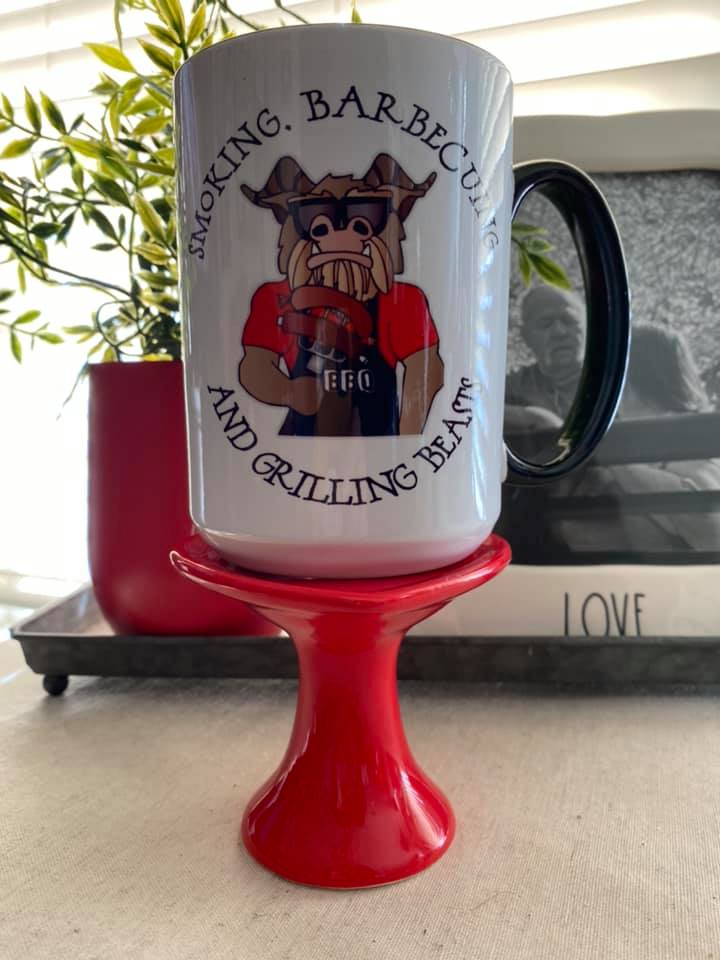
My sweet, meat smokin’ hubby belongs to a Facebook group that has members all over the world.
Together we came up with a mascot for the group. He turned out pretty danged cute!
One of the other group members had this mug made and sent it to us.
Isn’t it awesome?
NEWSLETTERS
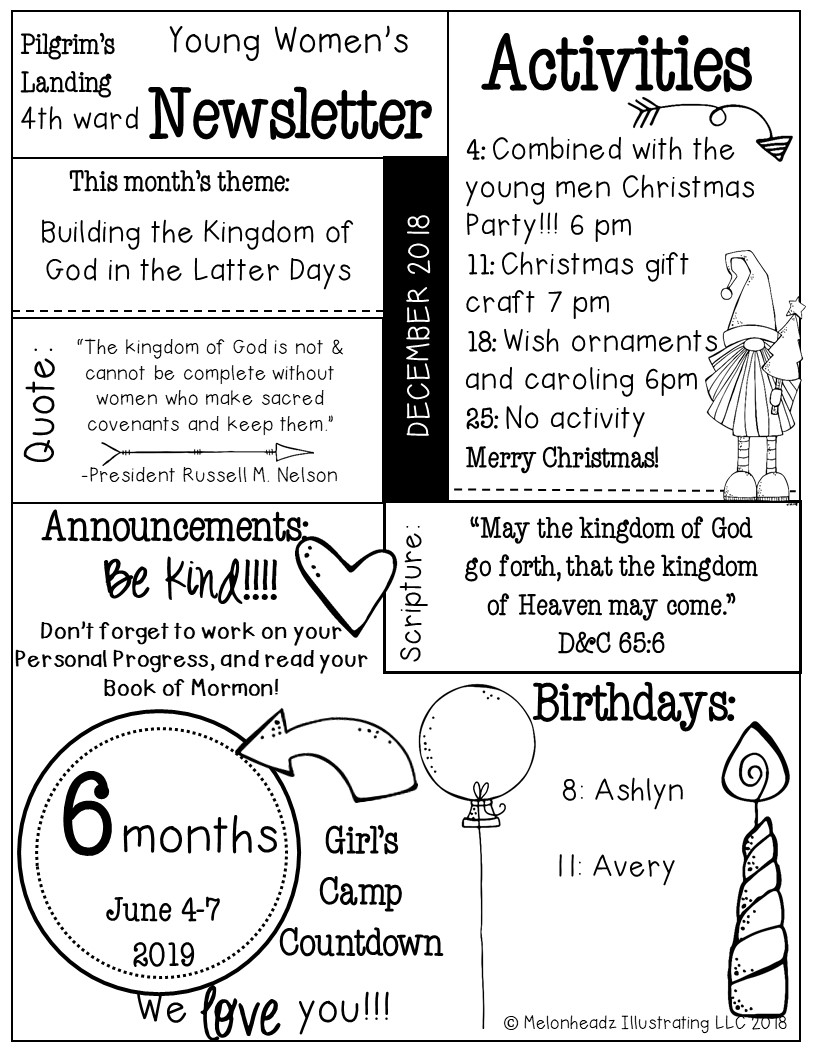
This was a great way to keep parents and kiddos in the loop for the month!
Once I had the design the way I wanted it, I saved it so I could edit it for the next month. Changing out the messages and clip art are a piece of cake!
WOOD BURNING
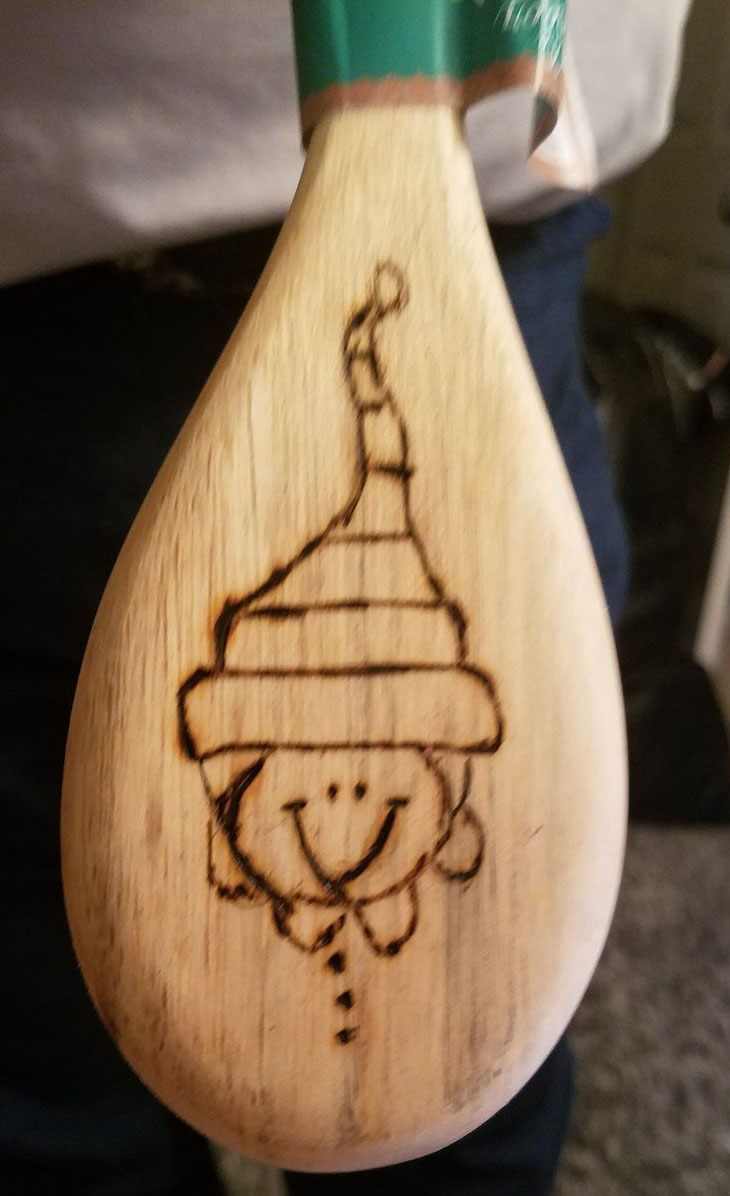
My sweet hubby bought himself a woodburning kit, and a handful of wooden spoons.
I LOVE this simple and inexpensive gift idea. He did a great job following the elf design. All it needs is a festive bow!
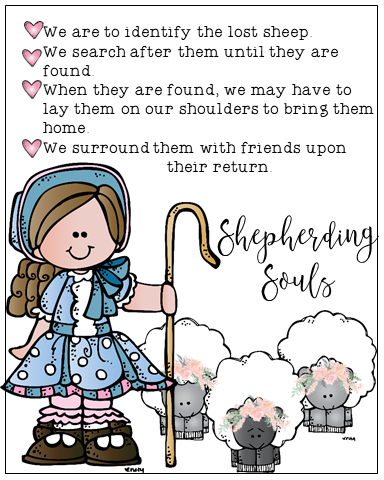
LOST SHEEP HAND OUT
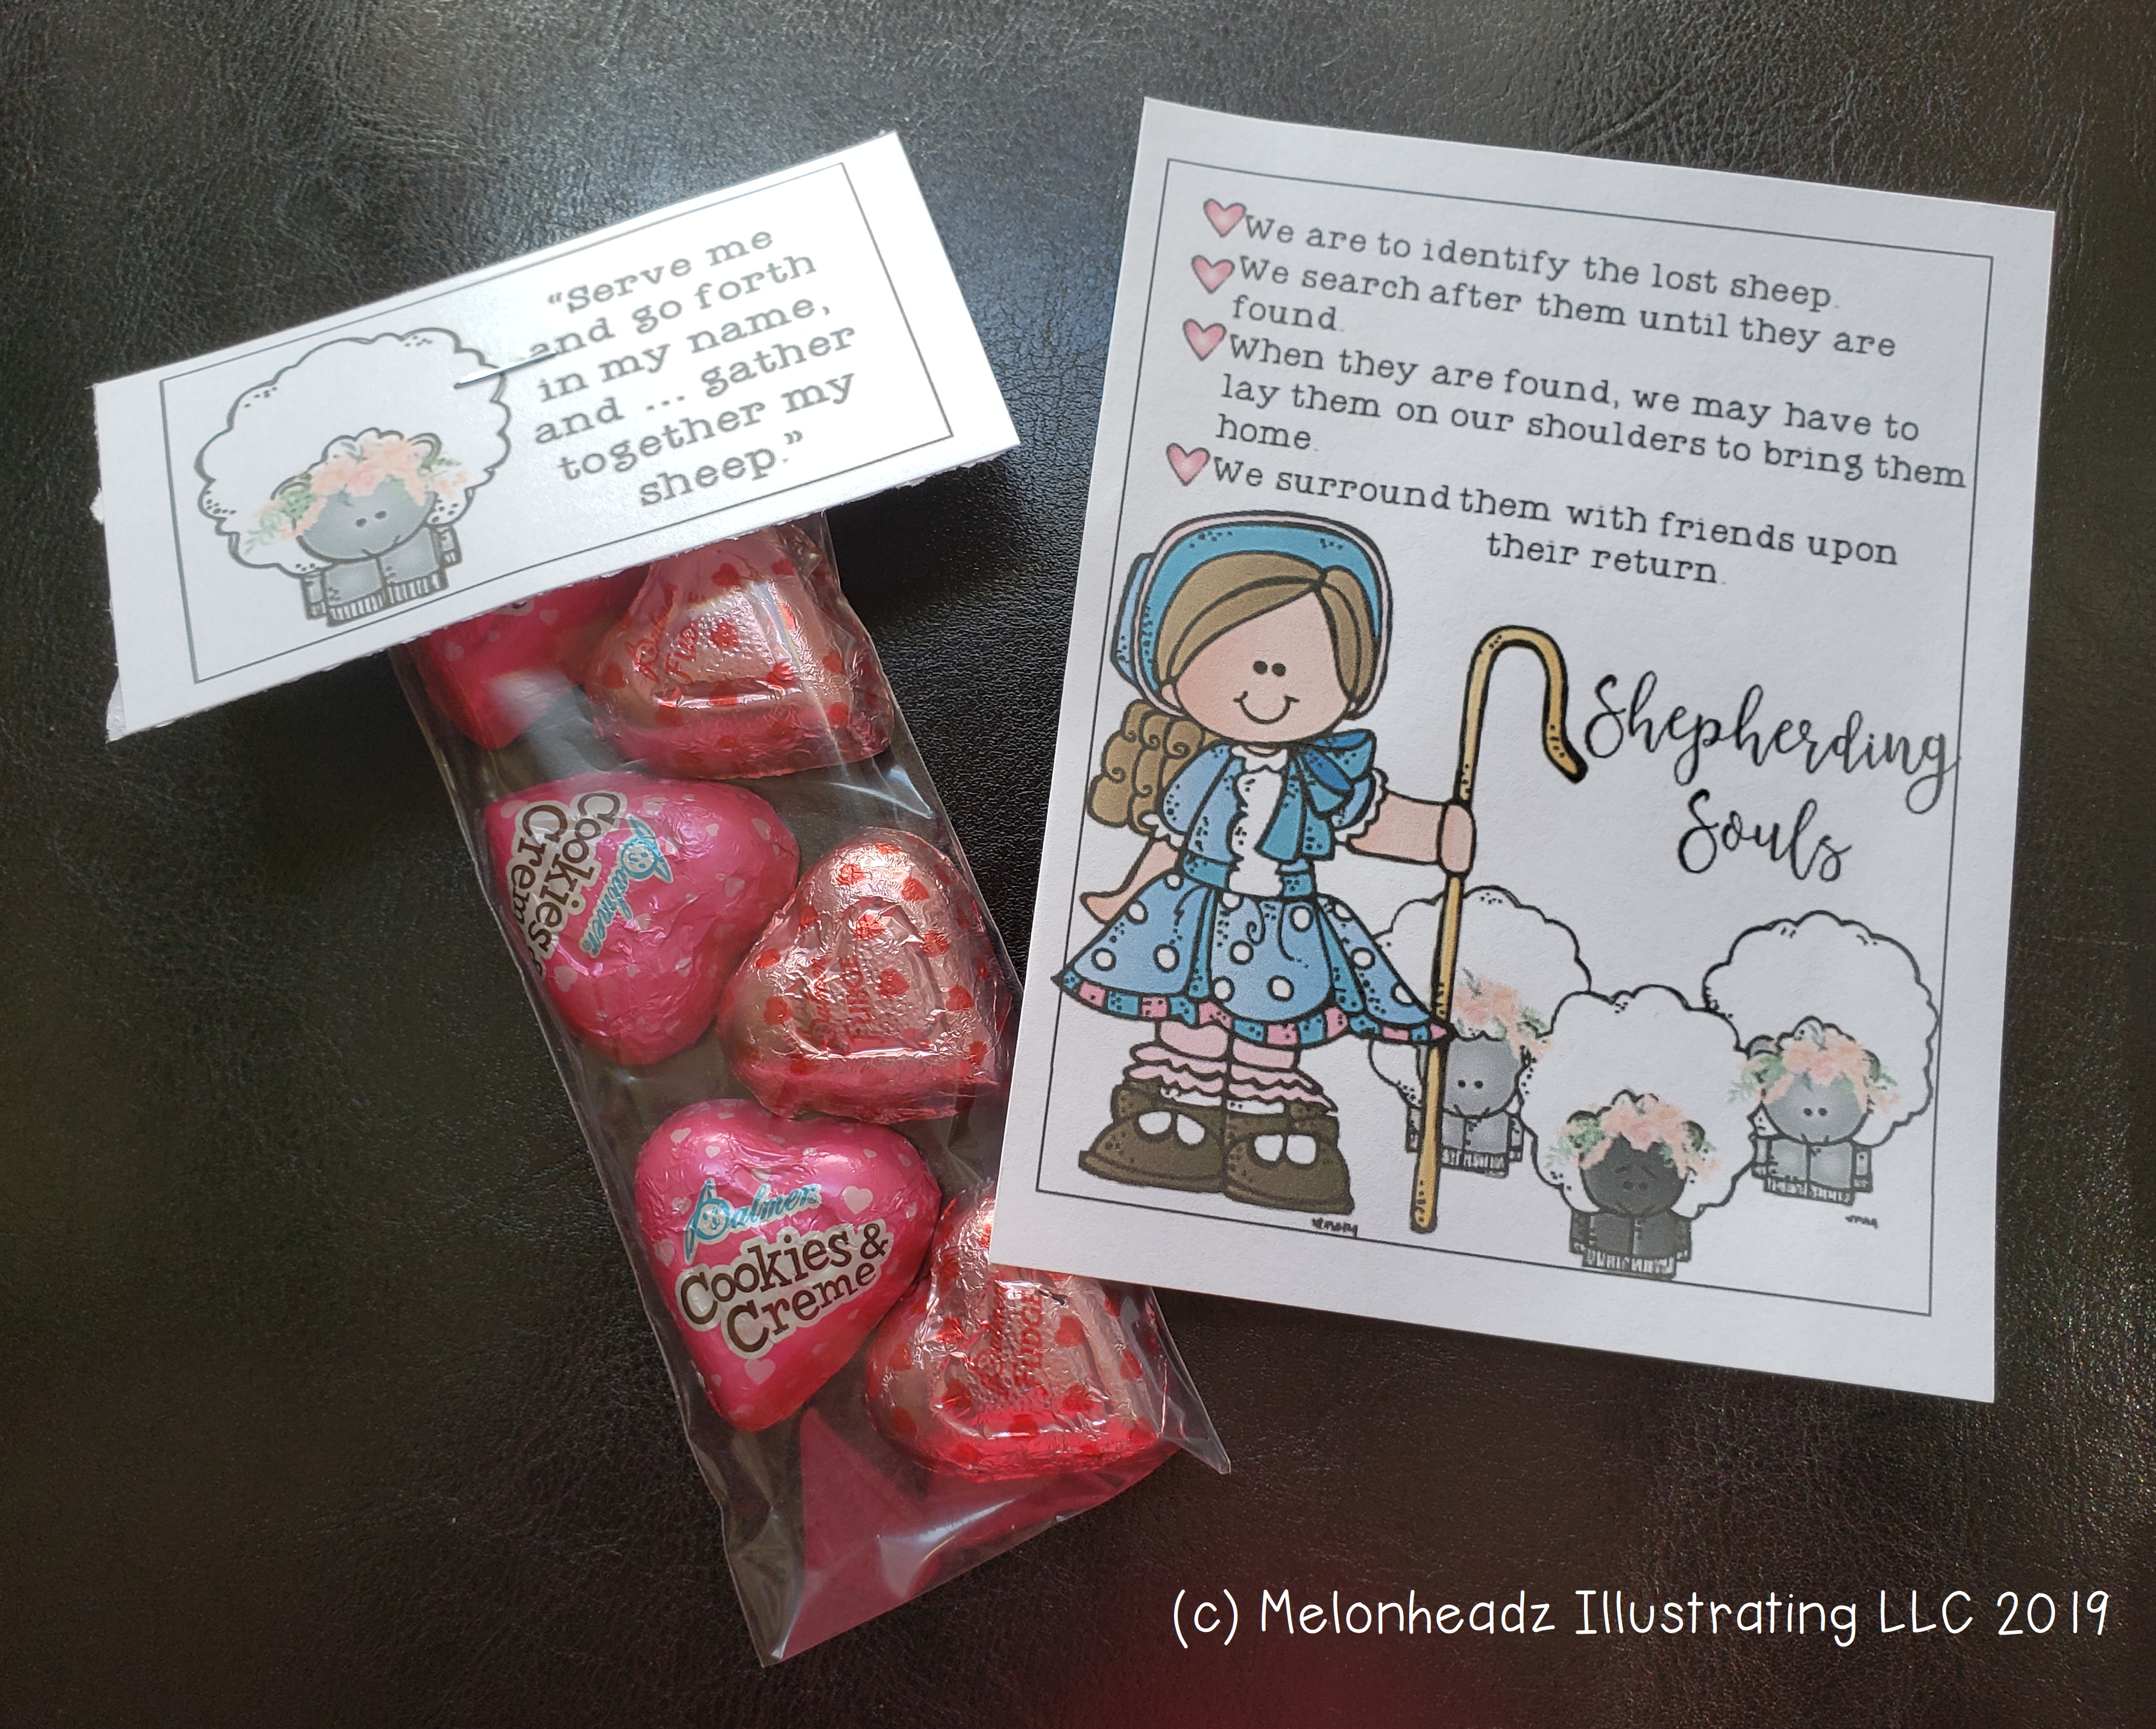
I taught a lesson one Sunday at church on finding the lost sheep. My favorite part of teaching is making the hand outs and visuals to go along with my topic. Let’s face it….. chocolate doesn’t hurt anything either, lol.
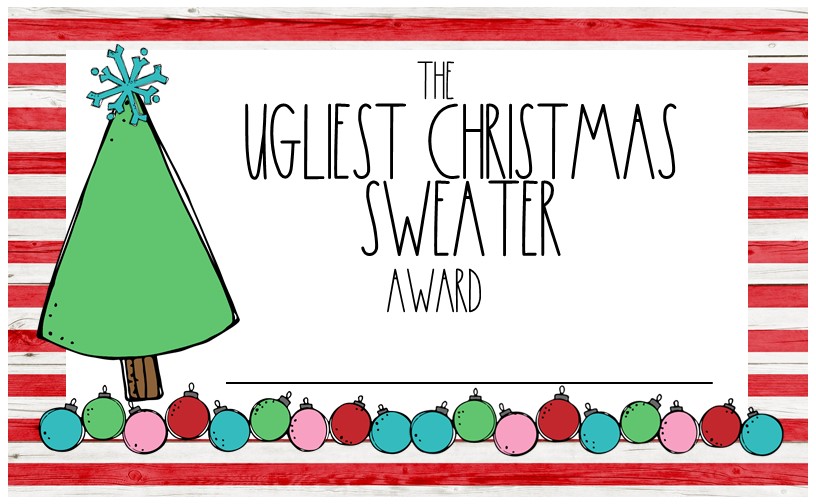
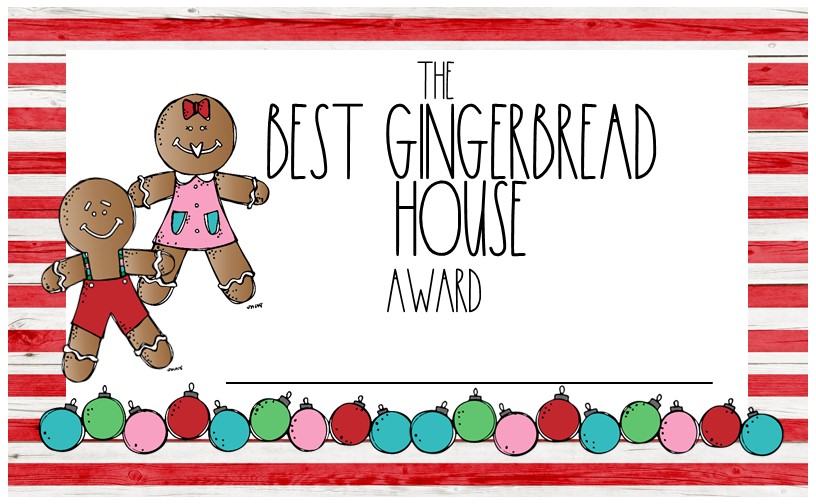
CHRISTMAS PARTY AWARDS
For about a year, Mike and I were in charge of “Meet and Greets” for our ward (church). Once a month we would have an activity, where people would come and just sit and visit. It was so much fun!
For Christmas, we had an ugly sweater contest, as well as a Gingerbread house contest. For treats, we had a cookie pot luck. Here are the awards that we gave to the winners.
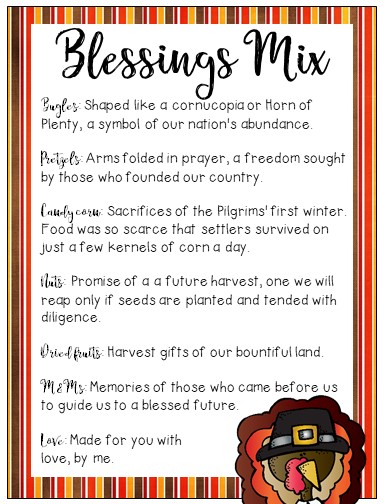
THANKSGIVING BLESSING TREAT MIX
Here’s what you need for the snack mix:
Twisted Pretzels
Bugles snacks
Raisins or Dried Cranberries
Candy Corn
M&Ms
Nuts (We used dry roasted peanuts)
Bag it up, and add this cute poem, and you’re all set!
EMBROIDERY
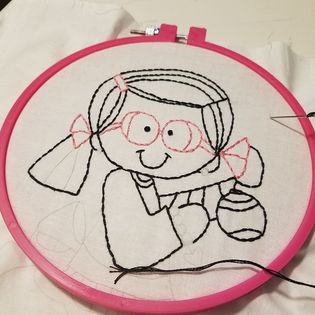
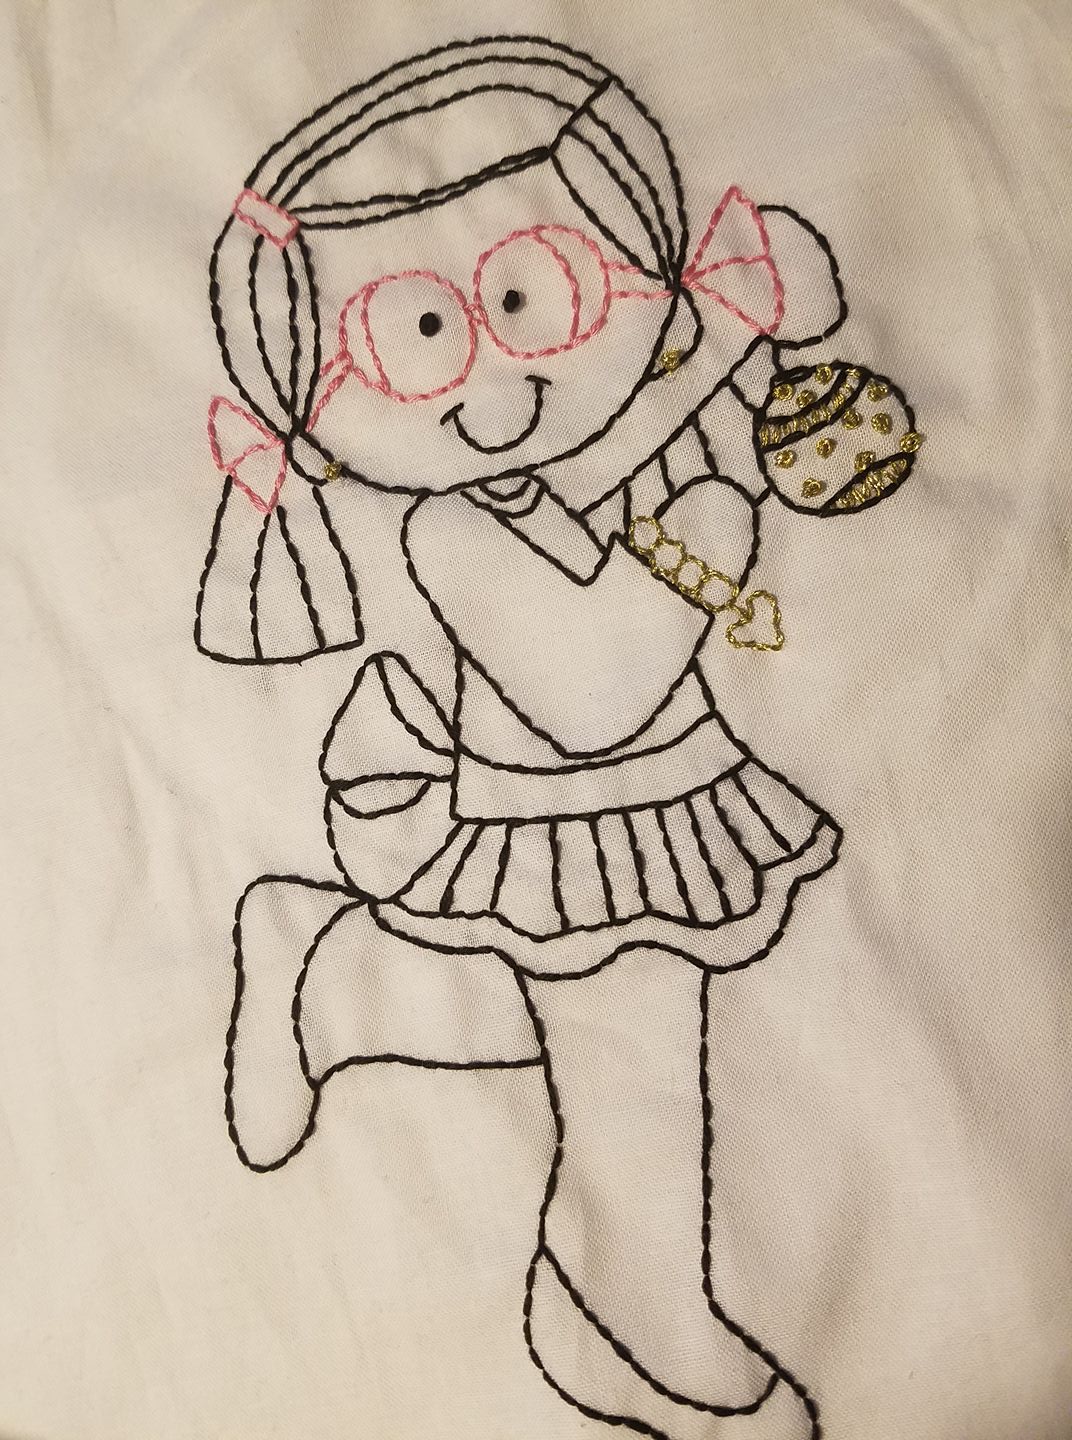
I traced my LucyDoris on to some muslin fabric very lightly with a pencil. A simple backstitch worked great for this project.
After I was done stitching the design, I ironed it and framed it in a cute little frame.
I sure have a soft spot in my heart for Lucy Doris!
HANDMADE CARDS FOR MULTIPLE OCCASIONS
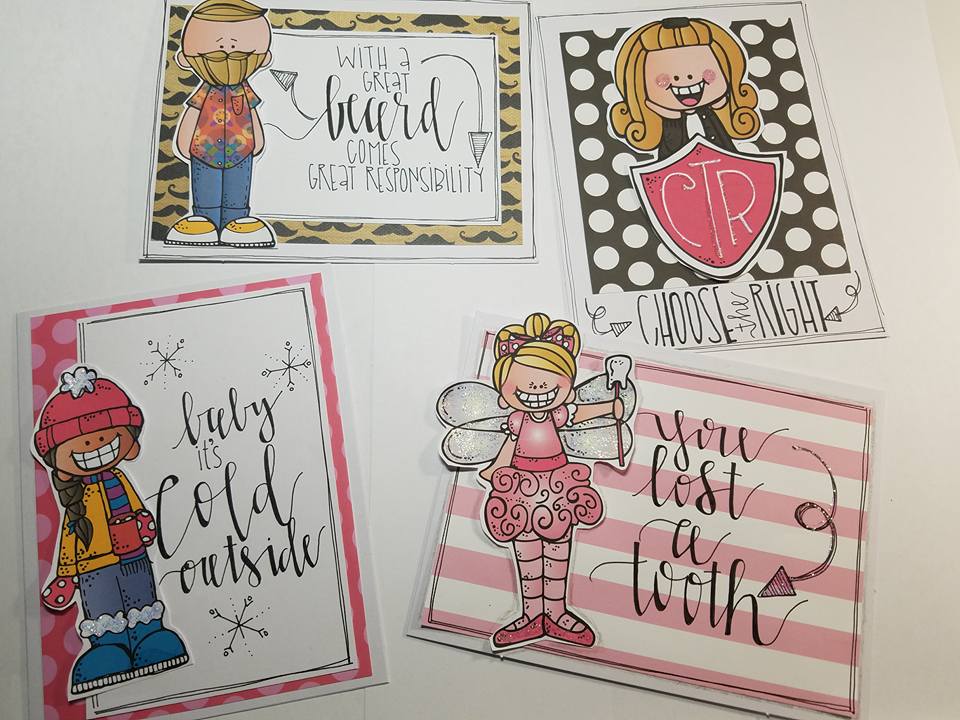
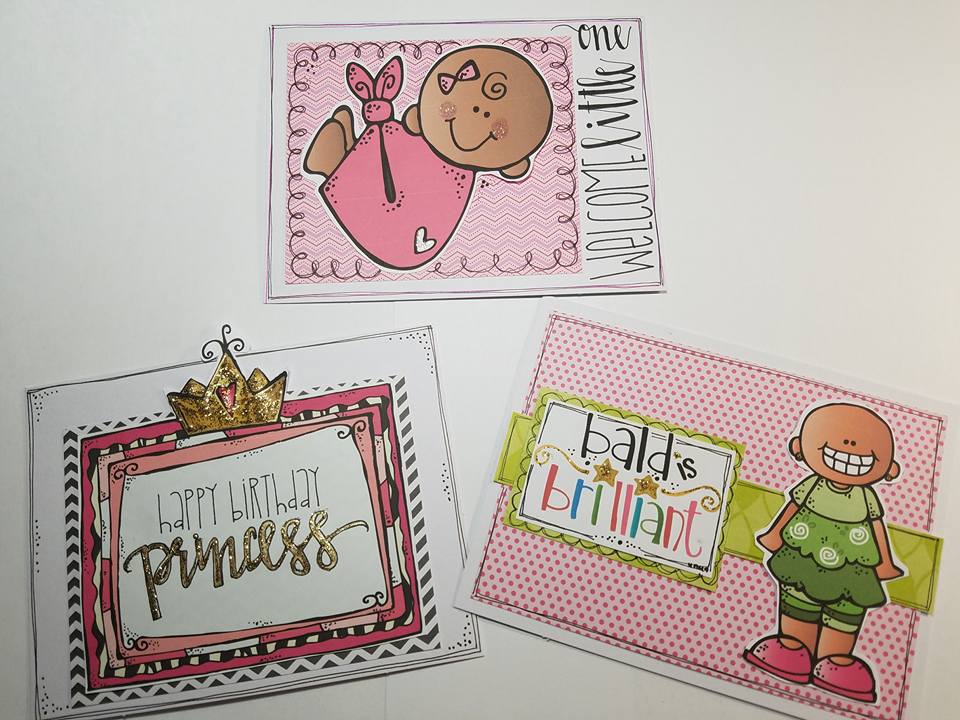
If I thought I could make a million dollars by making cards all day, I’d sign up for that in a split second.
Did you know that at one time there was a Melonheadz Design Team? YEP!!!! Lots of card challenges, and the making of some wonderful and talented friends.
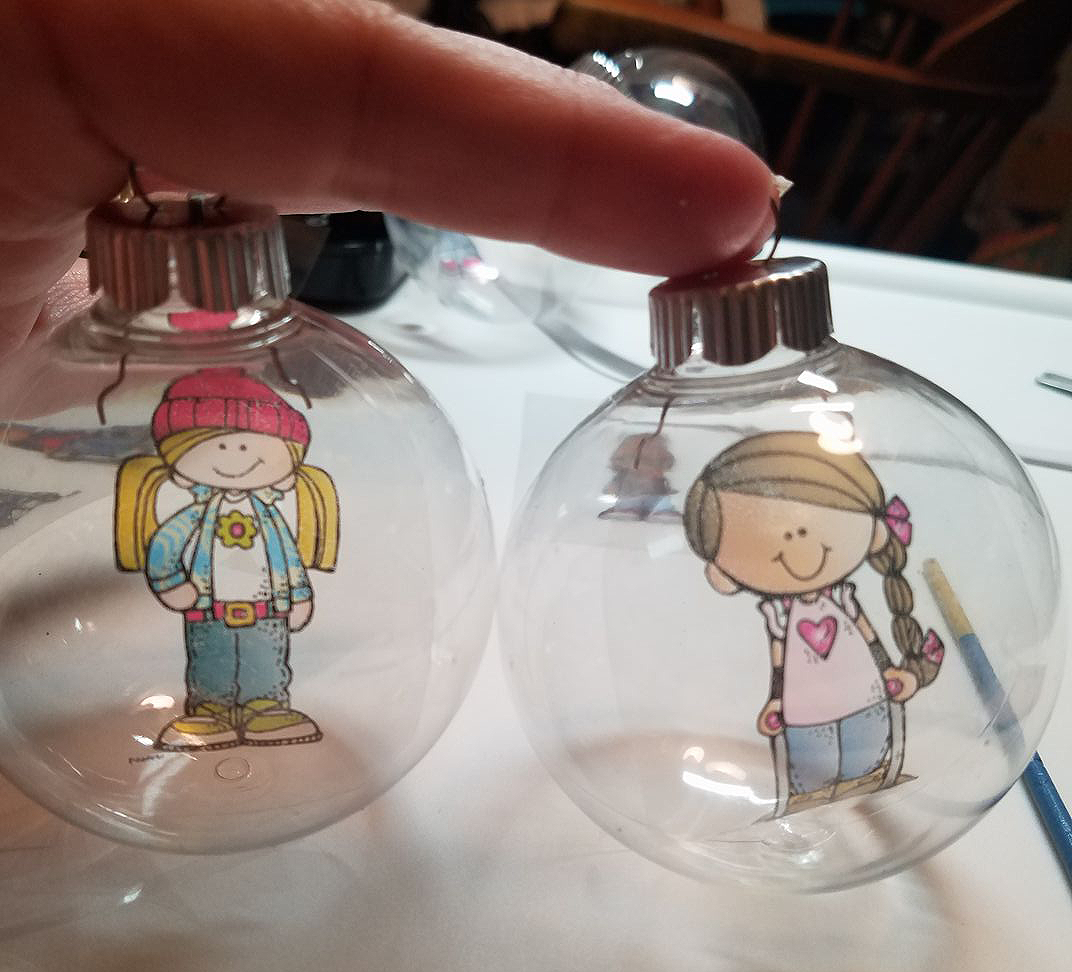
CHRISTMAS ORNAMENTS
These are one of my very favorite projects EVER!
I found some clear plastic sheets that I could send through my printer on Amazon. After I printed out the illustrations that I wanted to use, I cut circles around the kidlettes just smaller than the circumference of the ornaments. I carefully rolled them and stuck the plastic inside the ornament, letting it unroll inside.
Easy Peasy!
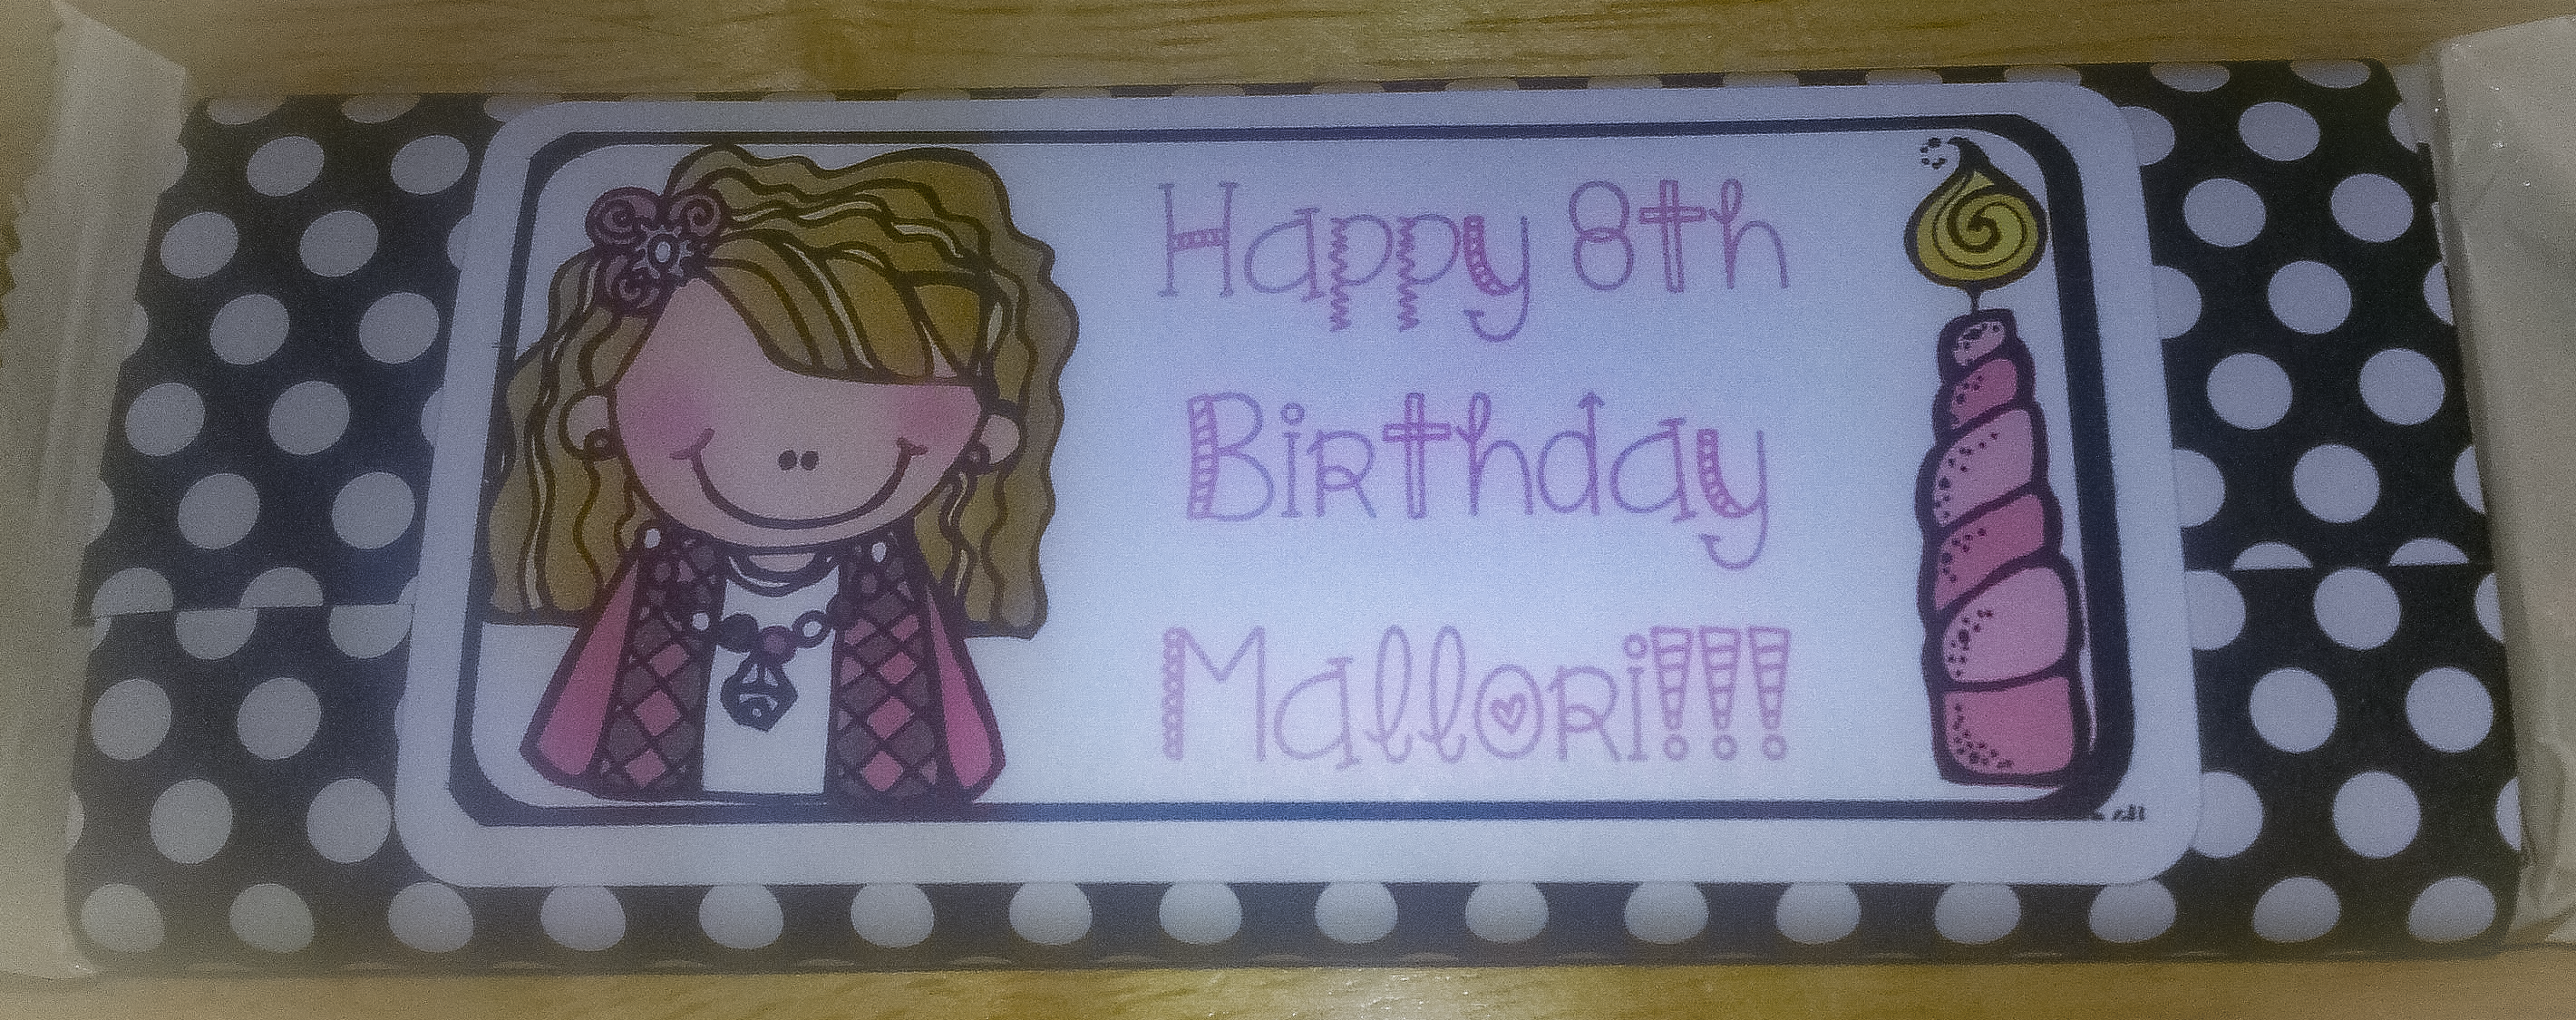
CANDY BAR WRAPPERS
Looking for a quick little gift or party favor?
A candybar is always a good choice. I wrapped a piece of decorative paper around my candybar, covering as much of the wrapper as I could. I used a shipping label, adding my illustrations and wording to finish off the design.
A LITTLE BOX OF SUNSHINE
This is a really fun way to brighten someone else’s day.
I went to Dollar Tree, and purchased everything that I could find that was yellow, or in yellow packaging. I covered my box in yellow polka dot wrapping paper.
A cute girl illustration, printed and cut out, was glued to a straw so that she would stand out in the finished box.
A cute notecard taped to the front on the box, and some curly ribbon finished it off!
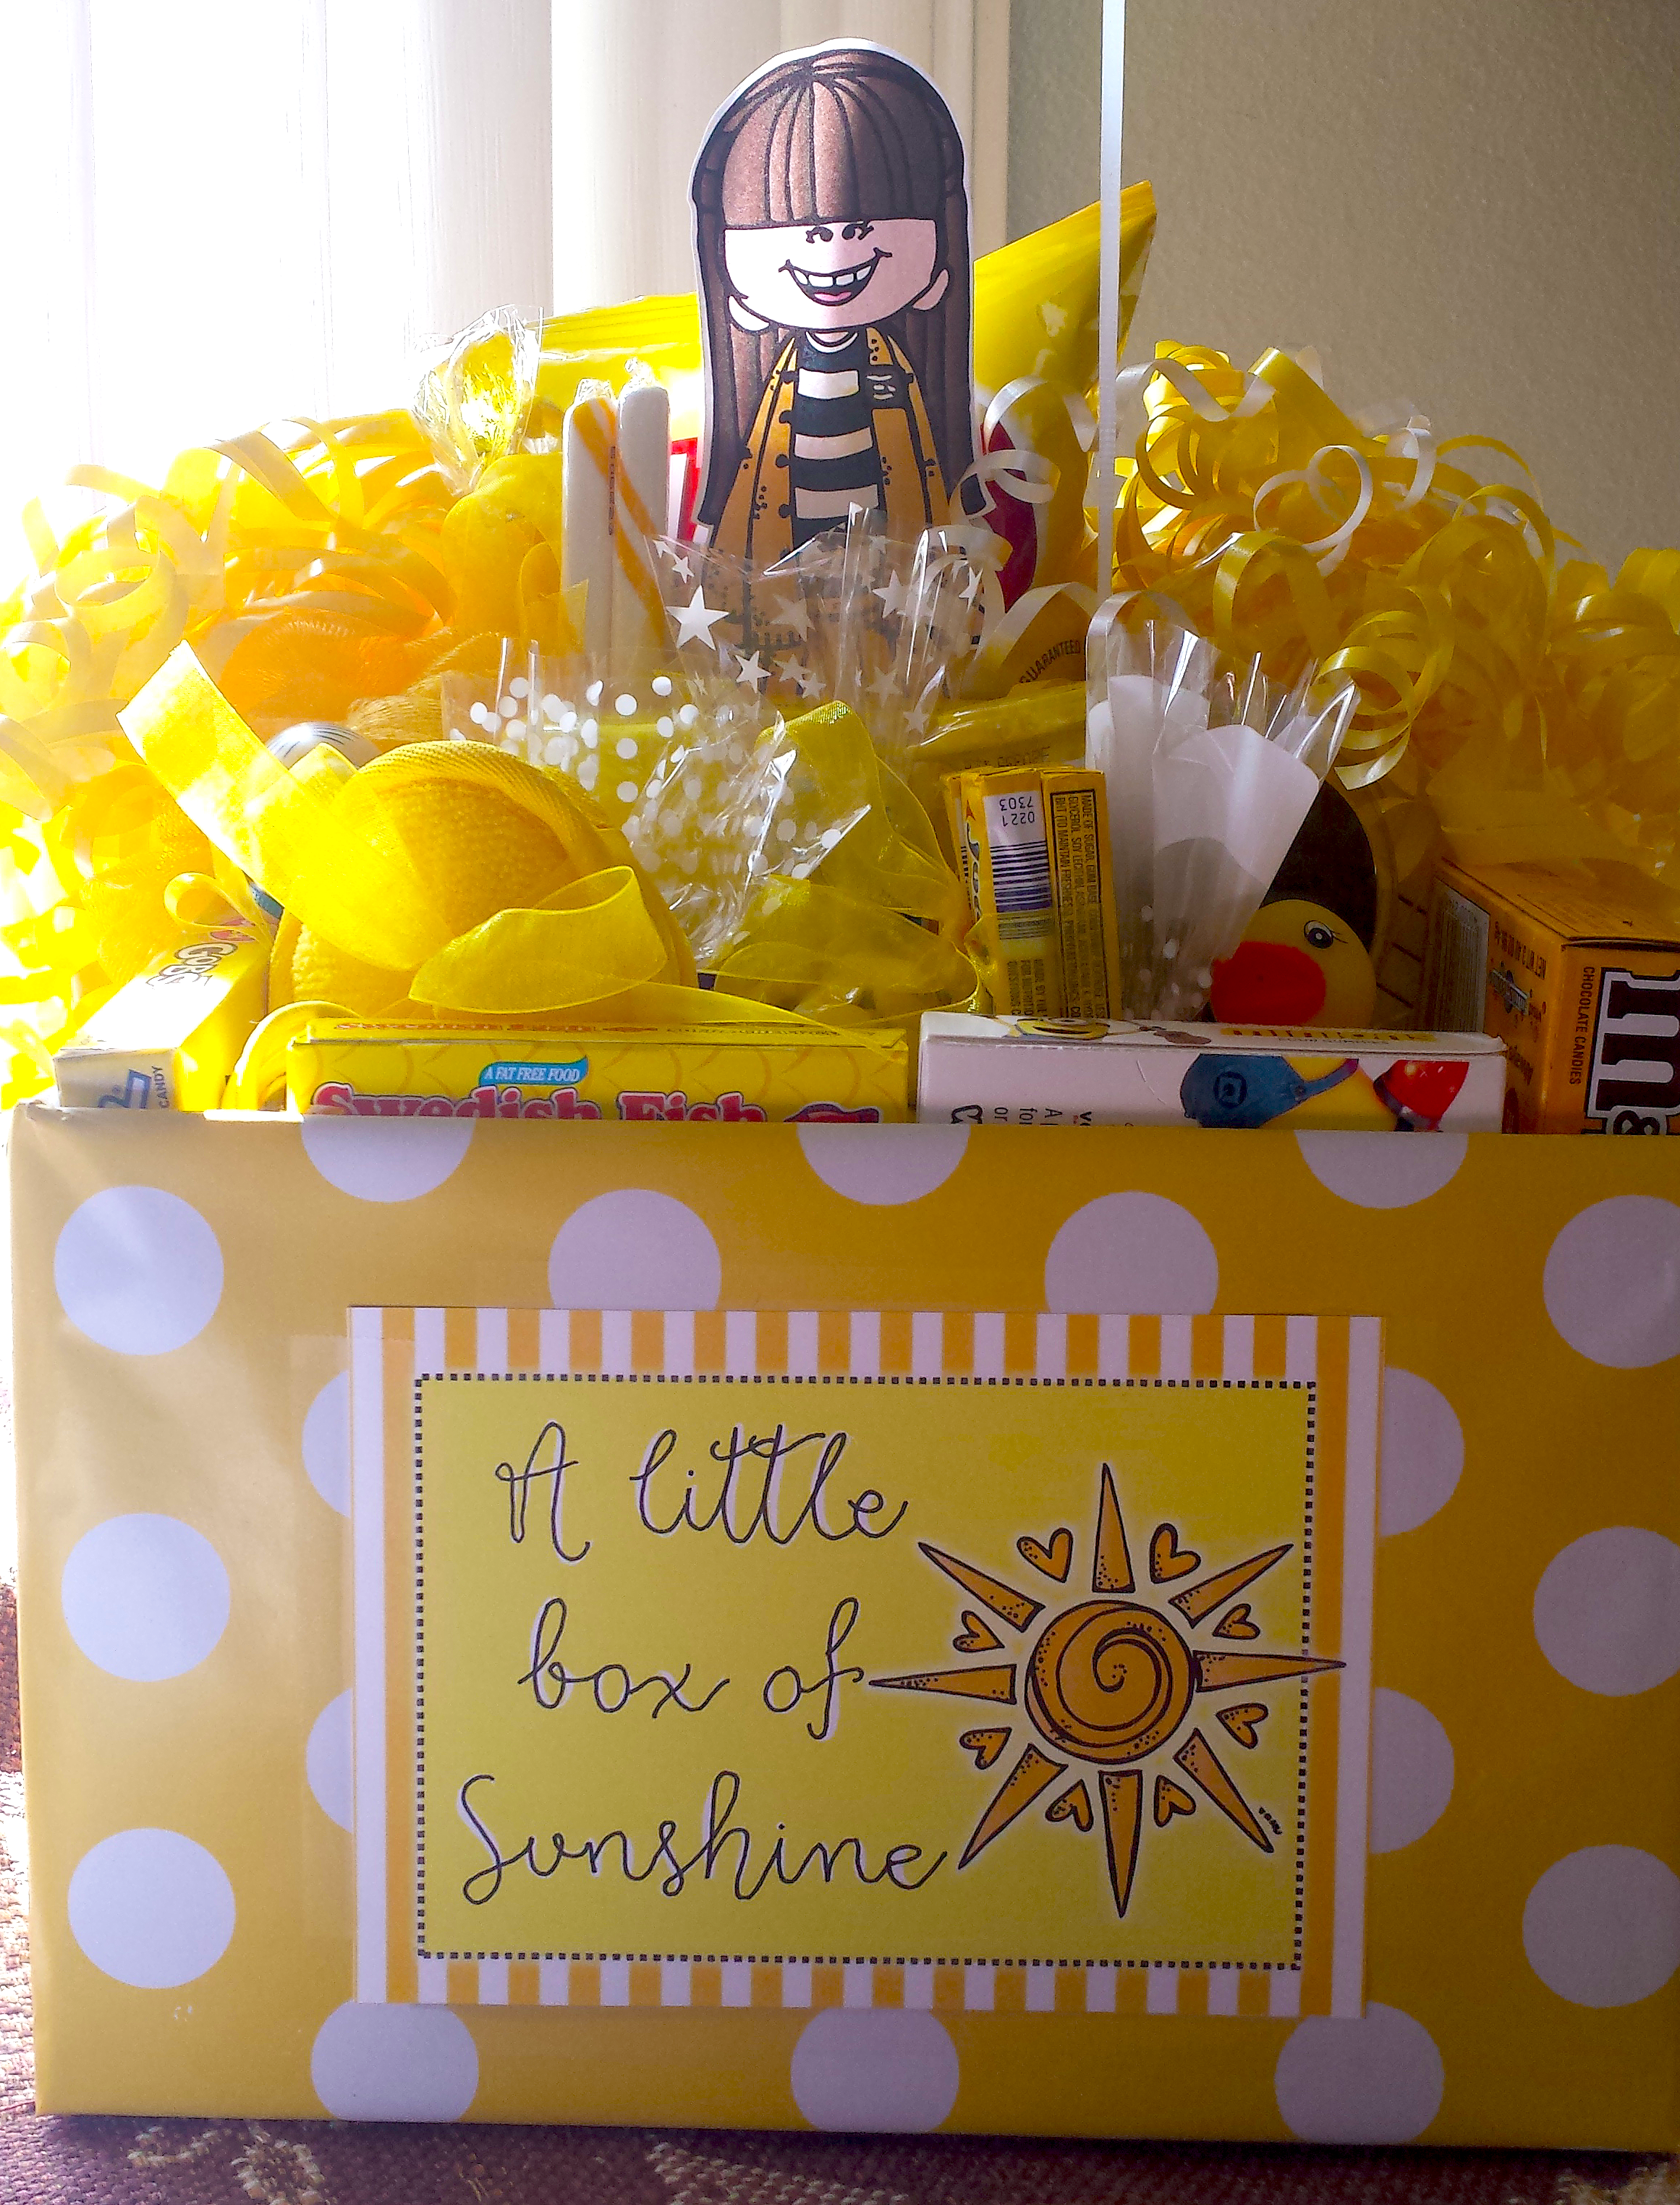
HERE’S WHAT I PUT IN THE BOX:
Peanut m&ms
Lays Potato chips
Minion gummies
Play-dough
socks
sleep mask
candy sticks
Sweedish Fish
Lemonade
Hair ties
hair brush
lotion
key chain
smiley face balloon
punch ball
Lemonheads
rubber duck
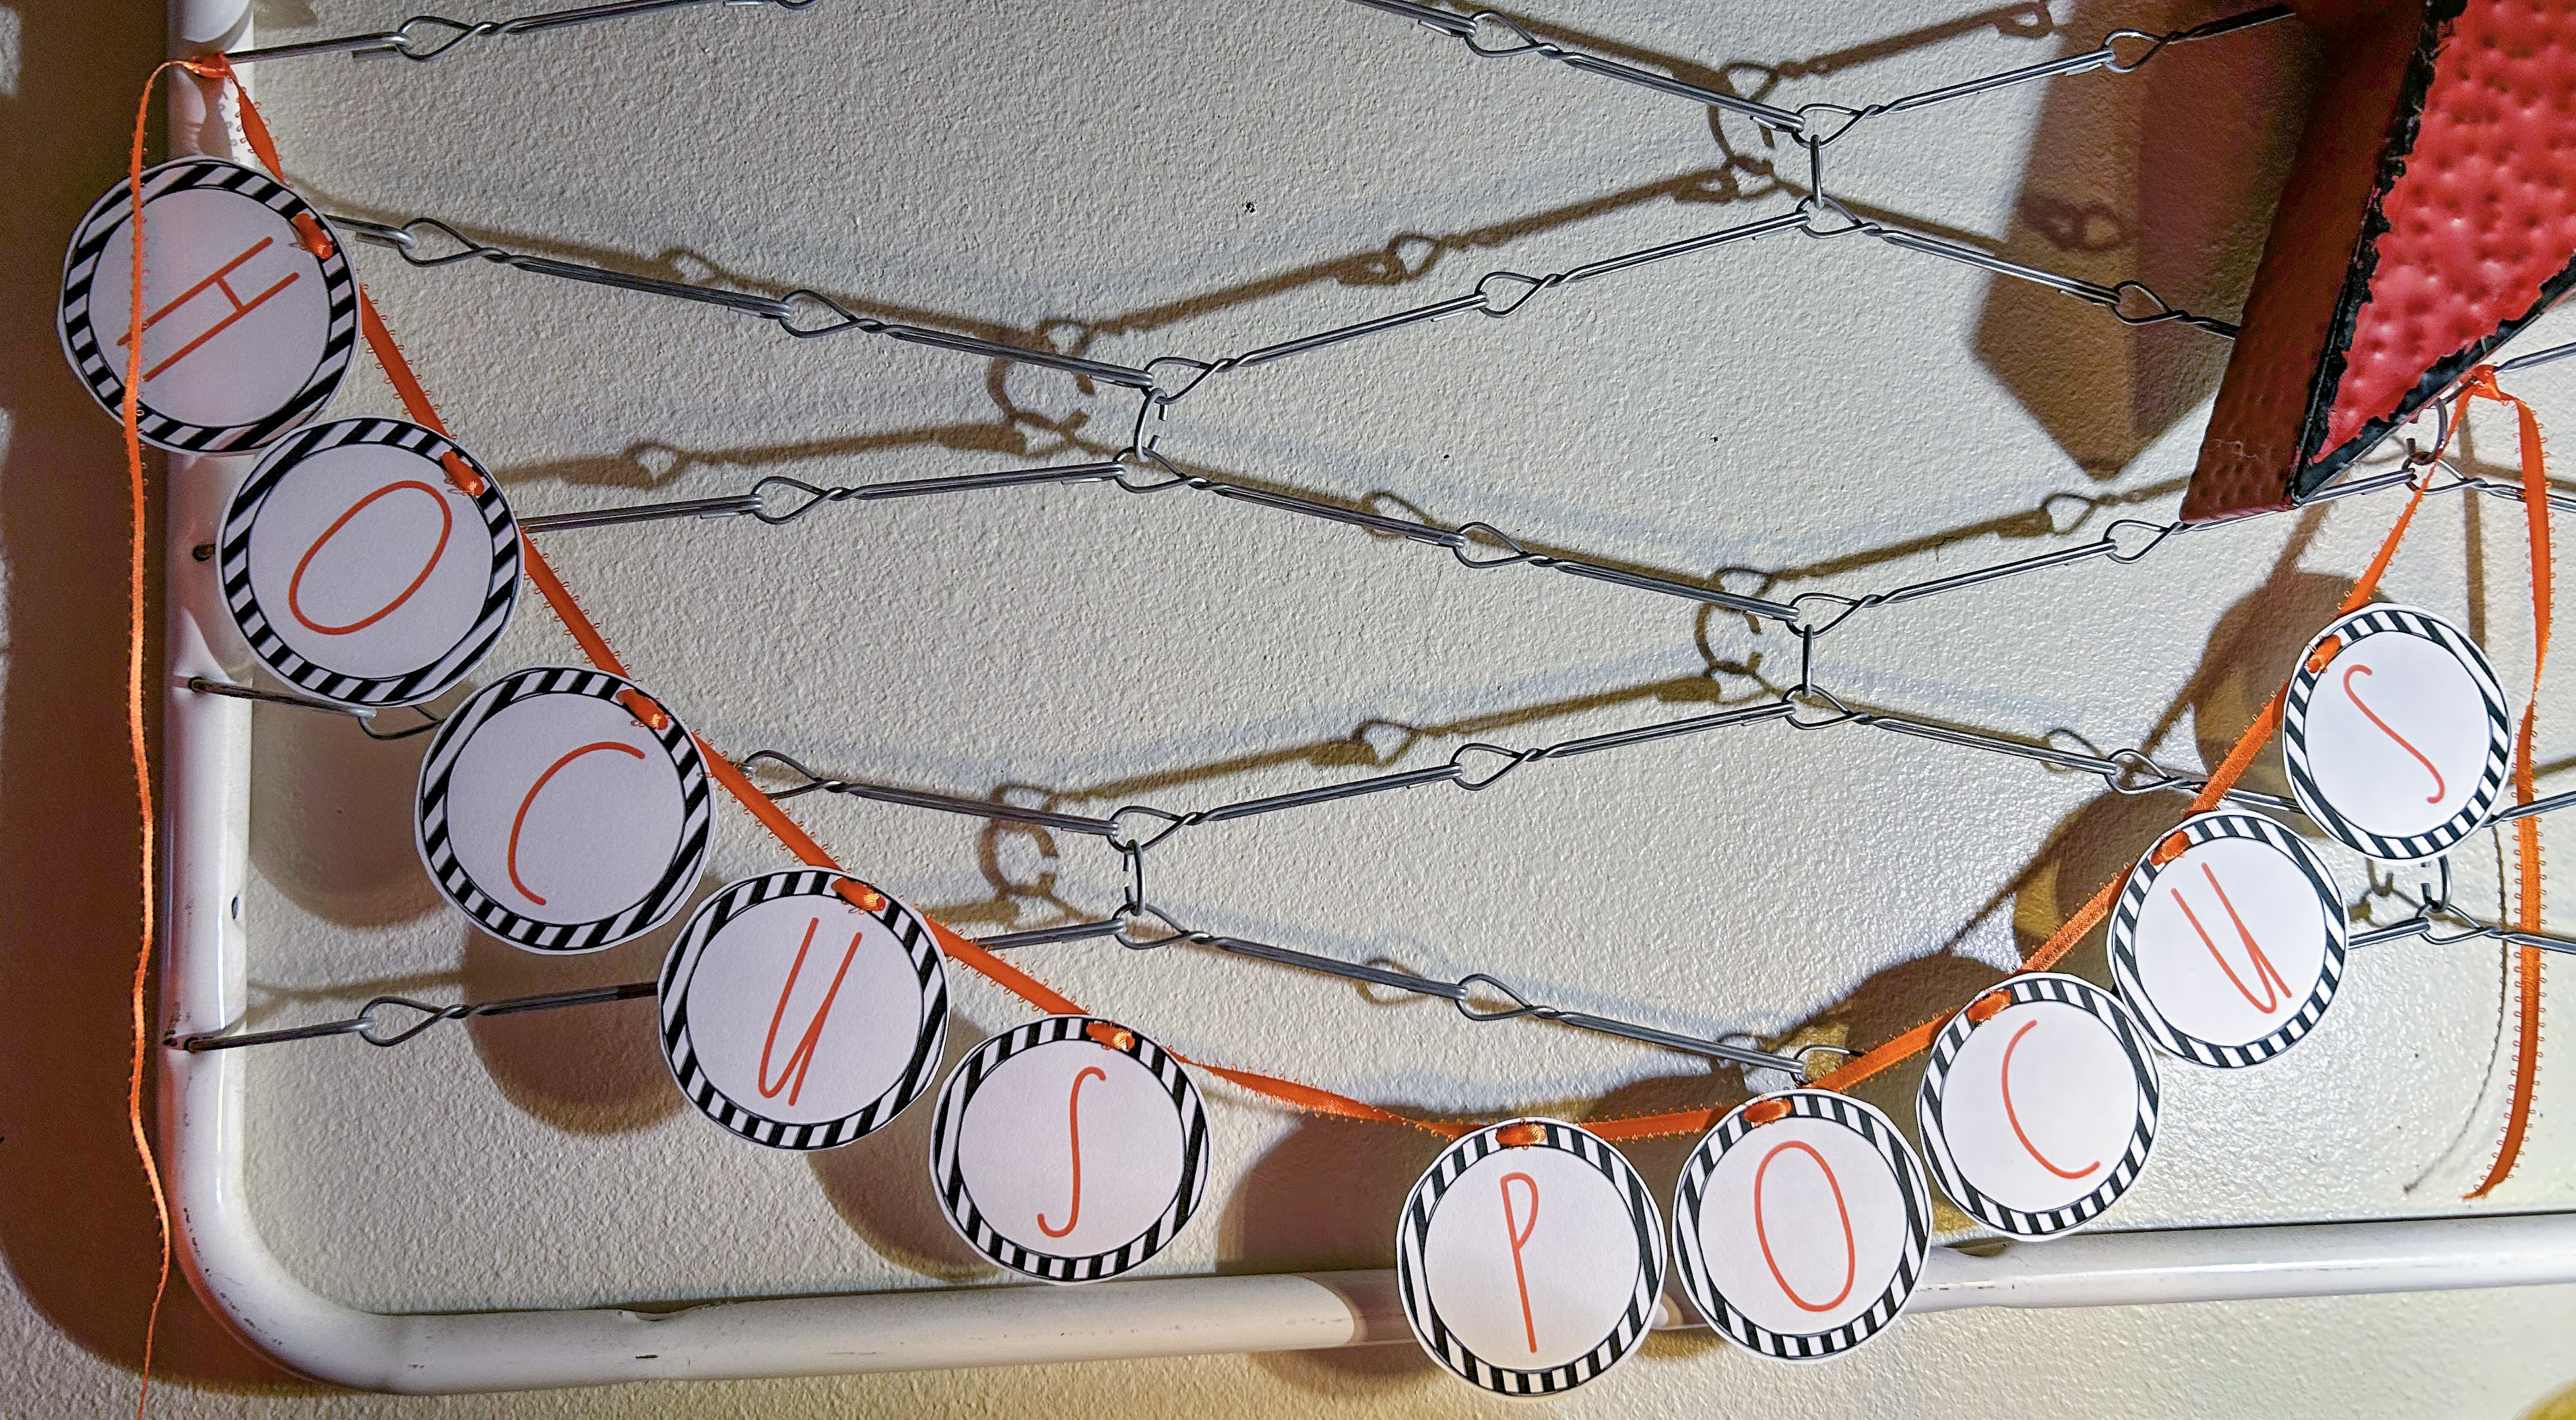
MICRO-BANNERS
I needed something to tie in the theme of our Halloween party this year, and the micro-banners were just the thing!
I used the Halloween Alphabet set. printing off all of the letters I would need in 3 inch circles. Cardstock worked great for this project.
I cut them out, punched holes in the top, and added threaded them on to some orange ribbon.
SNOWMAN BELLY BUTTONS
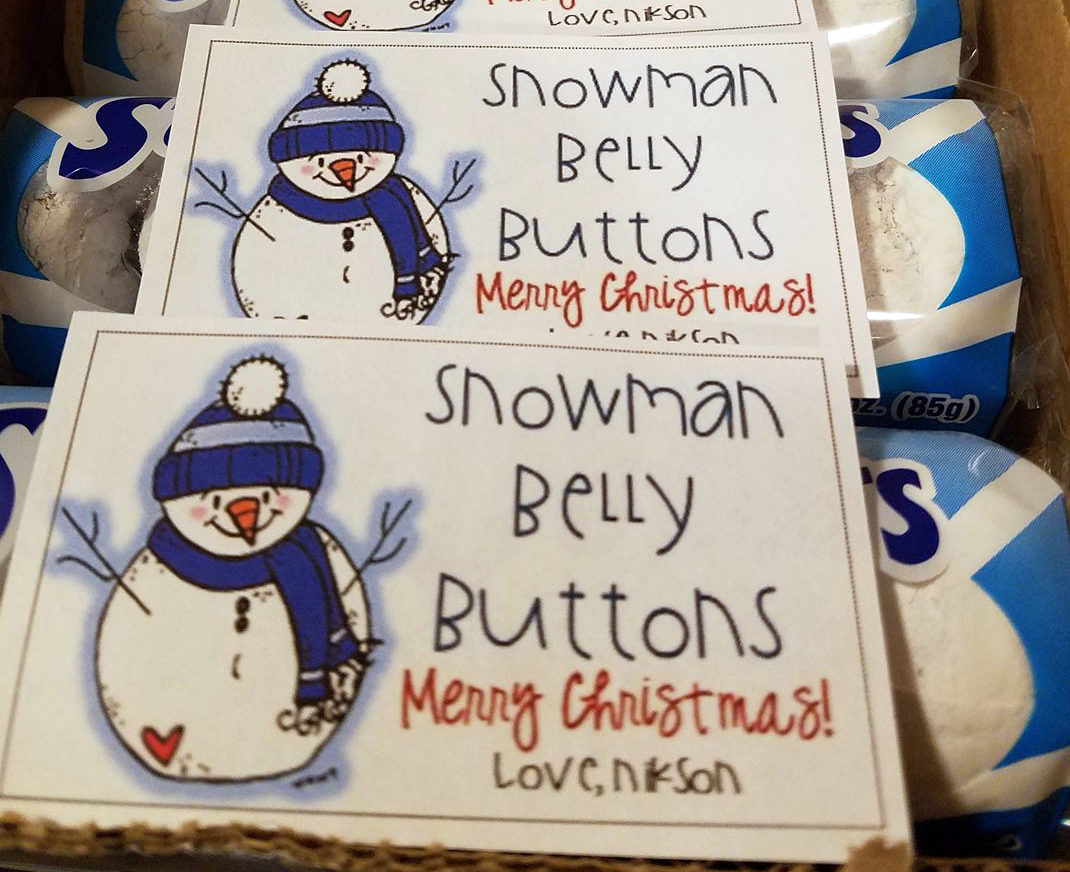
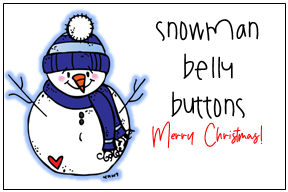
This was a sweet little treat for Nikson to take to preschool. I bought little packages of powdered sugar donuts, and made this sweet little tag to attach to each package.
Belly buttons are SUPER funny when you’re 4 years old!
QUILT BLOCKS
This was one of the projects that the girls in my ward (church) did.
Embroidery was a little too much, so we settled on drawing and decorating some of the squares instead. We used micron permanent pens. The blocks were 6 inches by 6 inches.
They used their favorite scriptures, quotes, and illustrations to personalize each one.
They set the quilt together themselves. It was a LOT of work, but they turned out beautifully. Such a sweet keepsake full of memories.
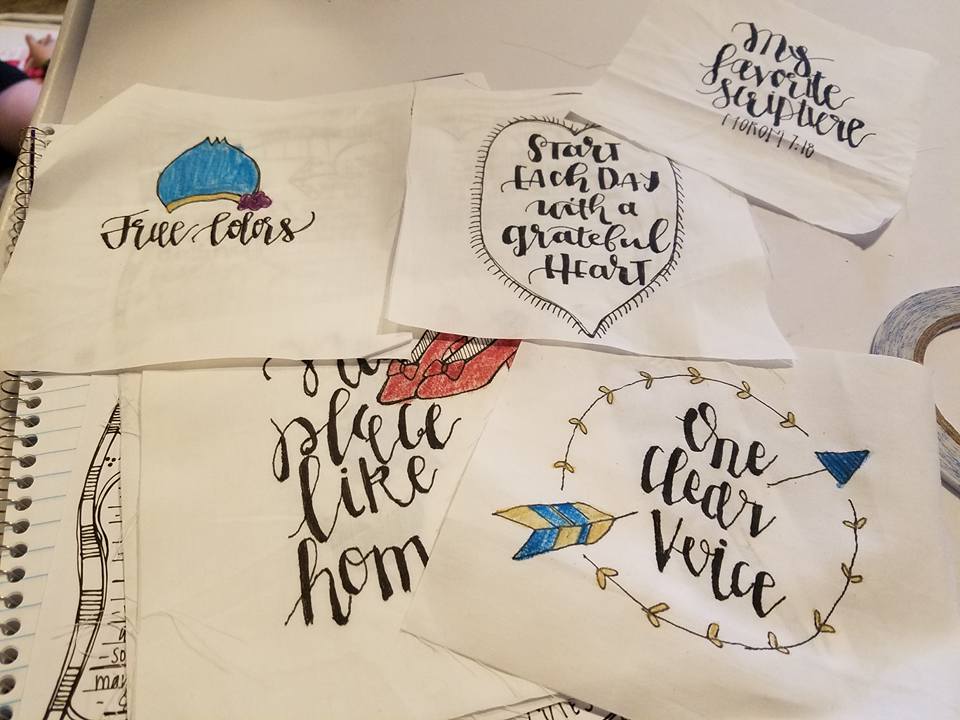
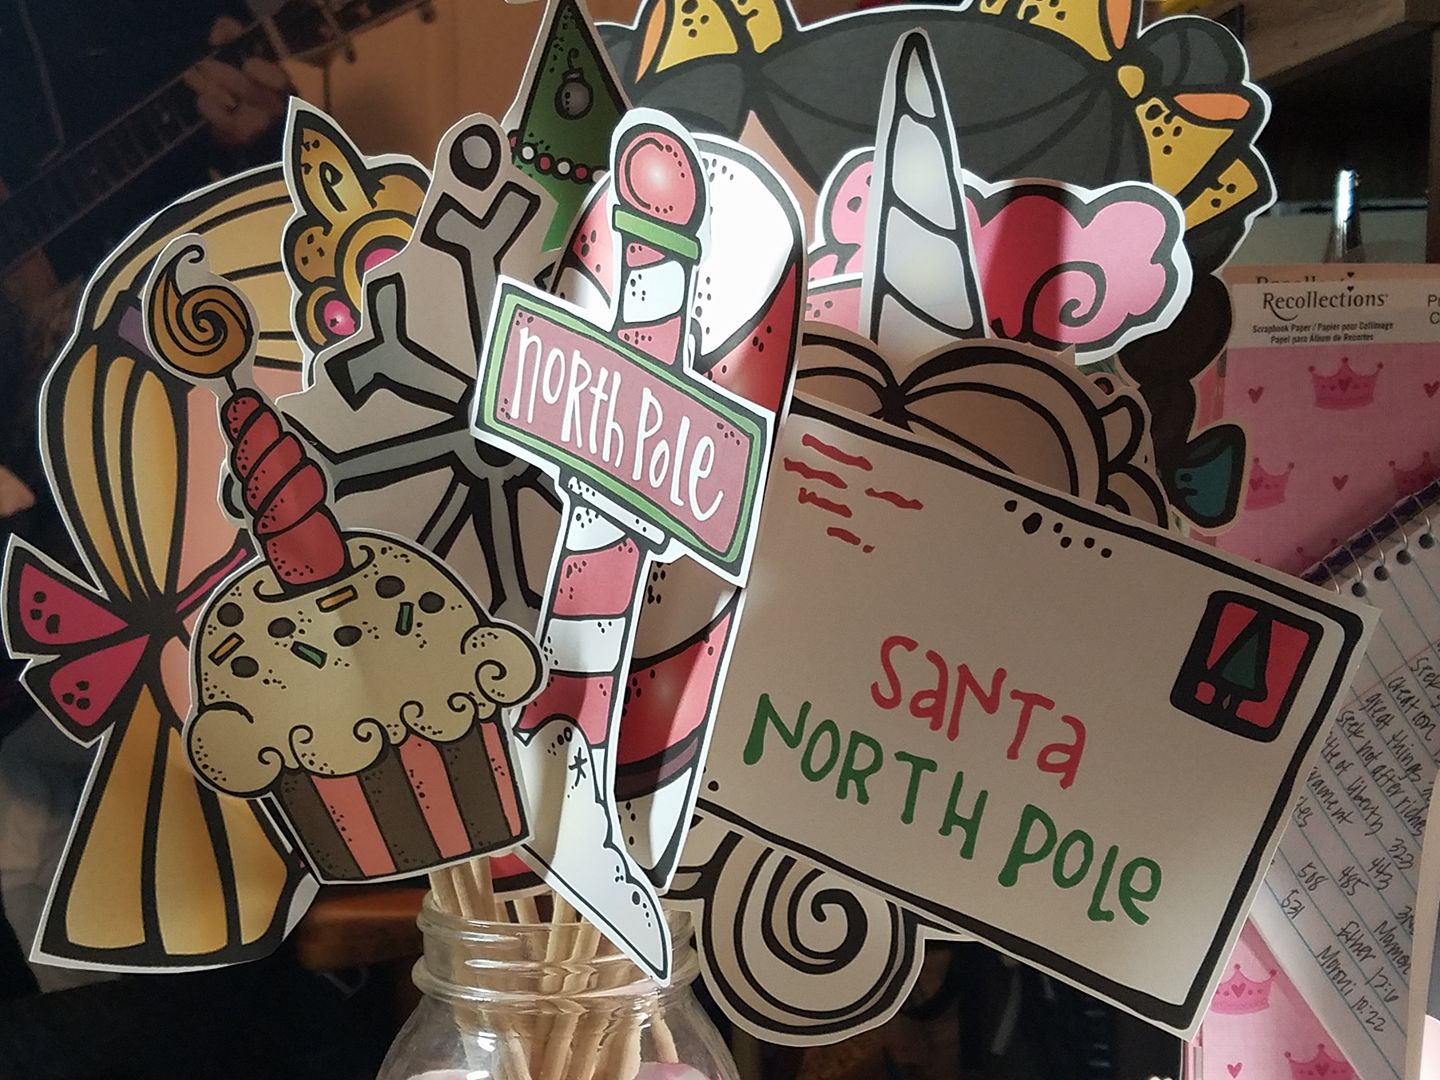
PHOTO BOOTH PROPS
I printed out a bunch of different pieces, and attached them to skewer sticks to use for photo booth props!
They were a great coversation starter at the Christmas boutique gift show I went to.
I used hats and props from the Build-A sets, as well as other illustrations that caught my eye.
HAND PAINTED TS
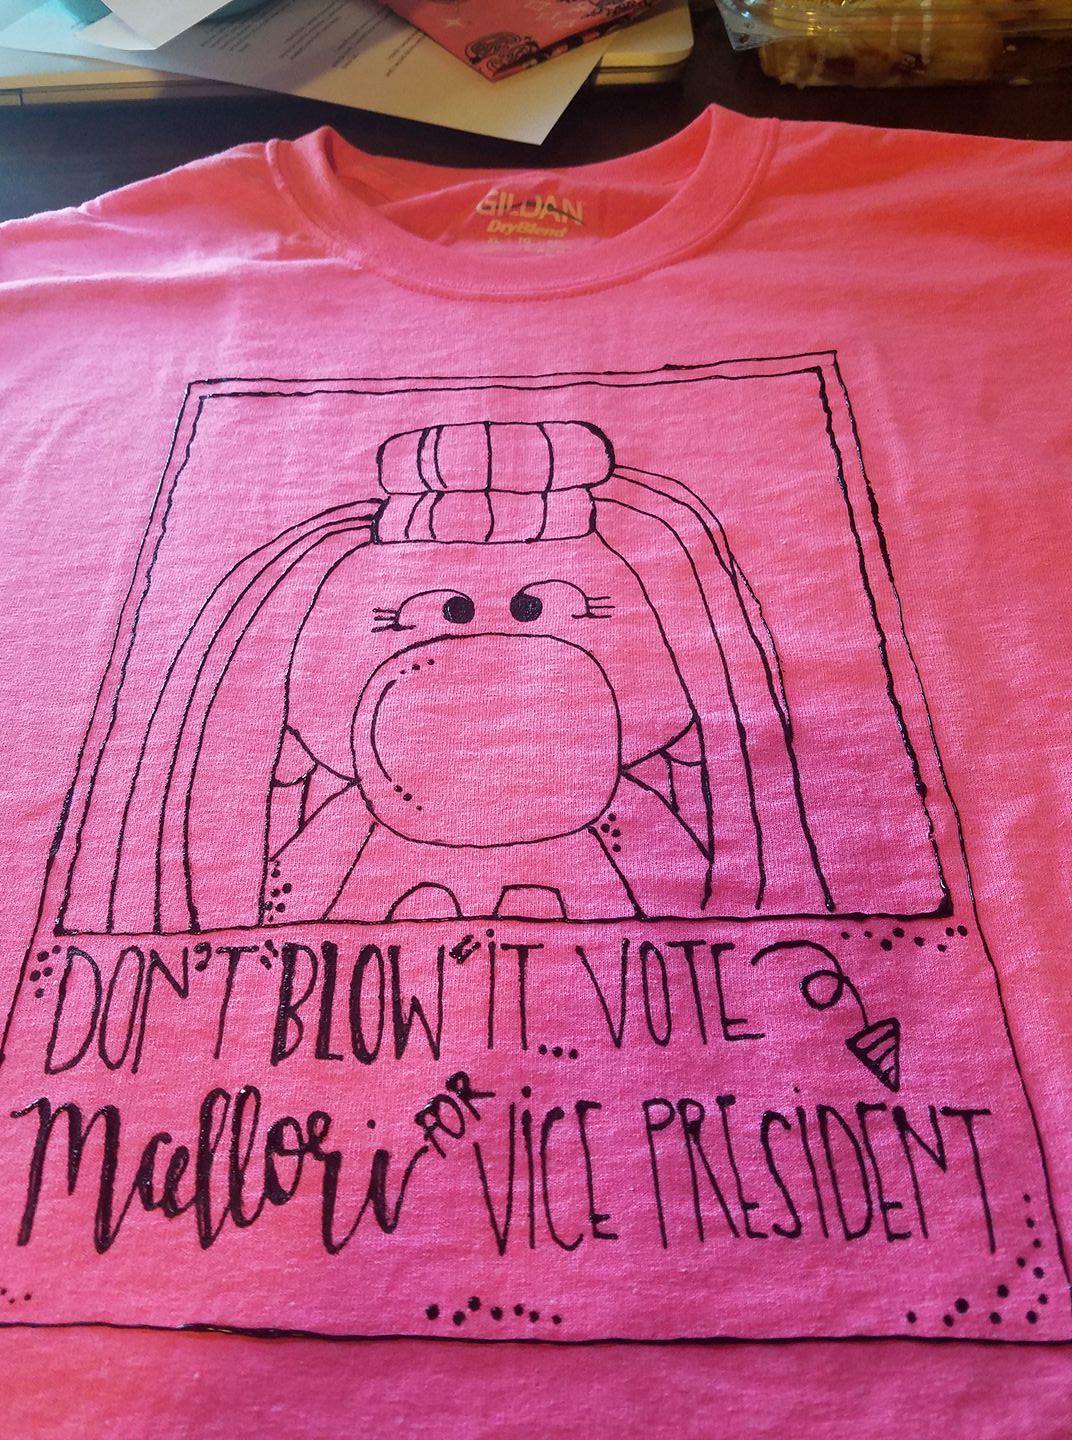
My youngest daughter decided to run for Student Body Vice President a few years ago.
She wanted a tshirt to wear that would match all of the hand outs, and posters that we made for her campaign. A new pink tshirt, and some black tshirt paint in a tube, and she was all set!
HALLOWEEN TREAT BAGS
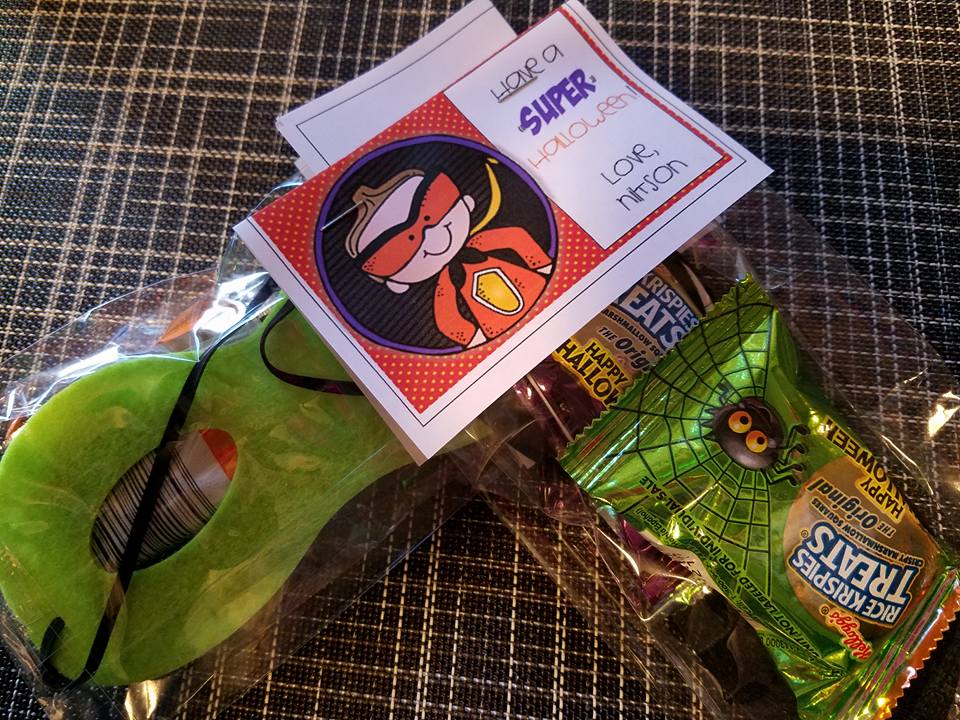
Here is yet another cute treat that we made for preschool. Nikson gave his classmates a few treats and a superhero mask.
To make a topper for your treatbags, I usually make them about 6 inches tall and 3 inches wide. Print on card stock, making sure the illustrations and words are on the lower half. Cut, fold, and staple them to the top of your filled treat bags.
LUCY DORIS QUILT
How cute is this?
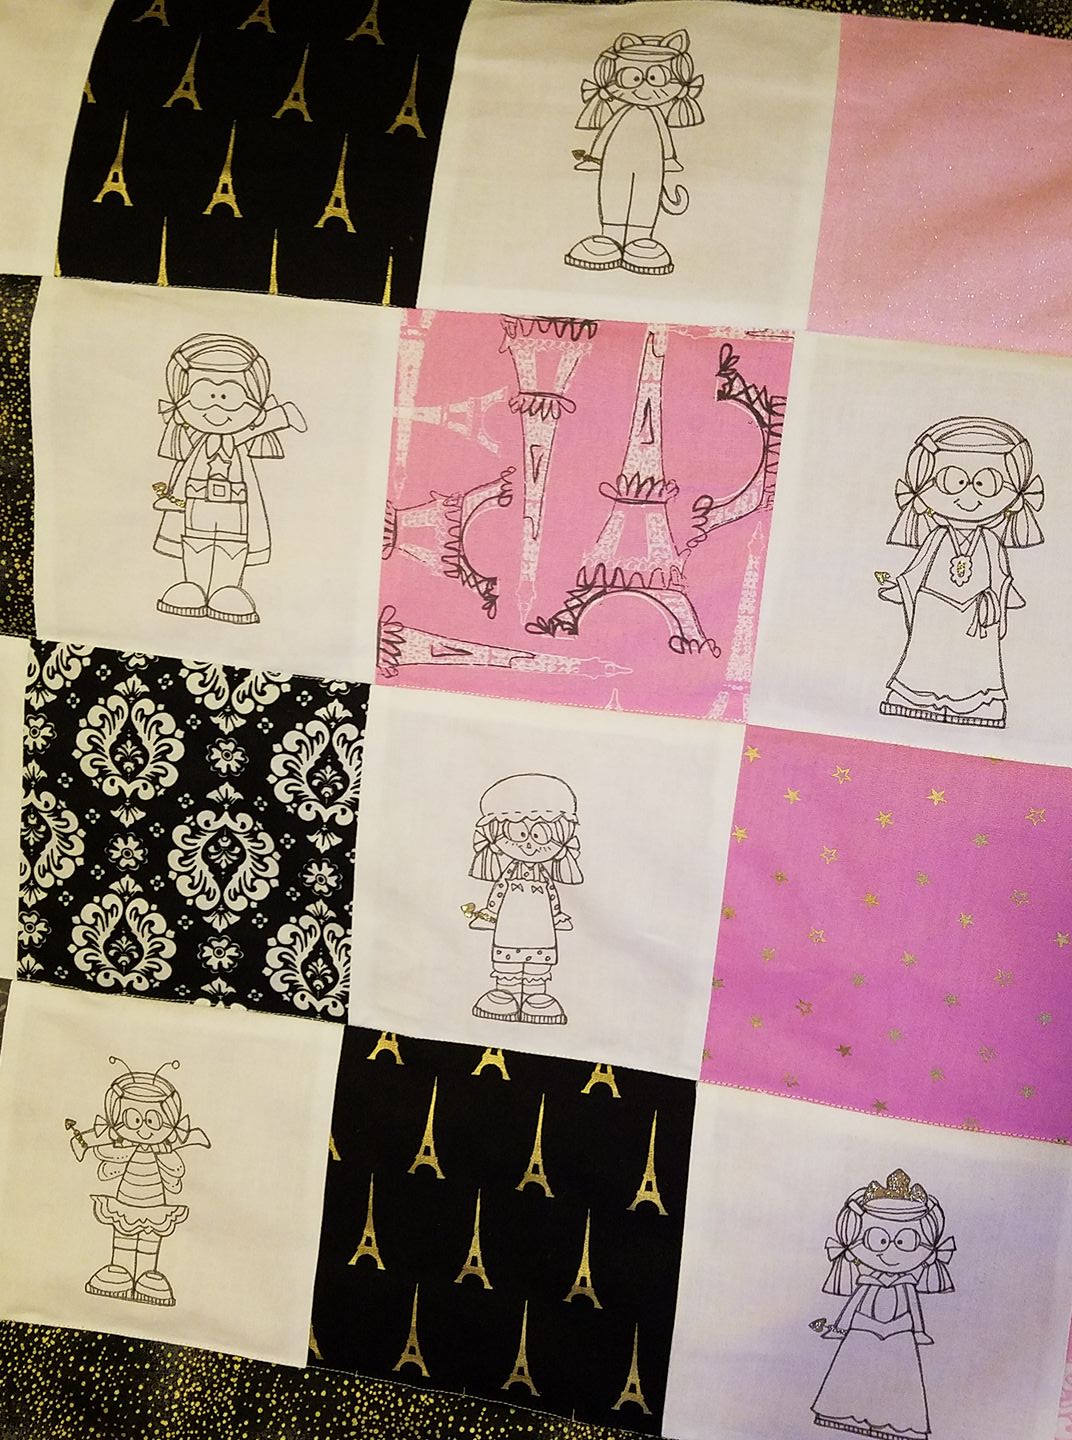
I cut my fabric squares 6 inches by 6 inches.
If you don’t have a light box, you can take your printed image to a window, and then tape the fabric over the top ensuring that it doesn’t move. The light will shine through the fabric, allowing you to trace the design.
Be sure to use a permanent pen, and always test the pen on a little scrap of fabric to check for ink bleed. You can also color the images with regular crayon, just be sure to set the crayon with a clothes iron.
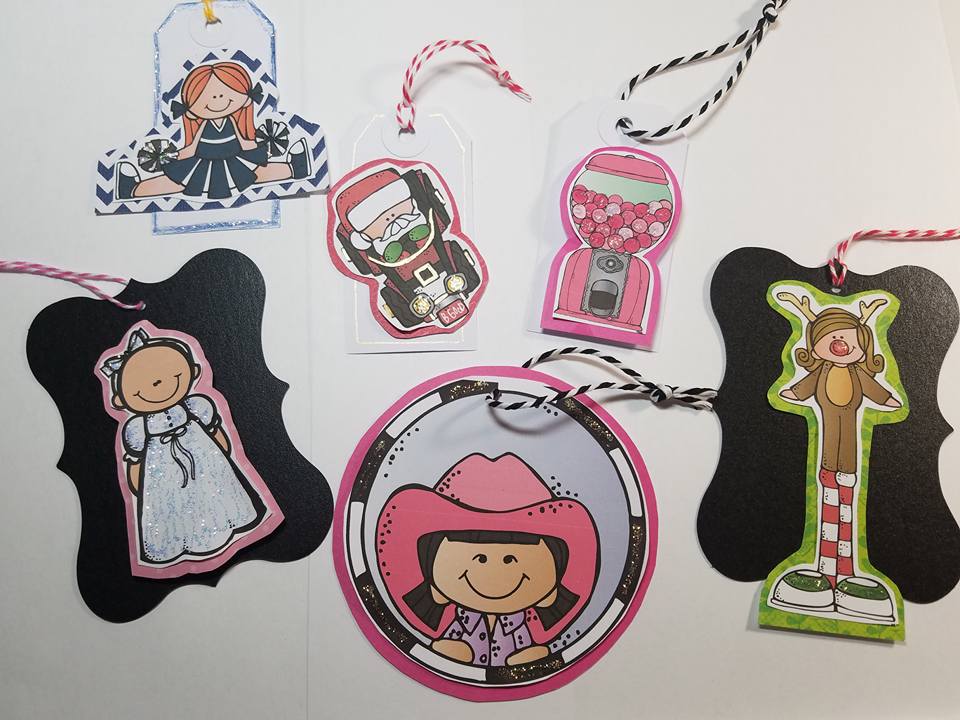
GIFT TAGS
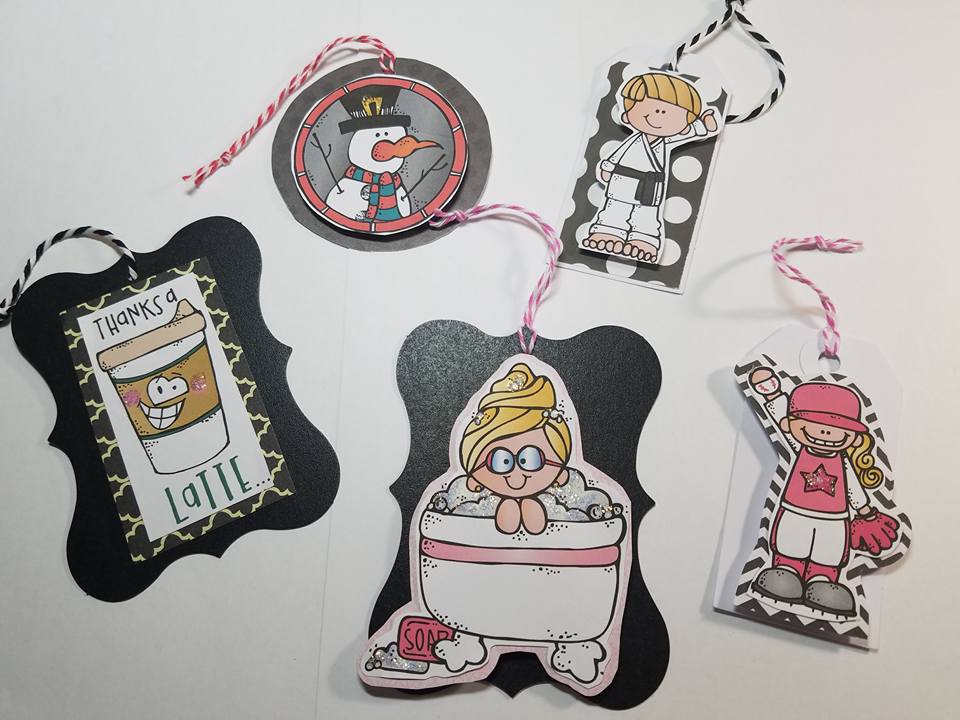
A little left over scrapbook paper, and some butchers twine…. and I had a bunch of SUPER cute gift tags! On my bucket list is a bag full of them in my wrapping paper bin, for multiple occassions. #GOALS
HOT WHEEL CITY
When my brothers were little, my parents made one of these for them to play with their hot wheels on. We played with that thing for YEARS! When Nikson got old enough, the girls and I made one for him. We added alot of his favorite places around our town, so it felt just like home to him.
We also made a small travel sized one for his mini trains. It came in really handy when we went somewhere that he needed to sit and be quiet.
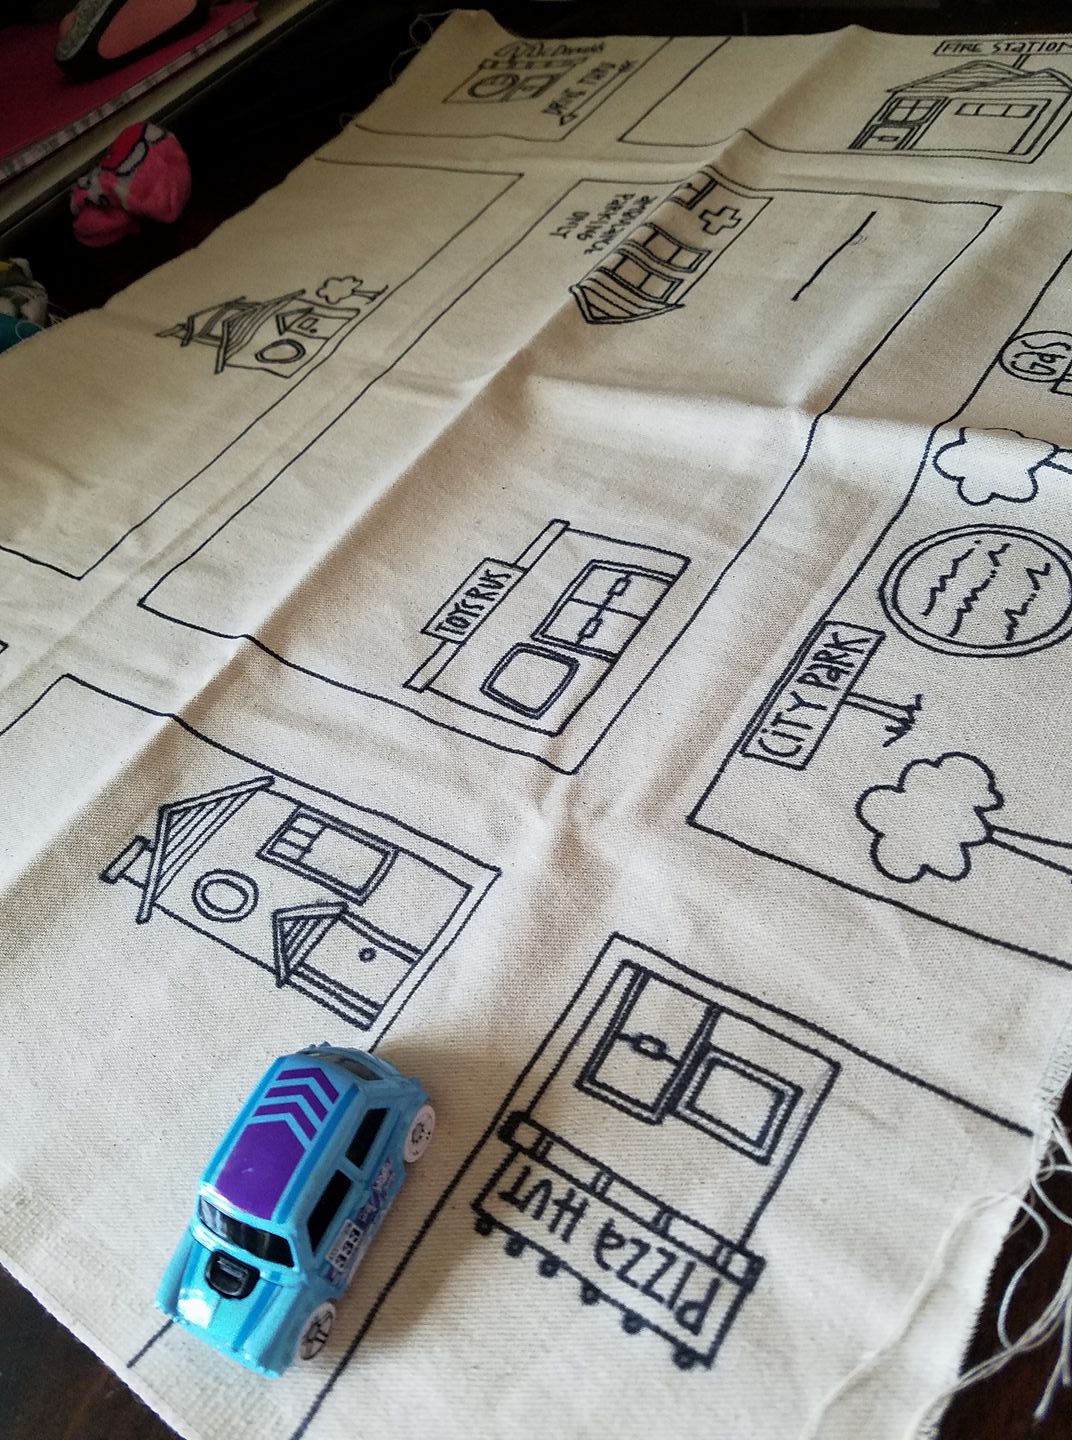
HERE’S WHAT WE DID:
We used a piece of light weight canvas.
I used a yard sick to lay out the roads and city blocks.
We used Sharpie markers and crayons to draw and color the city.
If you use regular crayons, be sure to iron it from the back side to set the crayon.
The “My Town” sets would be great for inspiration on your project!
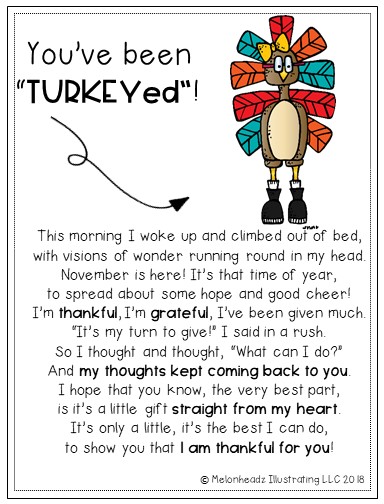
THANKSGIVING TURKEY’D RAK
(Random Act of Kindness)
I’m always on the look out for some kind of sweet little treat or item that I can give out to friends and family around the holidays,
Mike smoked some snack mix, and we added this little printable to the bag. Suer cute, and a lovely little message.
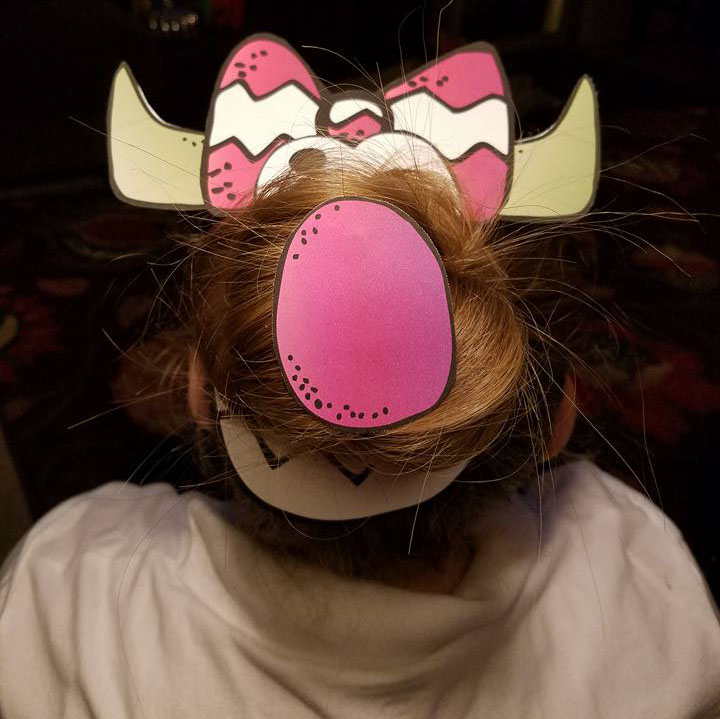
CRAZY HAIR DAY
Carzy hair day at school is always a day to plan for. This particular year, I did not plan at all, lol. The “Build a Monster” set saved my backside from an angry daughter. I attached each piece to a hair pin.
Voila!
Monstorously good if I say so myself!
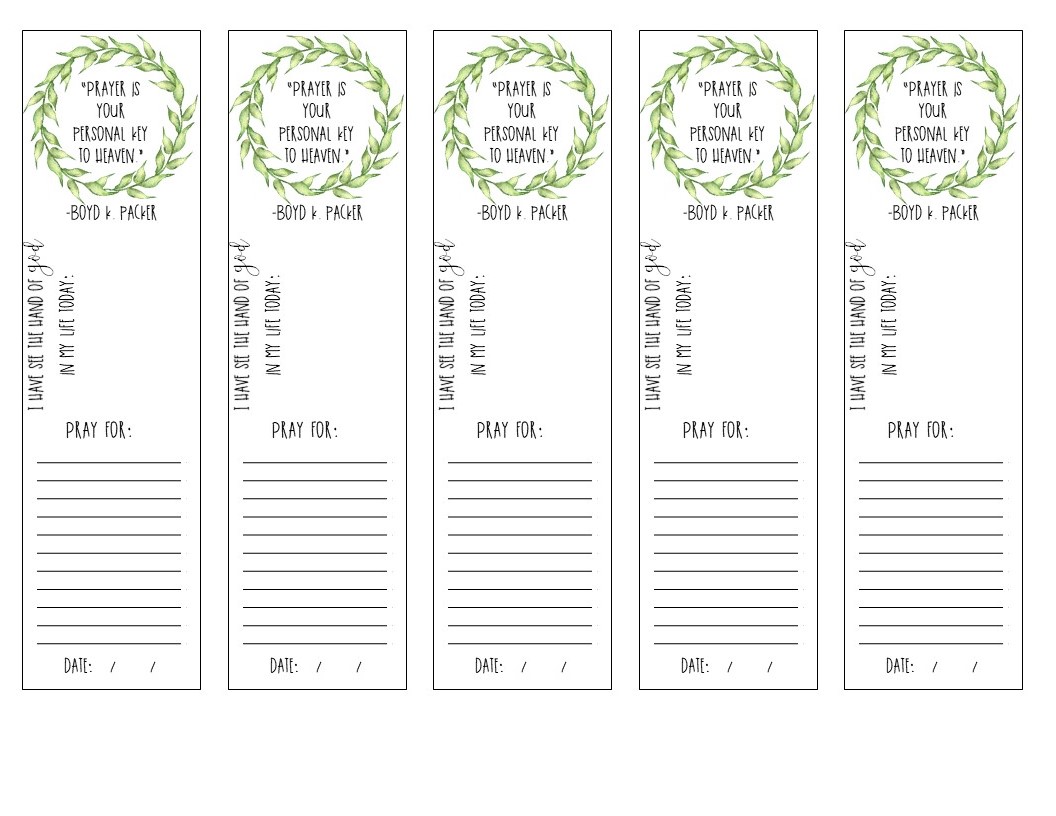
PRAYER BOOKMARKS
I made these darling bookmarks as a handout when I taught a class on prayer.
There is a space for the good things you’ve seen in your life that day, as well as a place to write the name of those on your prayer list.
(This is NOT my clip art)
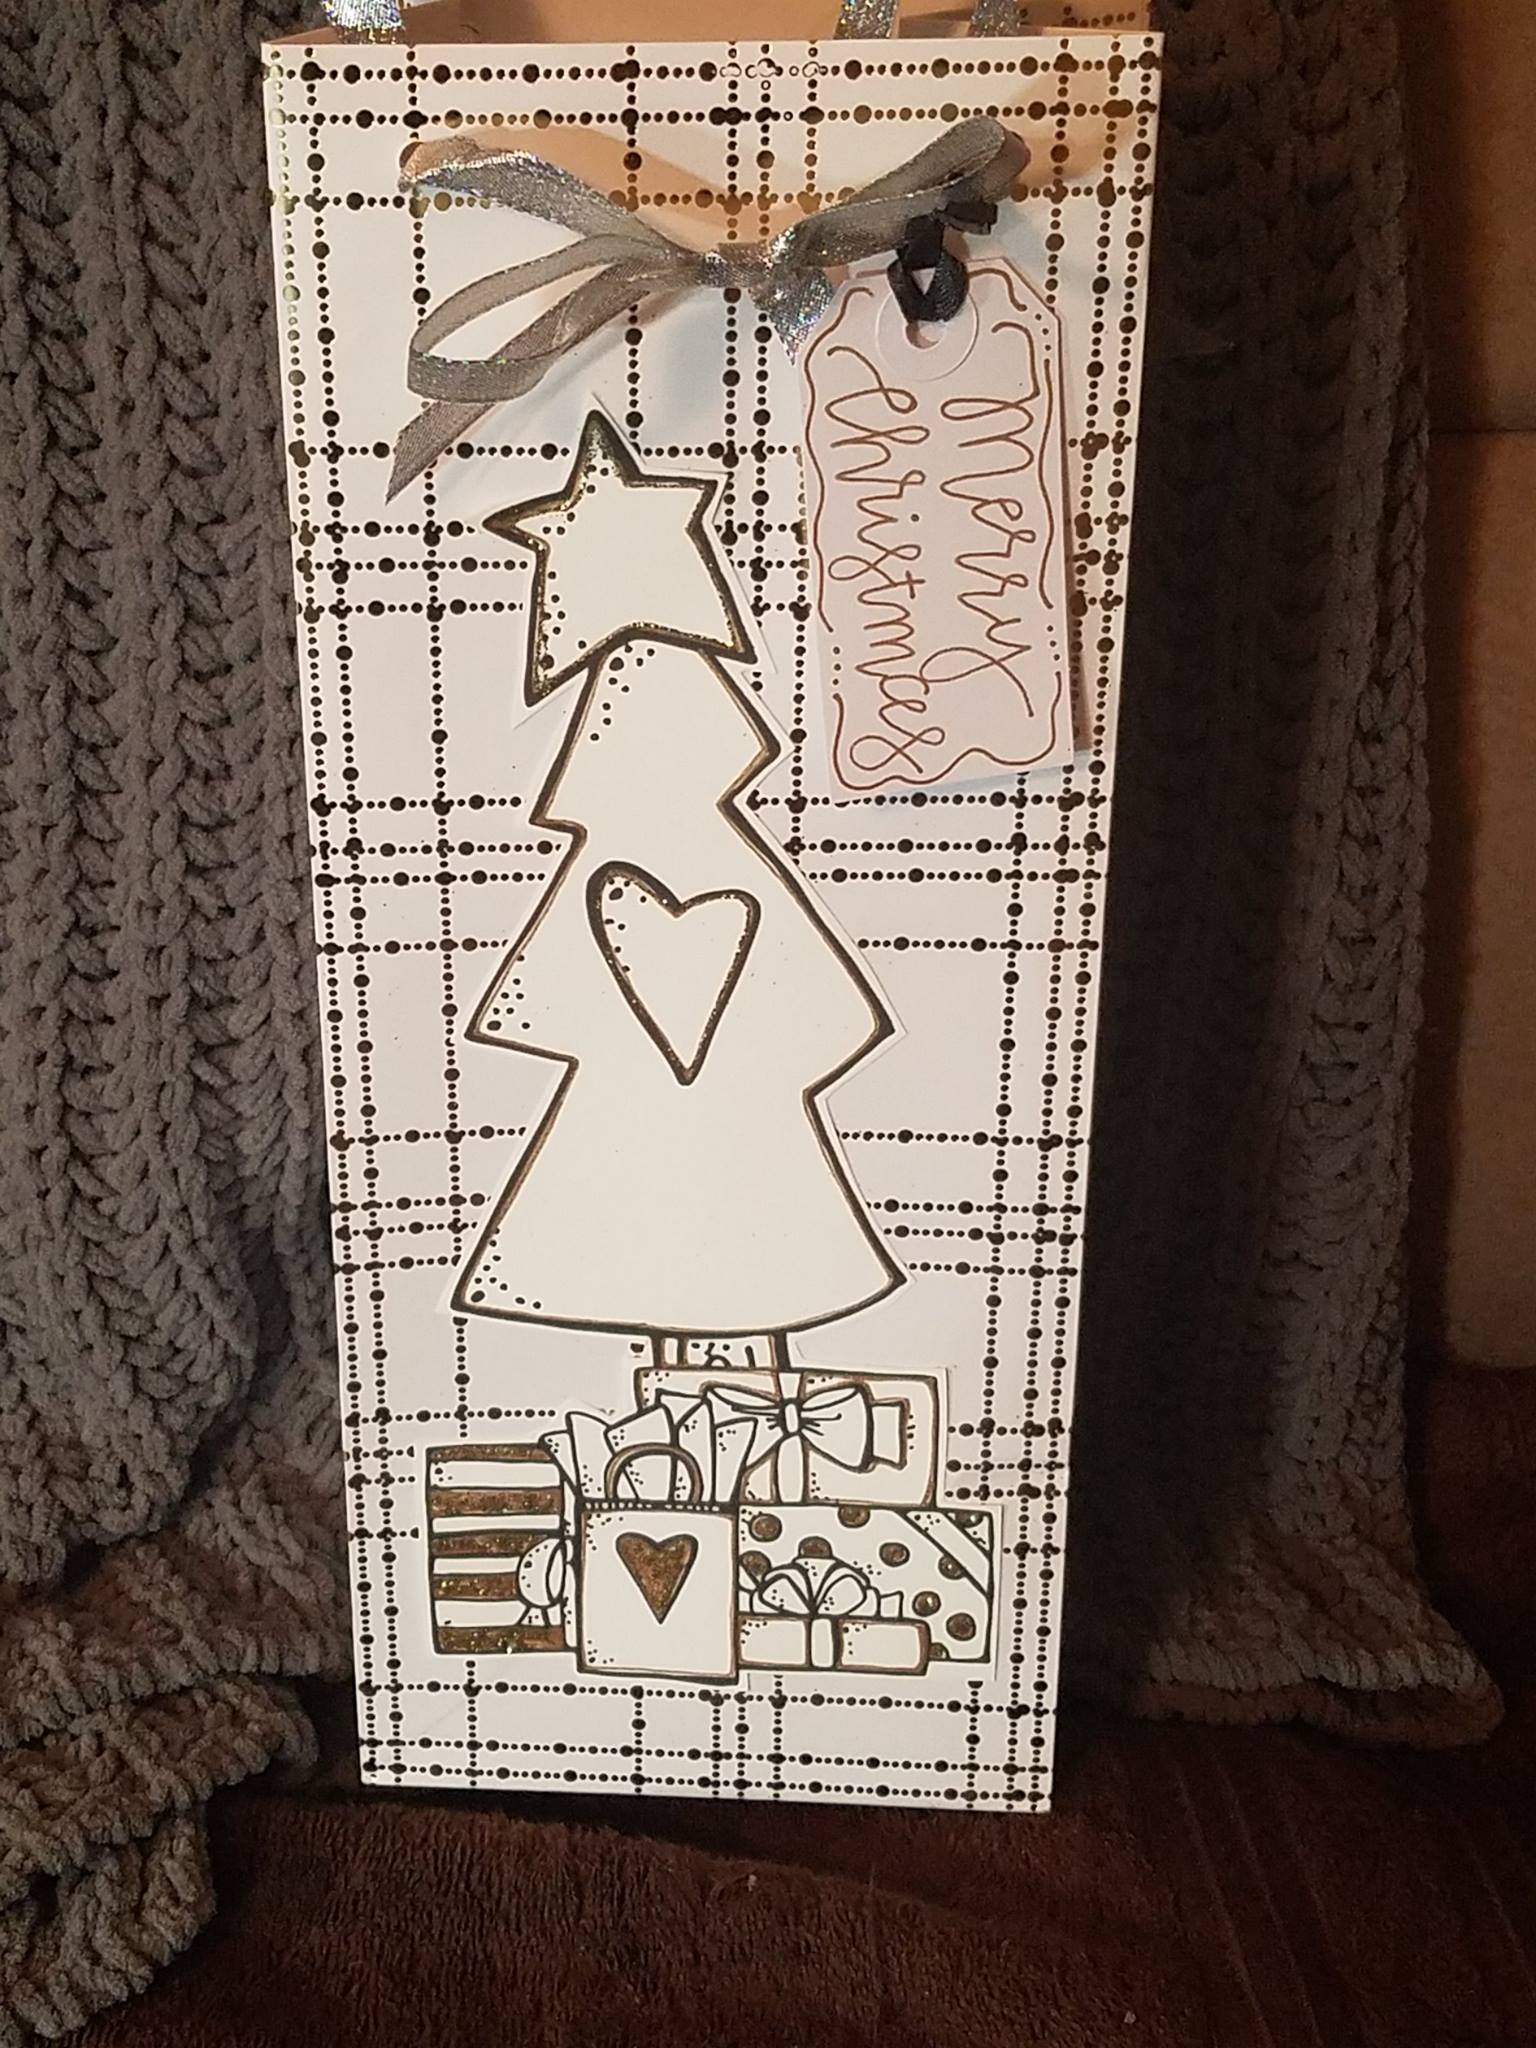
EMBELLISHED GIFT BAGS
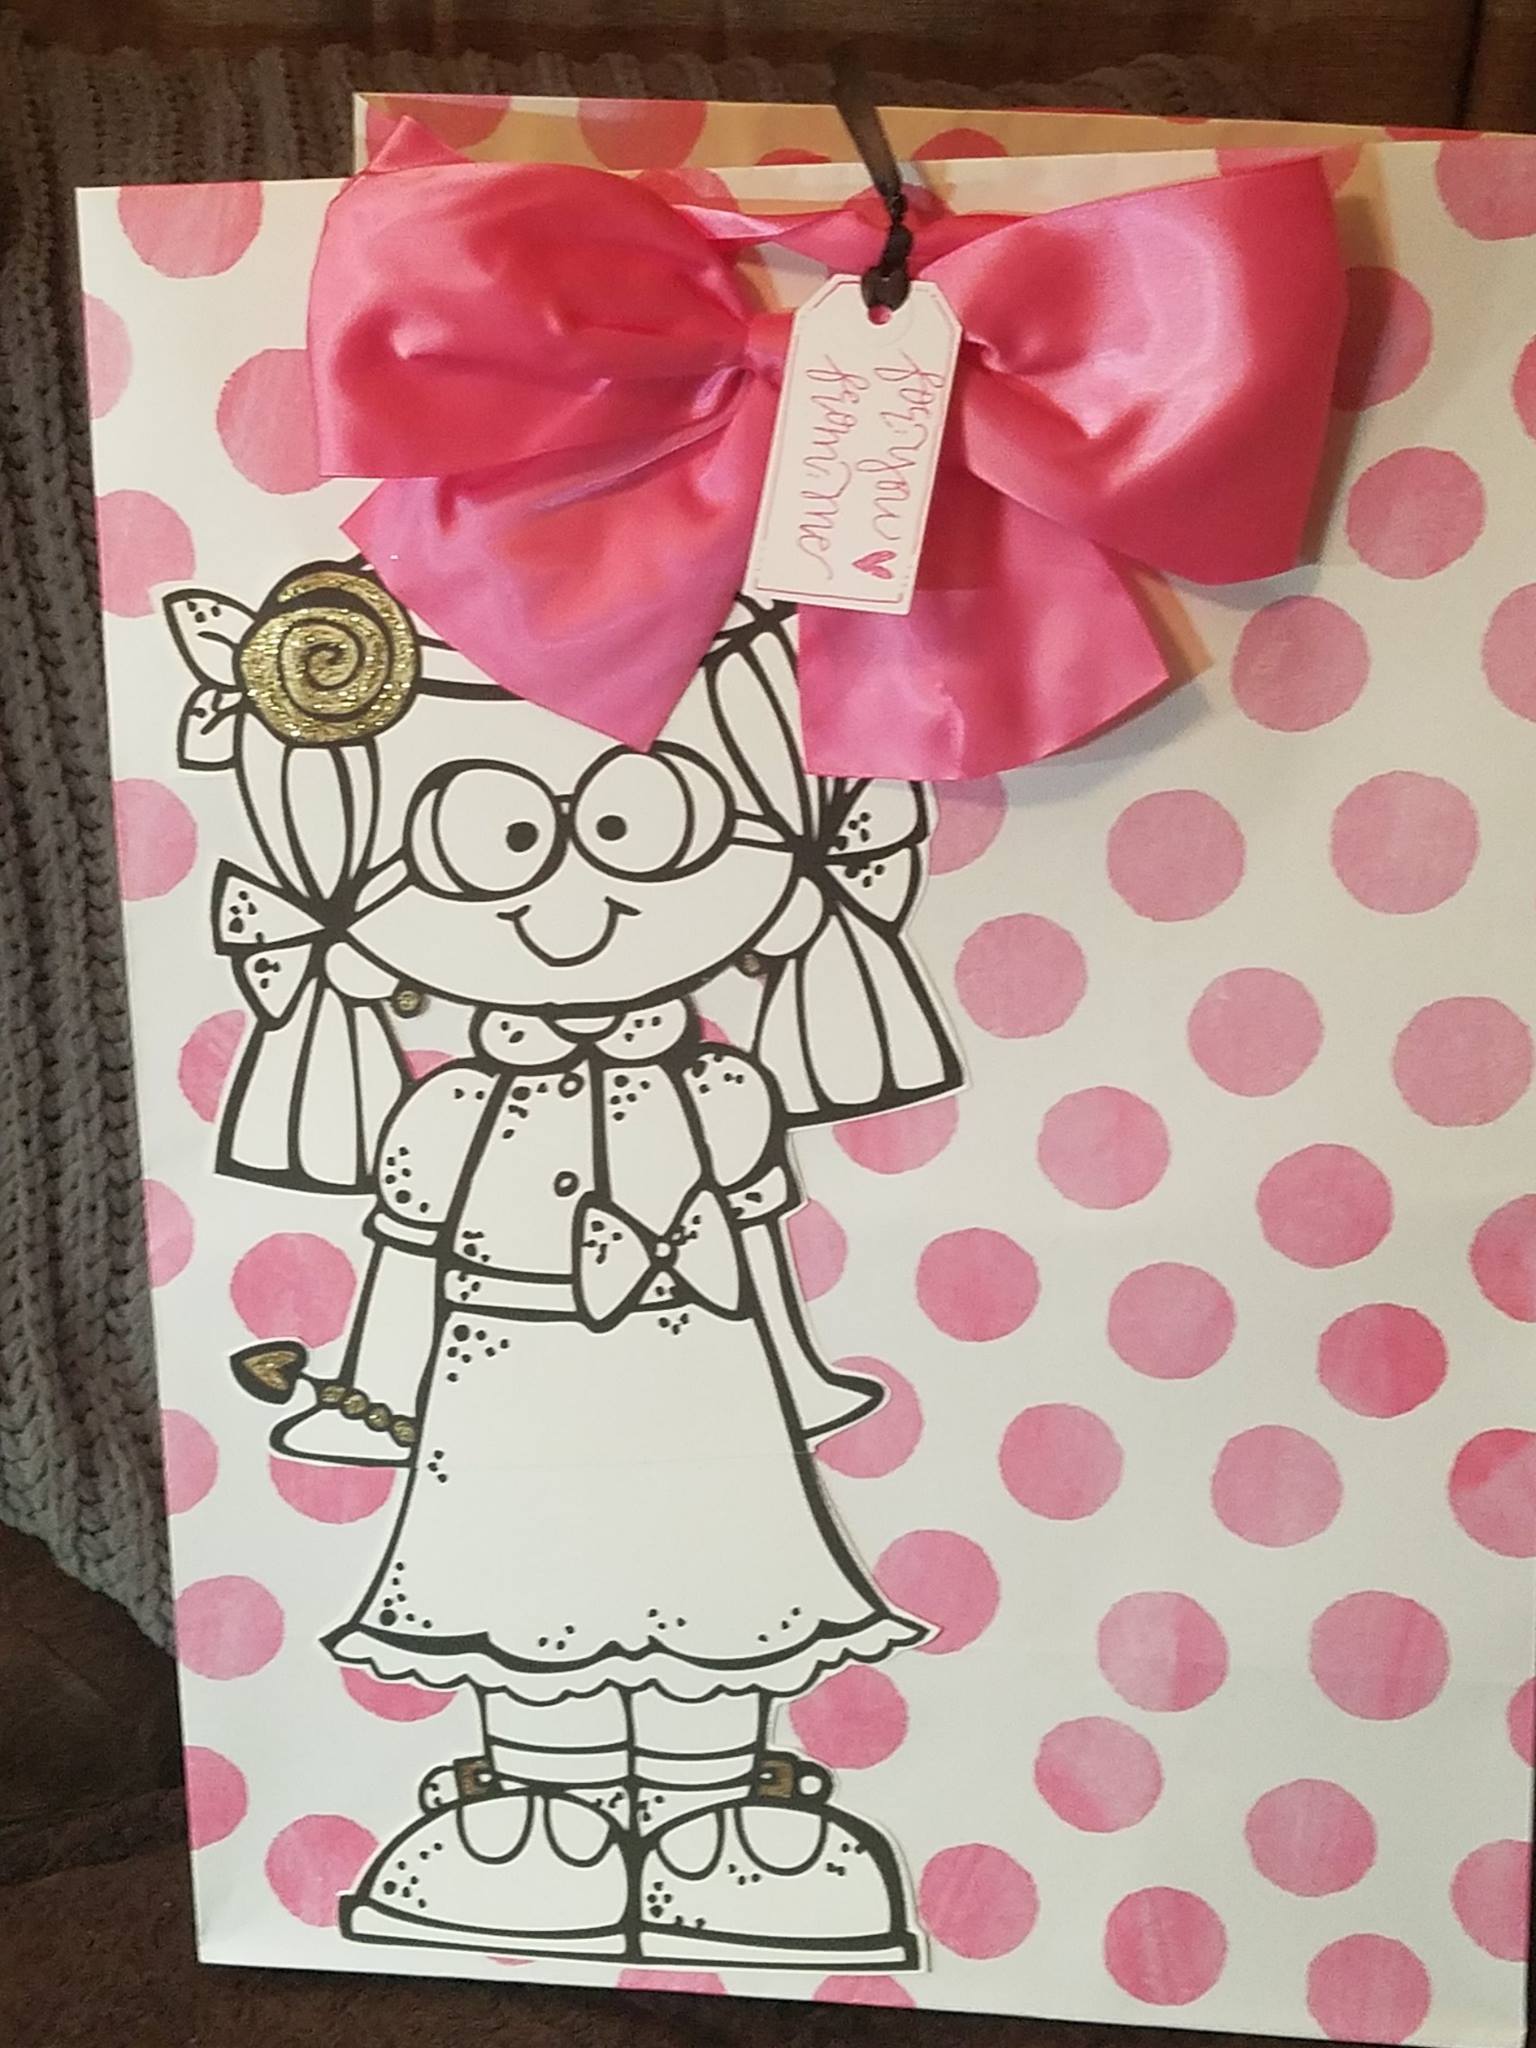
What better way to fancy up and repurpose a gift bag, than to add a cute illustration and a pretty bow?
I kinda dig the black and white image on the bags, but a colored one would be equally as cute!
Break out that glue gun!
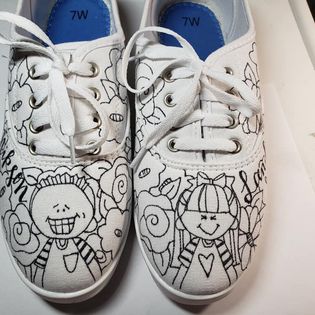
SNEAKY KICKS
A couple of sharpie markers and some plain white sneakers, and and you have a designer pair of new kicks!
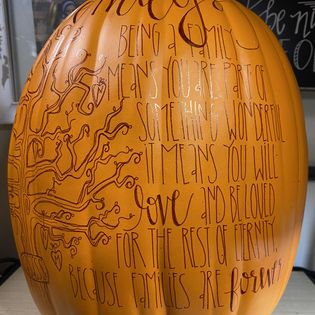
DECORATIVE THANKSGIVING PUMPKIN
I bought a HUGE foam pumpkin just after Halloween last year ( thank you Clearance aisle), and spiffed it all up for Thanksgiving with a finepoint brown Sharpie.
It has a cute poem, our last name, and a family tree of sorts on it. I’m pretty happy with the way it turned out!
PRINTED BOOKMARKS
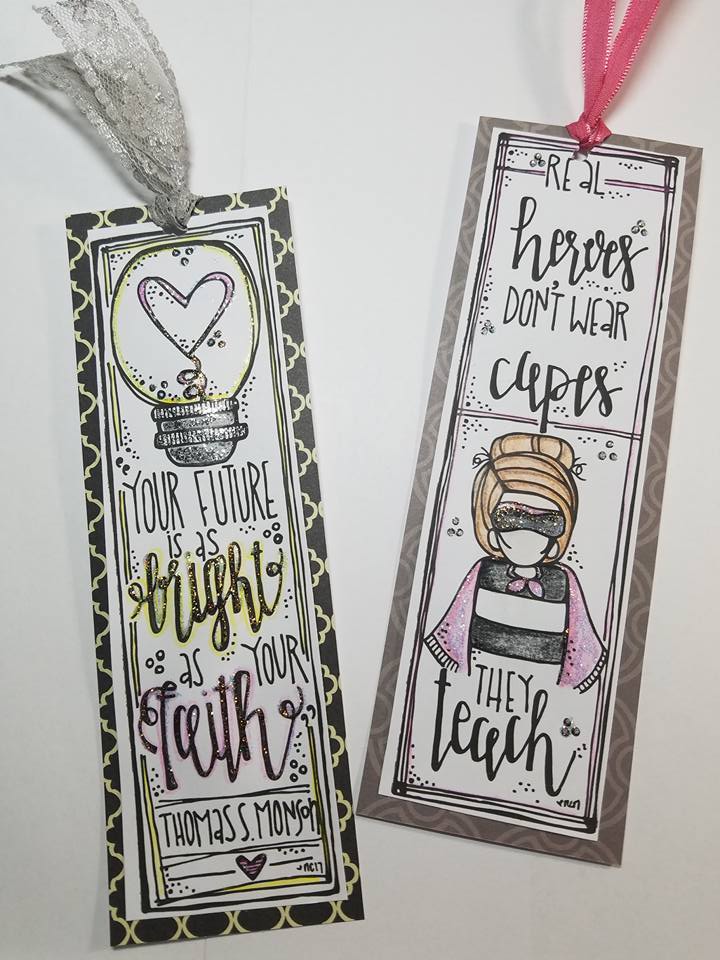
Here’s another simple gift idea! You can choose from several bookmark sets under the “Thingz to Print and Do” tab in my shop.
Print them out, color, mount on some pretty card stock, and add a ribbon….. OR…. stick the black and white versions in a bag with some colored pencils.
