 Melonheadz Illustrating LLC 2022")
DISCLAIMER
Friends, PLEASE don’t read my post and say, “I can’t do that!” or “I don’t have the supplies she used, so I can’t do this”.
The whole point in the Book of Mormon journaling that I am talking about, is to pick up your book. Read the scriptures I have chosen to draw about, read the whole chapter! Get that book in your hand, and open your heart to it. Let it speak to you, and write down your feelings and thoughts. Use plain paper, use your kids old crayons, use a glue stick and old newspaper! Use what you have <3
Because I am so old that I could be considered ancient, I have learned something about myself. I don’t learn by simply reading. I do better listening, and through pictures. Tell me a story about the picture and I will remember more than just simply reading. It’s my way to show my thoughts and feelings 🙂
 Melonheadz Illustrating LLC 2024")
When I first saw the Journal Edition, I about had a heart attack, lol. It’s a journaling dream! I’ve had them for a while, but didn’t have the opportunity to get started.
There will be a set for each book, i.e. one for 1 Nephi, one for 2 Nephi, etc. (The short books will be combined with others.) As I’m reading through my book, I’m marking the scruptures that resonate with me, and then adding the coordinating art work.
Read along with me, and add some artwork to your book!
 Melonheadz Illustrating LLLC 2024")
 Melonheadz Illustrating LLLC 2024")
 Melonheadz Illustrating LLLC 2024")
I printed off my templates. I’m using a micron .05 pen in this book. I wanted some thinner lines for these designs, so that I can make some of the words bolder without making them super thick.
I folded the paper so that I could get the margin artwork centered where I wanted it. As you can see, I just traced the design right into the book. It is a little hard to see, so a lightbox or light source under the page might be helpful if you have one.
I use a light box similar to this one all the time! You can CLICK HERE (It’s an affiliate link) if you want to check it out.
I just ordered a little one! It is just the right size. You can CLICK HERE if you want to check it out. (It’s also an affiliate link)
Once I had the whole design, I went back and traced over the bolded words, and filled in the spaces on the larger words with a solid fill.
 Melonheadz Illustrating LLLC 2024")
 Melonheadz Illustrating LLLC 2024")
After I had the outlining the way I wanted it, I did color in the design in the book on the left. I also highlighted the coordinating scripture.
The book on the right is my personal book. I didn’t do a complete fill on the letters, it’s more of a line fill. I didn’t color mine, but you can see that I’m am marking stuff as I read. There are some variations, just because I added the flowers freehand, without the template. You could also leave the flowers off completely.
 Melonheadz Illustrating LLLC 2024")
 Melonheadz Illustrating LLLC 2024")
 Melonheadz Illustrating LLLC 2024")
After I added the artwork in the margins, I wanted to be able to add in some additional quotes. I printed off the quote page, and cut out each one. I used some glue to run a thin bead right along the edge of the paper, and glued it into the binding. You could also use some washi tape if you wanted to. In other books I have taped it in on the outside edge of the page to make a “tip in”. They can be lifted to read the scriptures underneath. I also high lighted the coordinating scripture.
If you’d like to check out the glue that I used, you can CLICK HERE (It’s an affiliate link). It’s by far the best glue applicator that I’ve tried.
 Melonheadz Illustrating LLC 2024 SMLPIC")
 Melonheadz Illustrating LLC 2024 SMLPIC")
 Melonheadz Illustrating LLC 2024 SMLPIC")
To purchase the 1 Nephi set
CLICK HERE
To purchase the 2 Nephi set
CLICK HERE
To purchase the Jacob set
CLICK HERE
 Melonheadz Illustrating LLC 2024 SMLPIC")
These packets come with a PDF to print the designs directly, and PNG versions of each design. They could easily be made into book marks, or you could use them to embellish a hand out, or program.
Wanna watch me draw a scripture from the Book of Alma?
 Melonheadz Illustrating LLC 2024 a")
 Melonheadz Illustrating LLC 2024 SMLPIC")
 Melonheadz Illustrating LLC 2024 3")
Kidlettes are one of the things that Melonheadz is known for…. so why not a kidlette version?
Chances are, if you have kiddos that are elementary school age, you may have seen a kidlette on the papers they bring home from school.
Each kidlette has a coordinating scripture. This is perfect for the littles that are just starting to read their scriptures, and gives them a little something to color. Anything that sparks their interest is a win win for me!
I added tabs in orange, yellow, and teal colors. It’s such a happy theme!
 Melonheadz Illustrating LLC 2024 1")
 Melonheadz Illustrating LLC 2024 2")
 Melonheadz Illustrating LLC 2024 4")
I’m so sorry for the quality of the pictures, my eyesight isn’t what it used to be, lol.
I used a coordinating orange pencil and colored the very edges of each insert, just to make them pop a little bit. I’m loving this happy little version.
If you’d like to purchase the Kidlette Journaling Edition
 Melonheadz Illustrating LLC 2024")
 Melonheadz Illustrating LLC 2024 SMLPIC")
This design was inspired by our friend Evie. She recently turned 8, and decided to be baptized. Congratulations Evie!
Landyn and I decided that we wanted to make her a keepsake to celebrate her big day. Landyn helped me pick out Woodland Creatures and love for our theme. Here’s what we came up with:
 Melonheadz Illustrating LLLC 2024")
 Melonheadz Illustrating LLLC 2024")
 Melonheadz Illustrating LLLC 2024")
For this particular book, I used a 1.5 inch round punch and cut each circle in half for my tabs. Because of the “Woodland Creatures” and love theme, I chose some solid green paper.
After I printed and trimmed down the inserts, I started gluing them into my book. As you see, I ran a thin stream of glue along the edge of each insert, and then stuck each one into the binding as far as I could.
(If you’d like to see the glue that I used, you can scroll down to the bottom of this page. There’s also an Amazon link)
Included in the PDF, is a page listing of coordinating scriptures, so you will know where to put each insert. I lightly colored in each scripture with a matching green colored pencil.
 Melonheadz Illustrating LLLC 2024")
 Melonheadz Illustrating LLLC 2024")
 Melonheadz Illustrating LLLC 2024")
Once the book was finished, we topped it off with a package of colored pencils and a big fluffy bow!
To purchase the PDF for the Woodland Creatures edition
If you’d like to get a better look inside the book
 Melonheadz Illustrating LLC 2024")

Here’s what I started out with:
I got the hard covered one, with the intention of somehow decorating the outside (I have seen them decorated with beautiful paper and Mod Podge). I wanted to try it out before I put anything in my other scriptures. My sweet friend Cori explained to me that the “Missionary Version” of the Book of Mormon has thicker pages than the fancier versions. I’m so glad I made this choice for my art surface.
Here’s a link for the Book:
Book of Mormon: Regular, Blue
You can find links to the other products that I used and found useful on the Bible Journaling page here:
Bible Journaling
Here’s what I did:
I traced the image on to vellum, adding details. I colored it, shaded it, and cut around the images.
To place it in the book, I ran the very edge of the vellum along the metal part of the brush on the lid of some rubber cement. Then I just stuck the vellum piece into the binding as far as I could, where the corresponding scripture was. Be sure to not get the glue anywhere else. It dries pretty fast!
That’s it! It’s super easy!
You can see what I have done below.
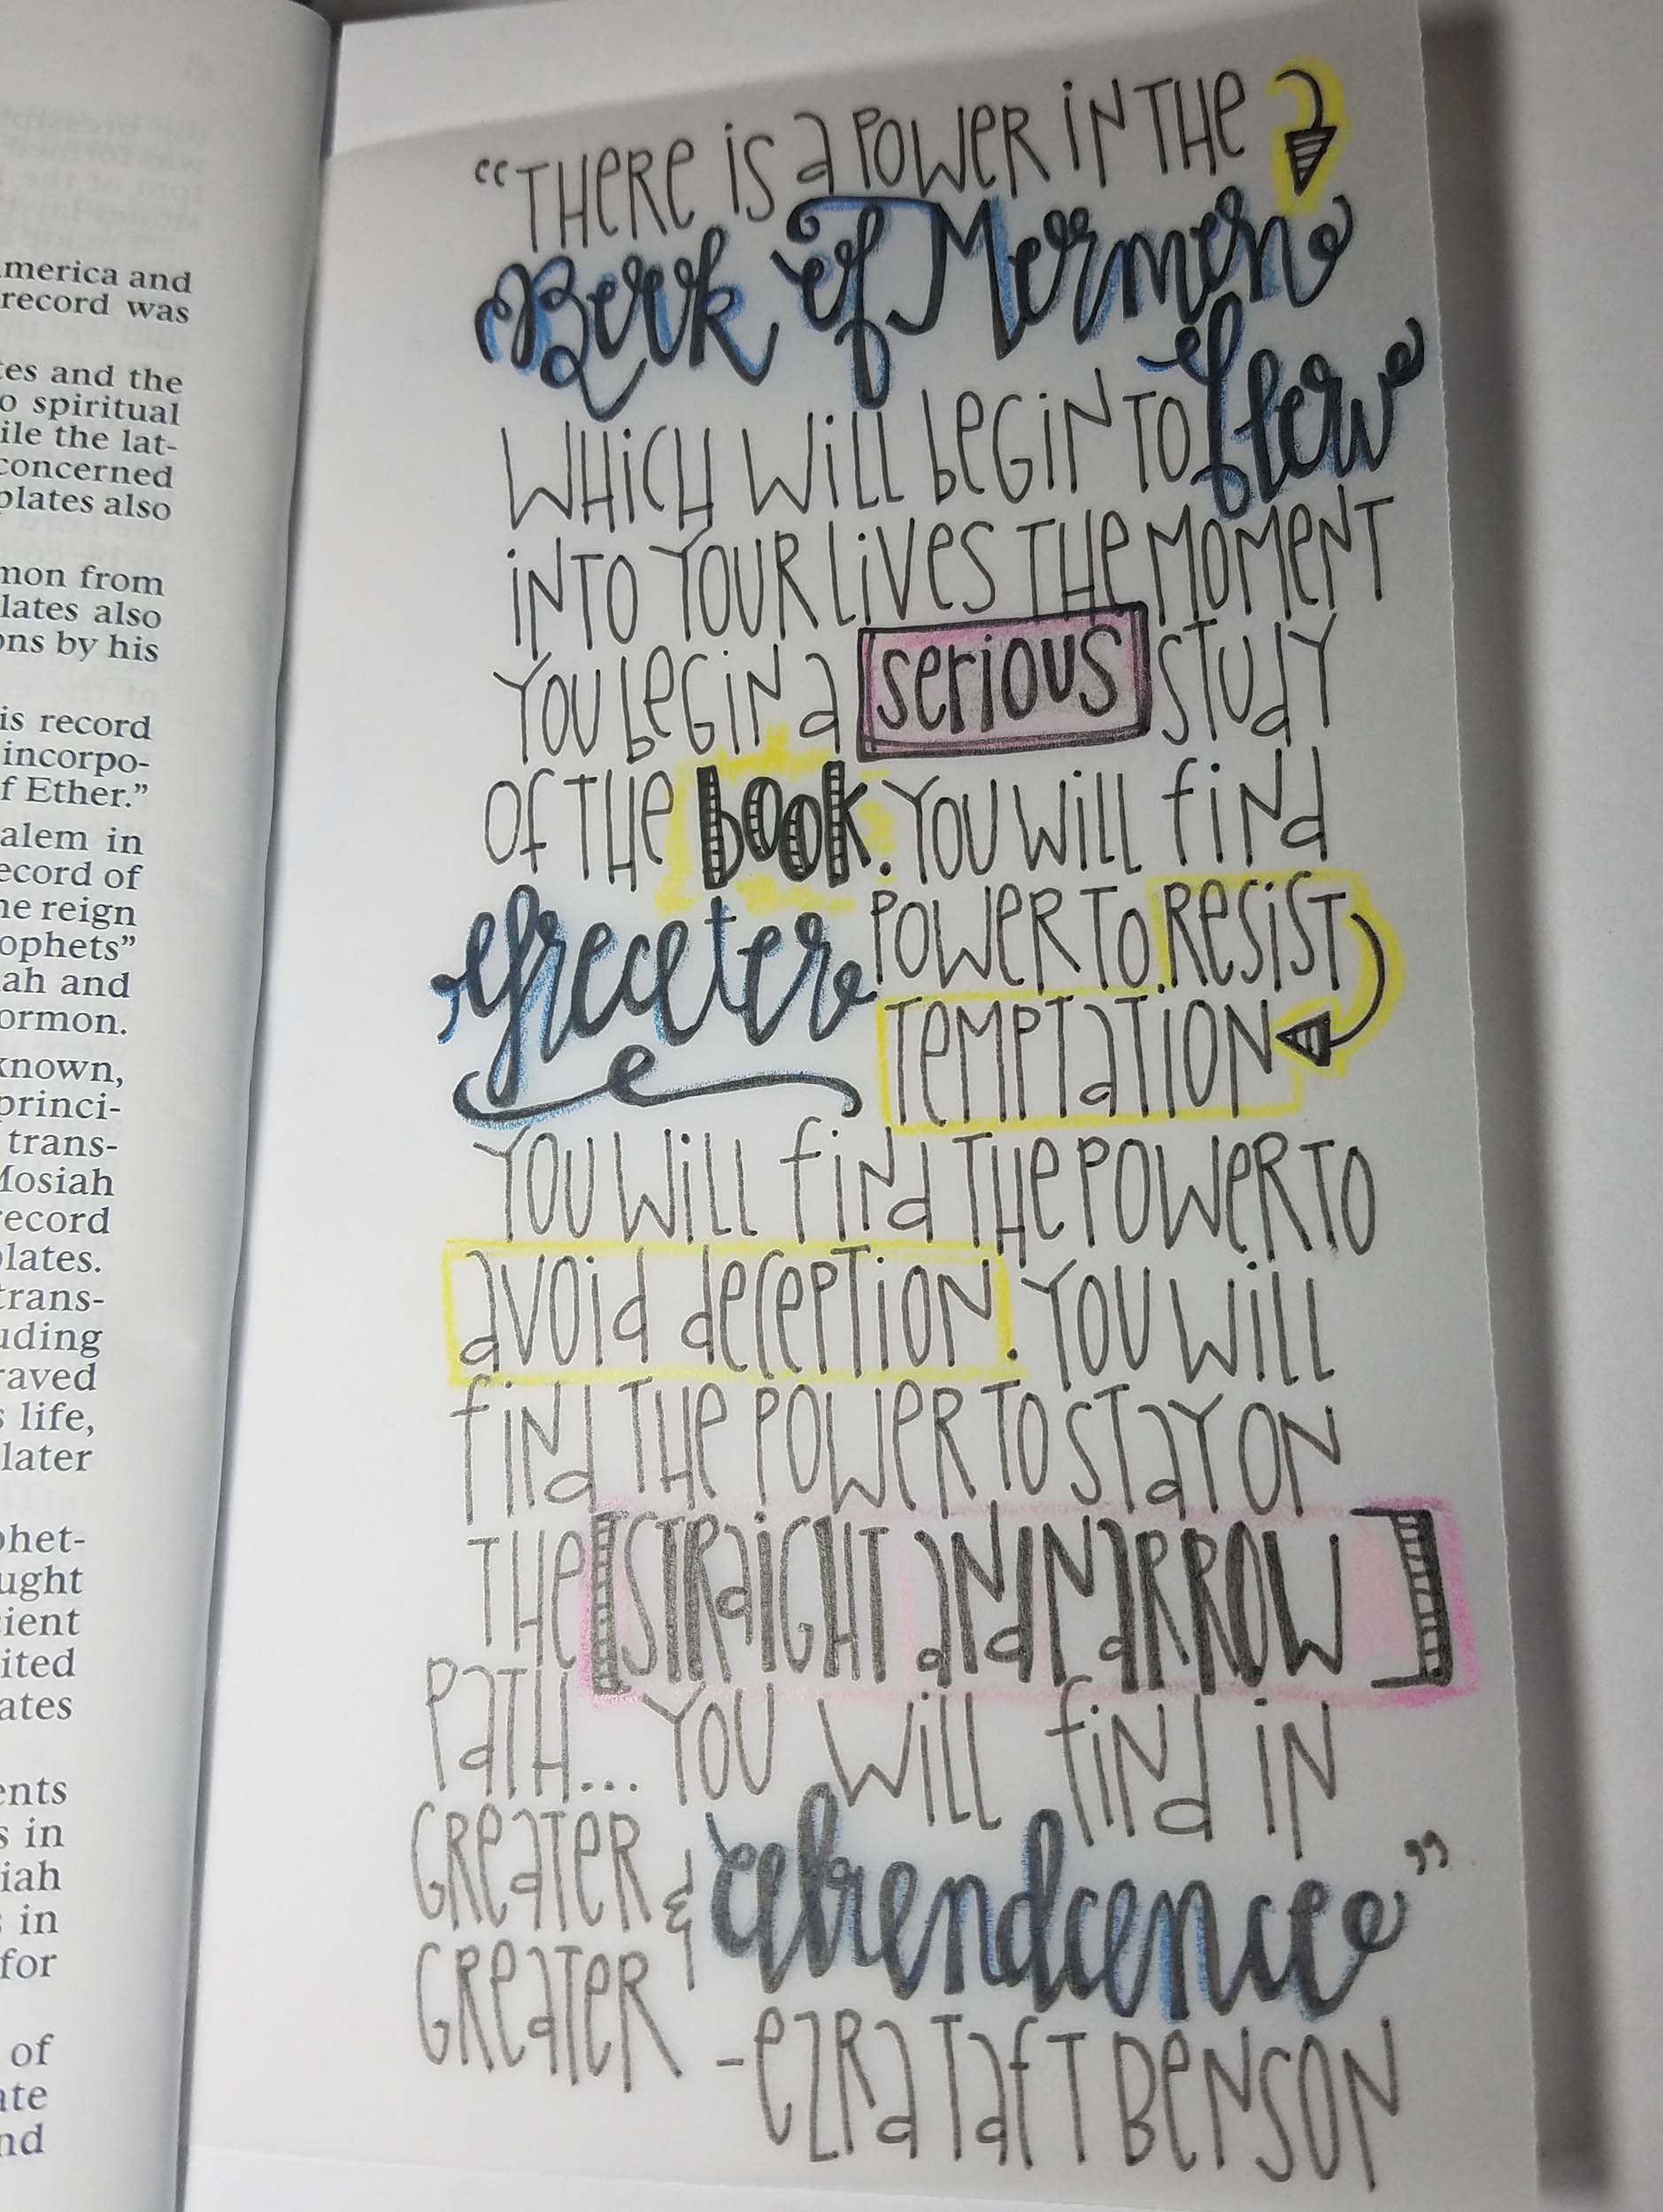
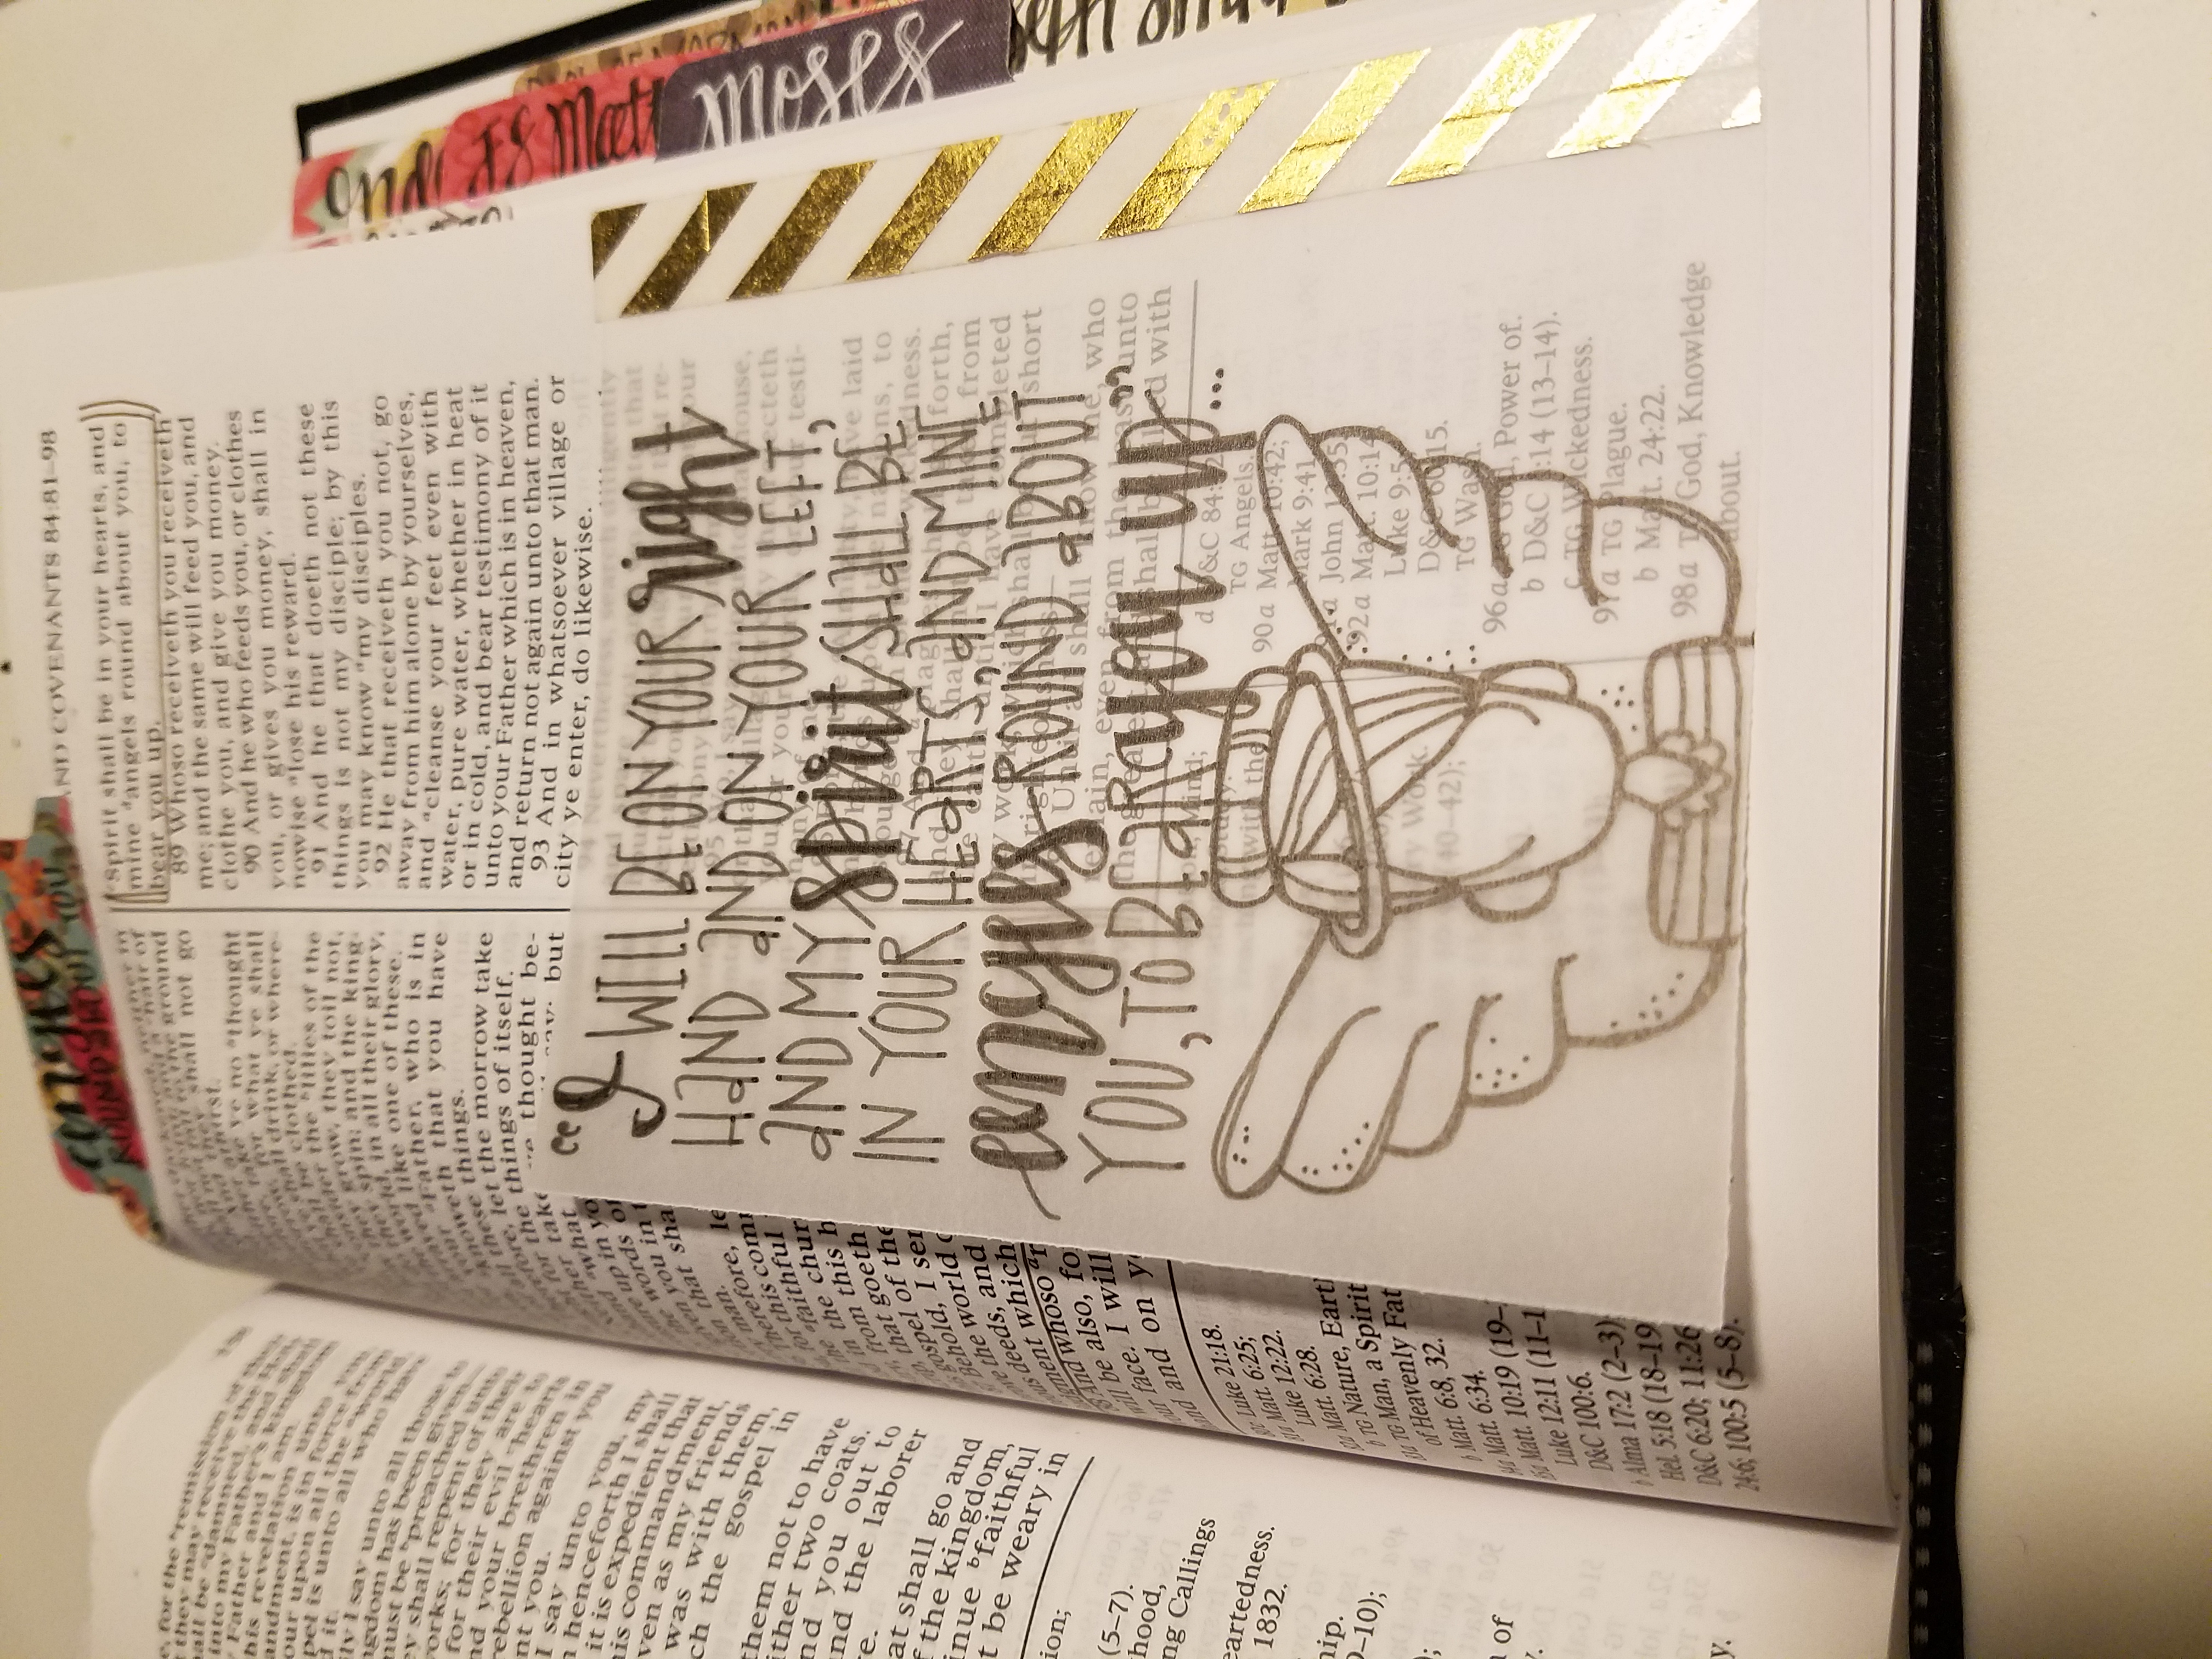
I put this in the front of my book, right after the introduction. I really loved this quote by President Benson. I wanted this to be the first thing you see when the book is opened.
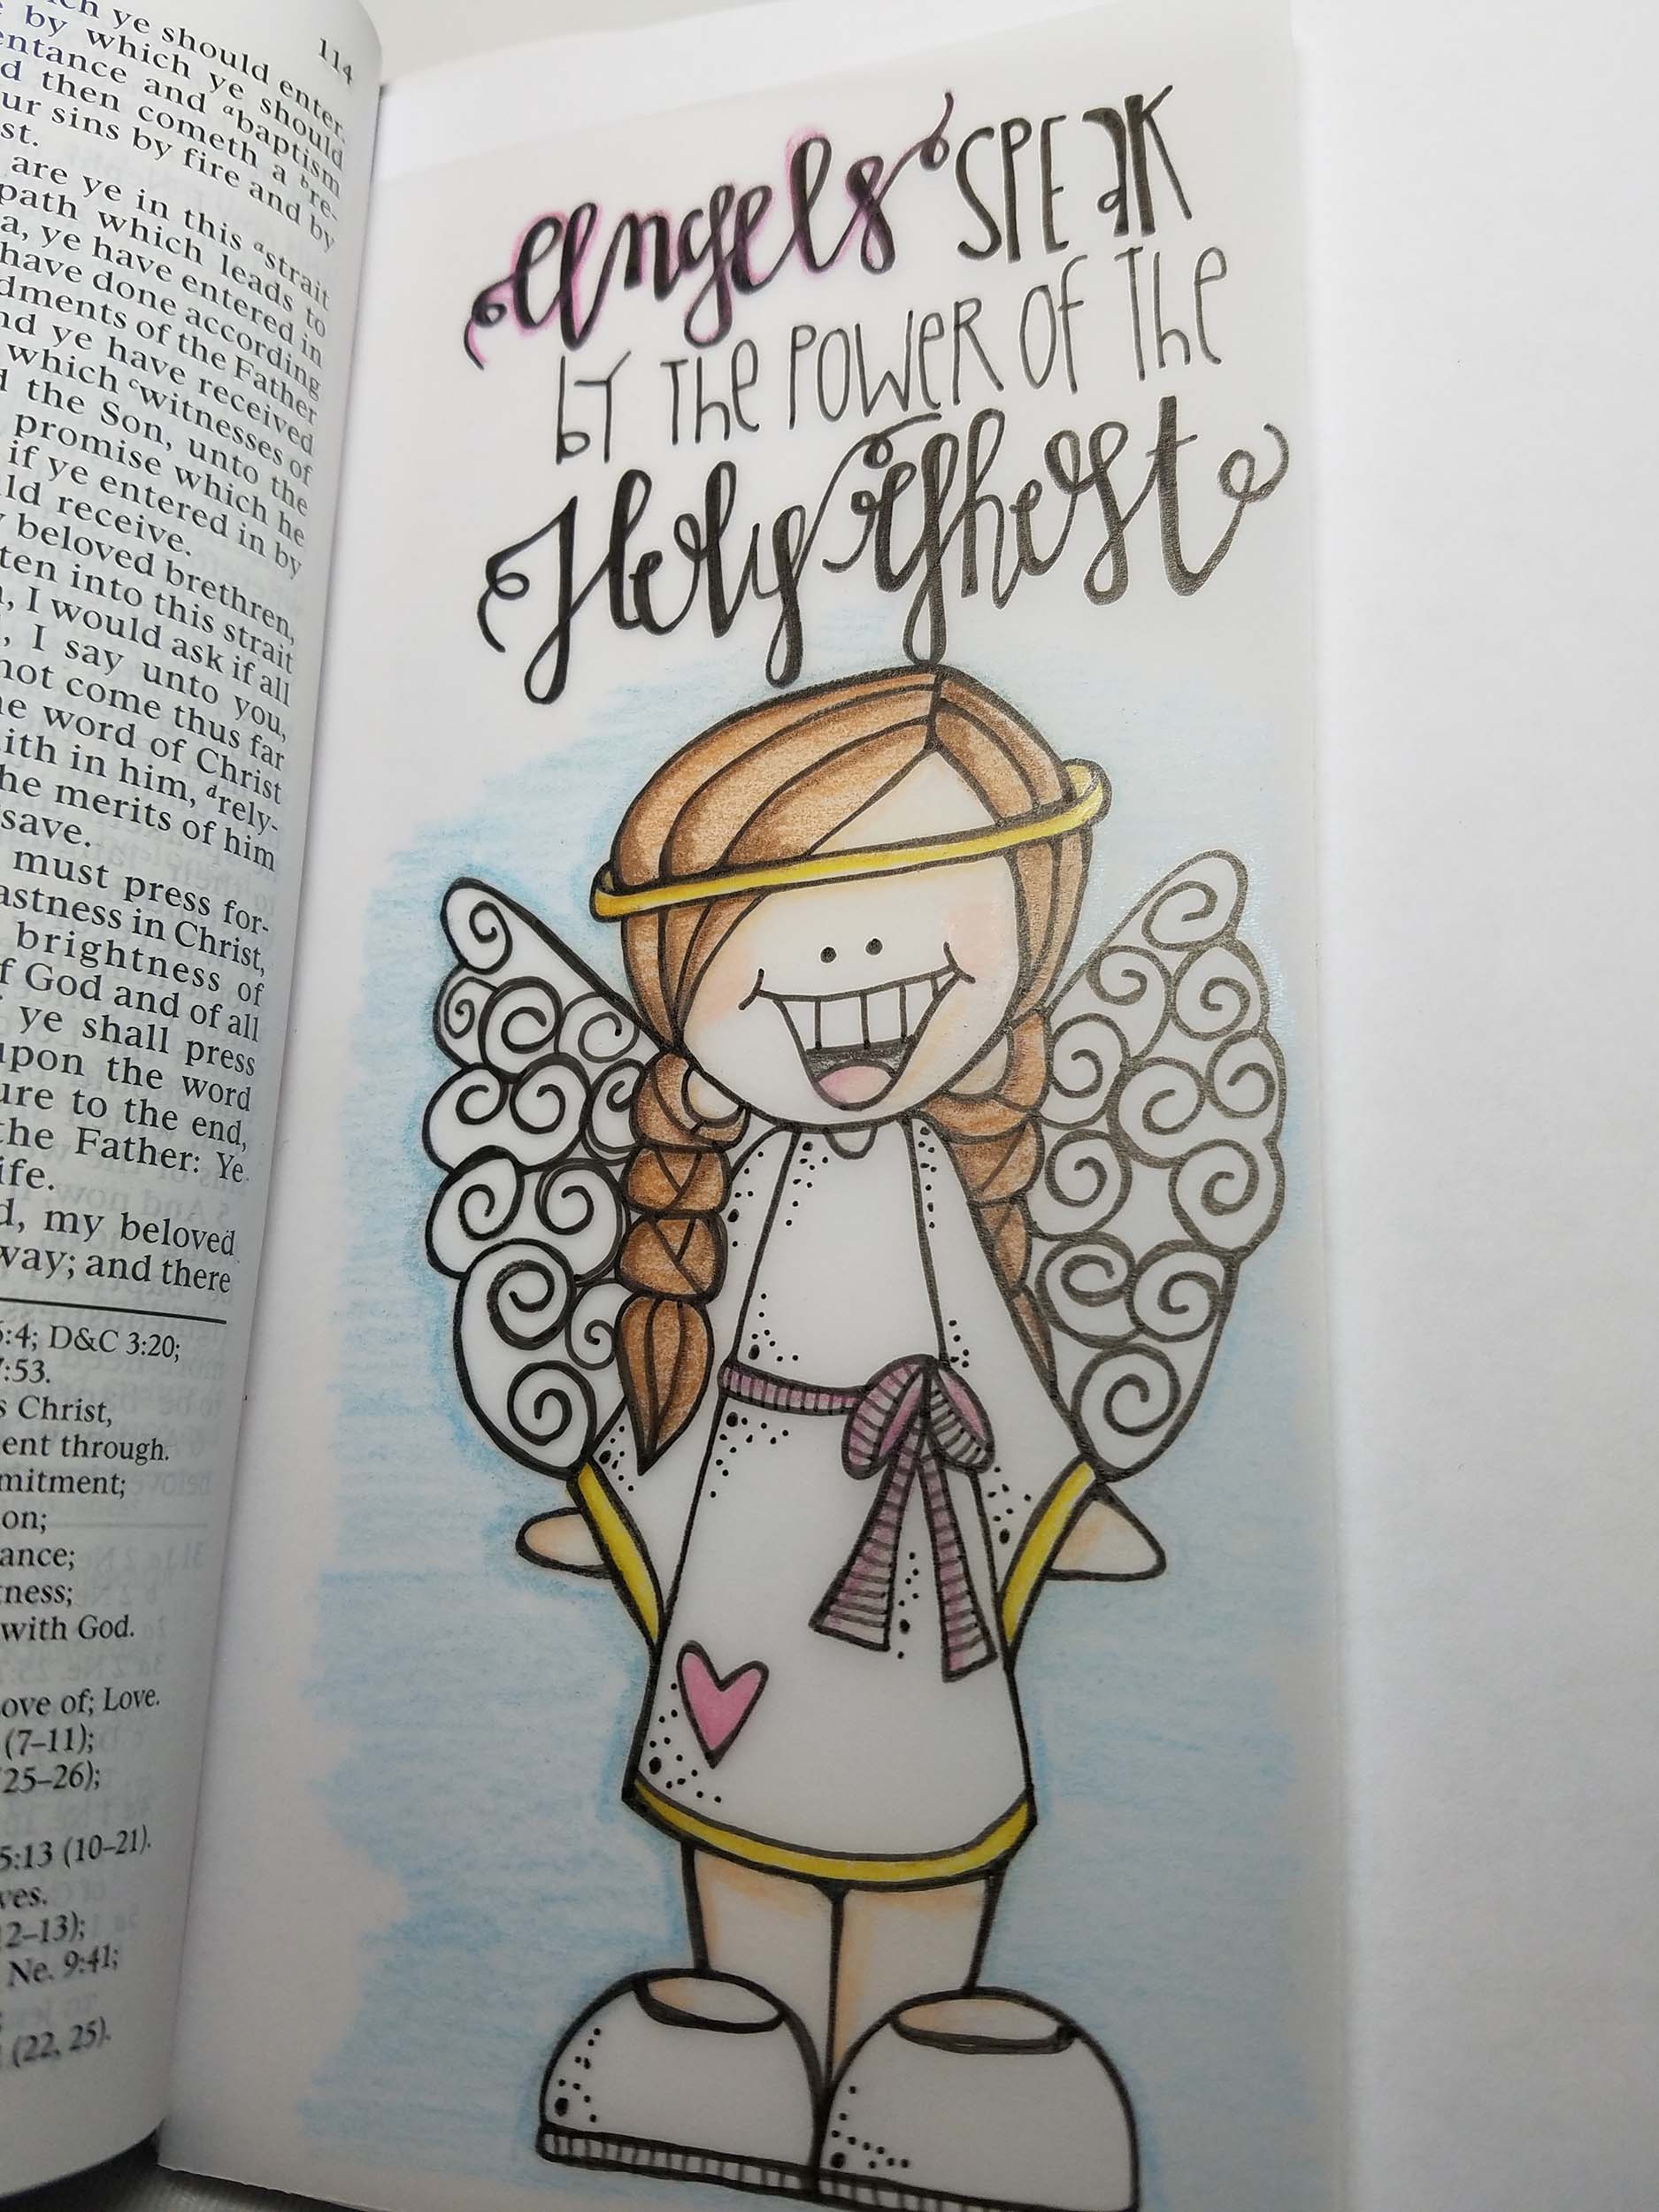
You can see the image above with a white paper behind it, so you can see the image clearly. The image is without the paper so you can see the text behind it.
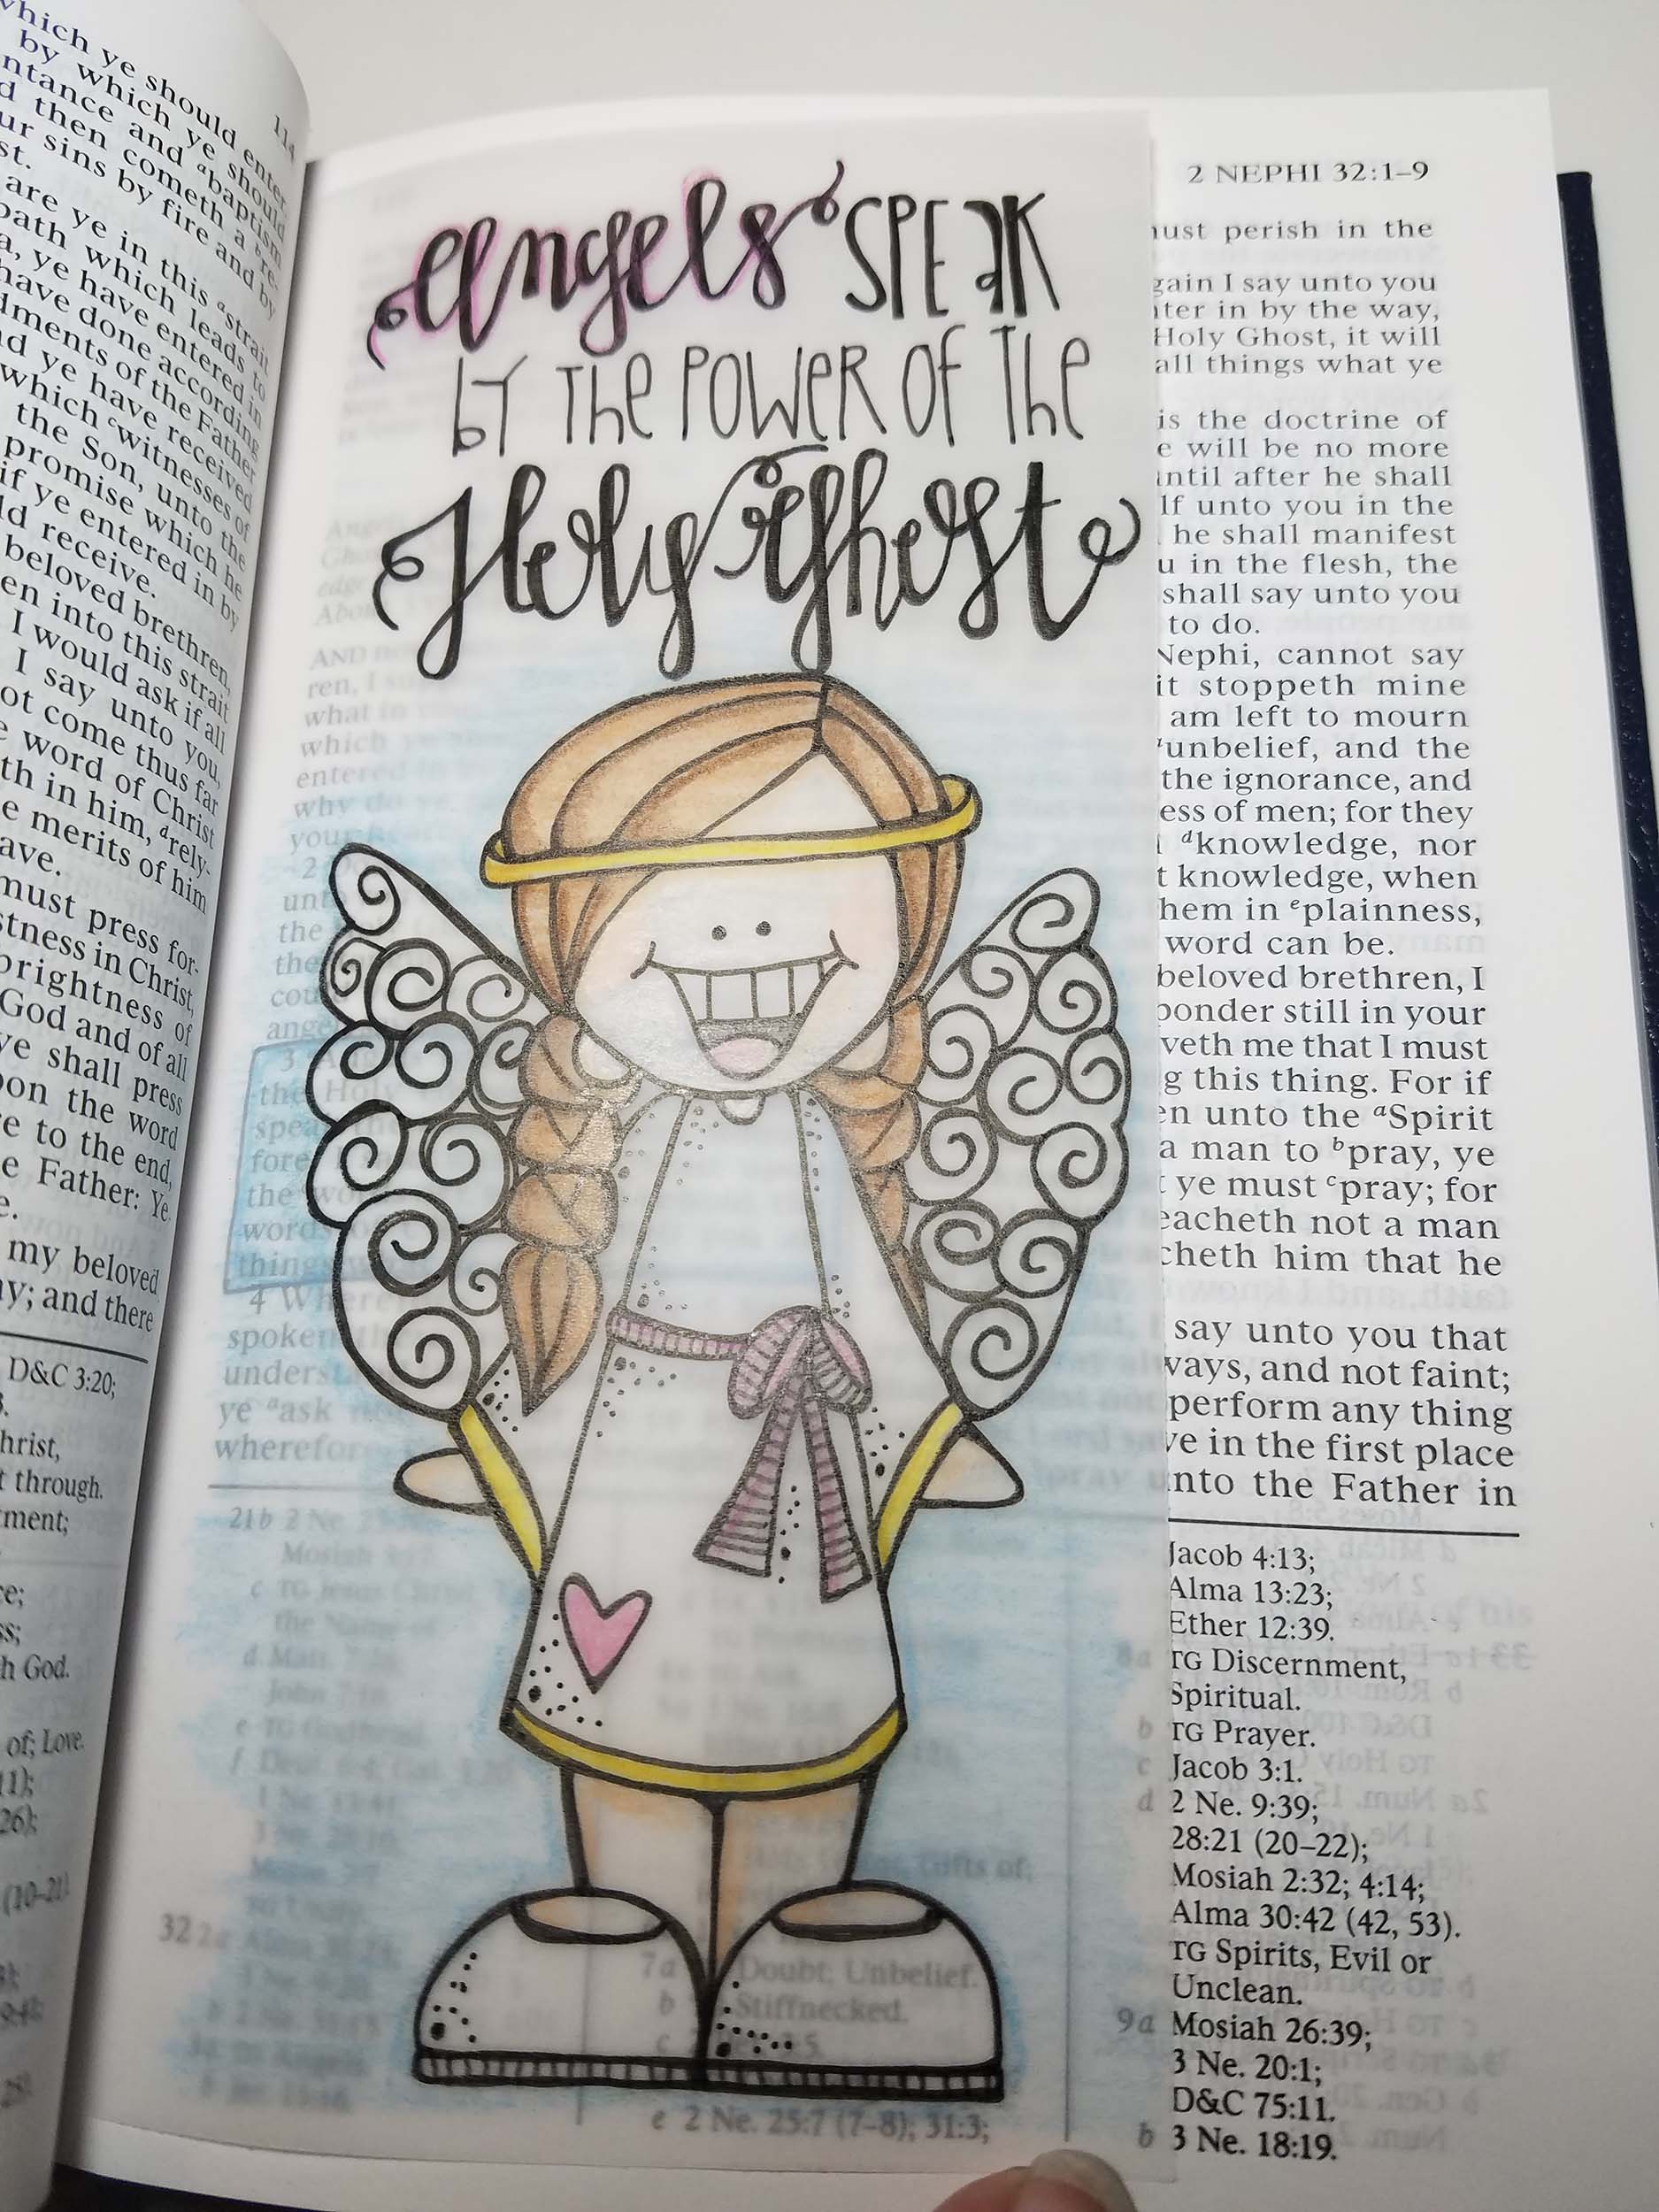
“Angels speak by the power of the Holy Ghost”
2 Nephi 32:3
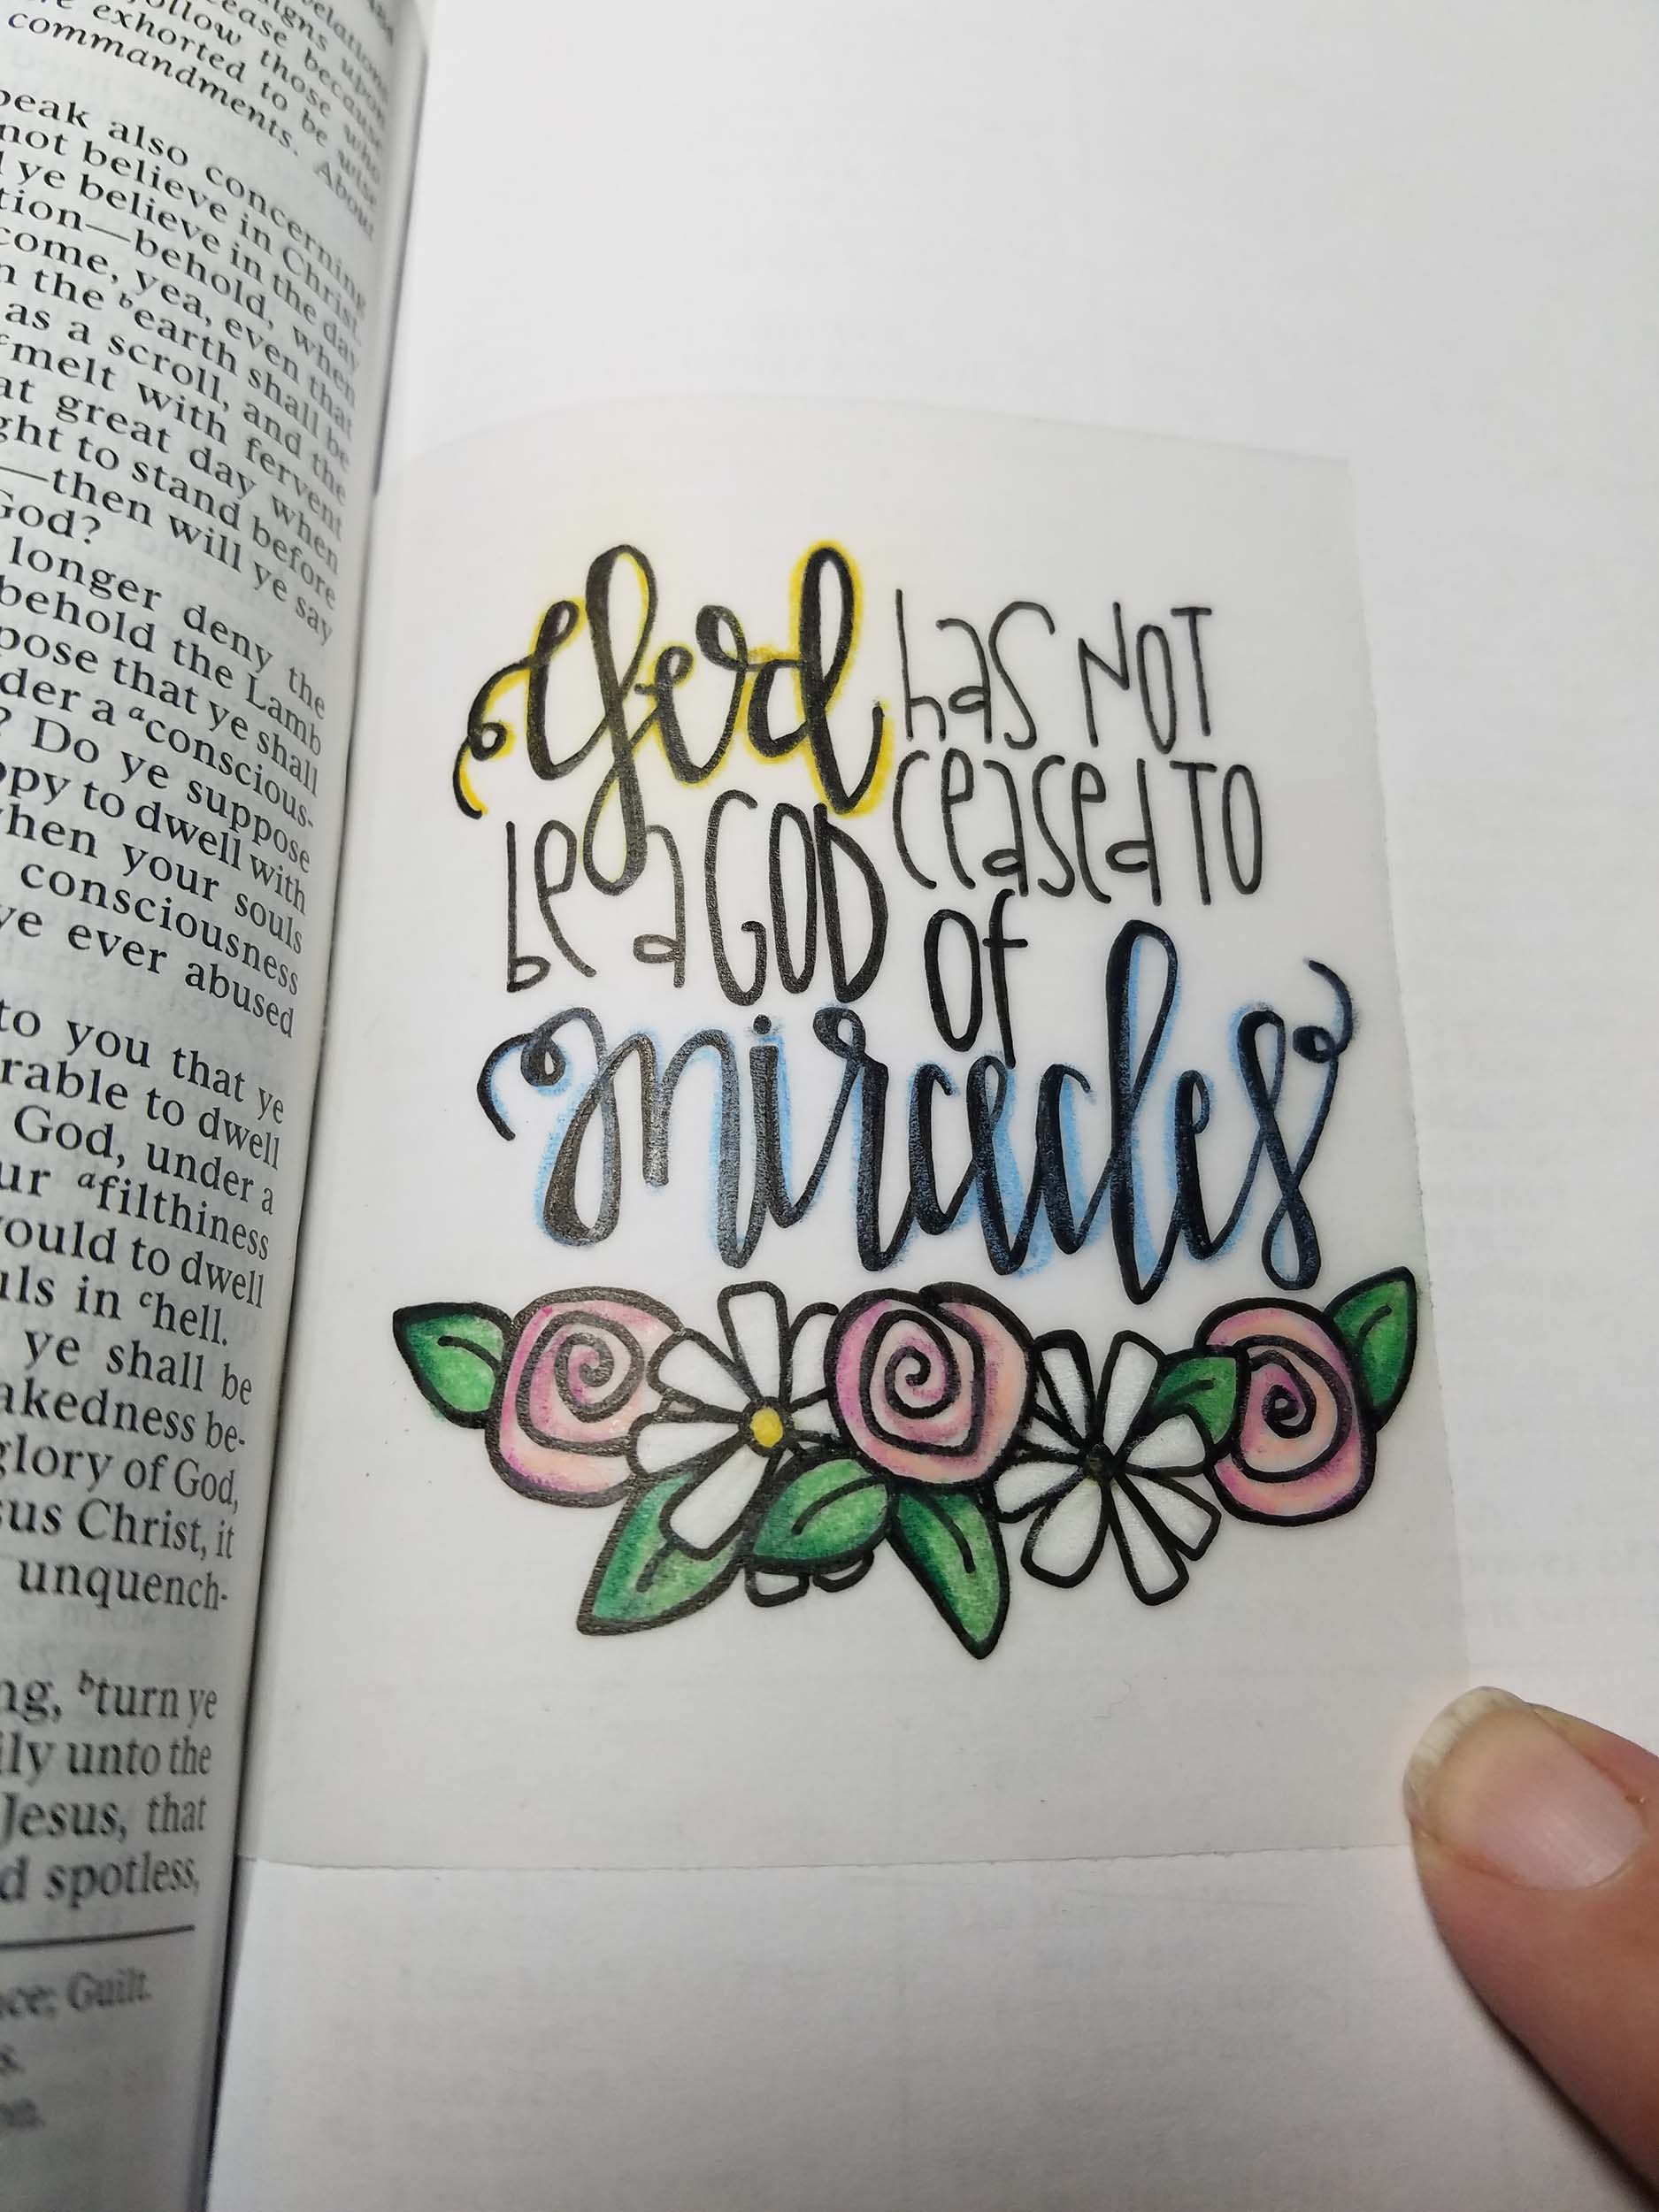
“God has not ceased to be a God of miracles”
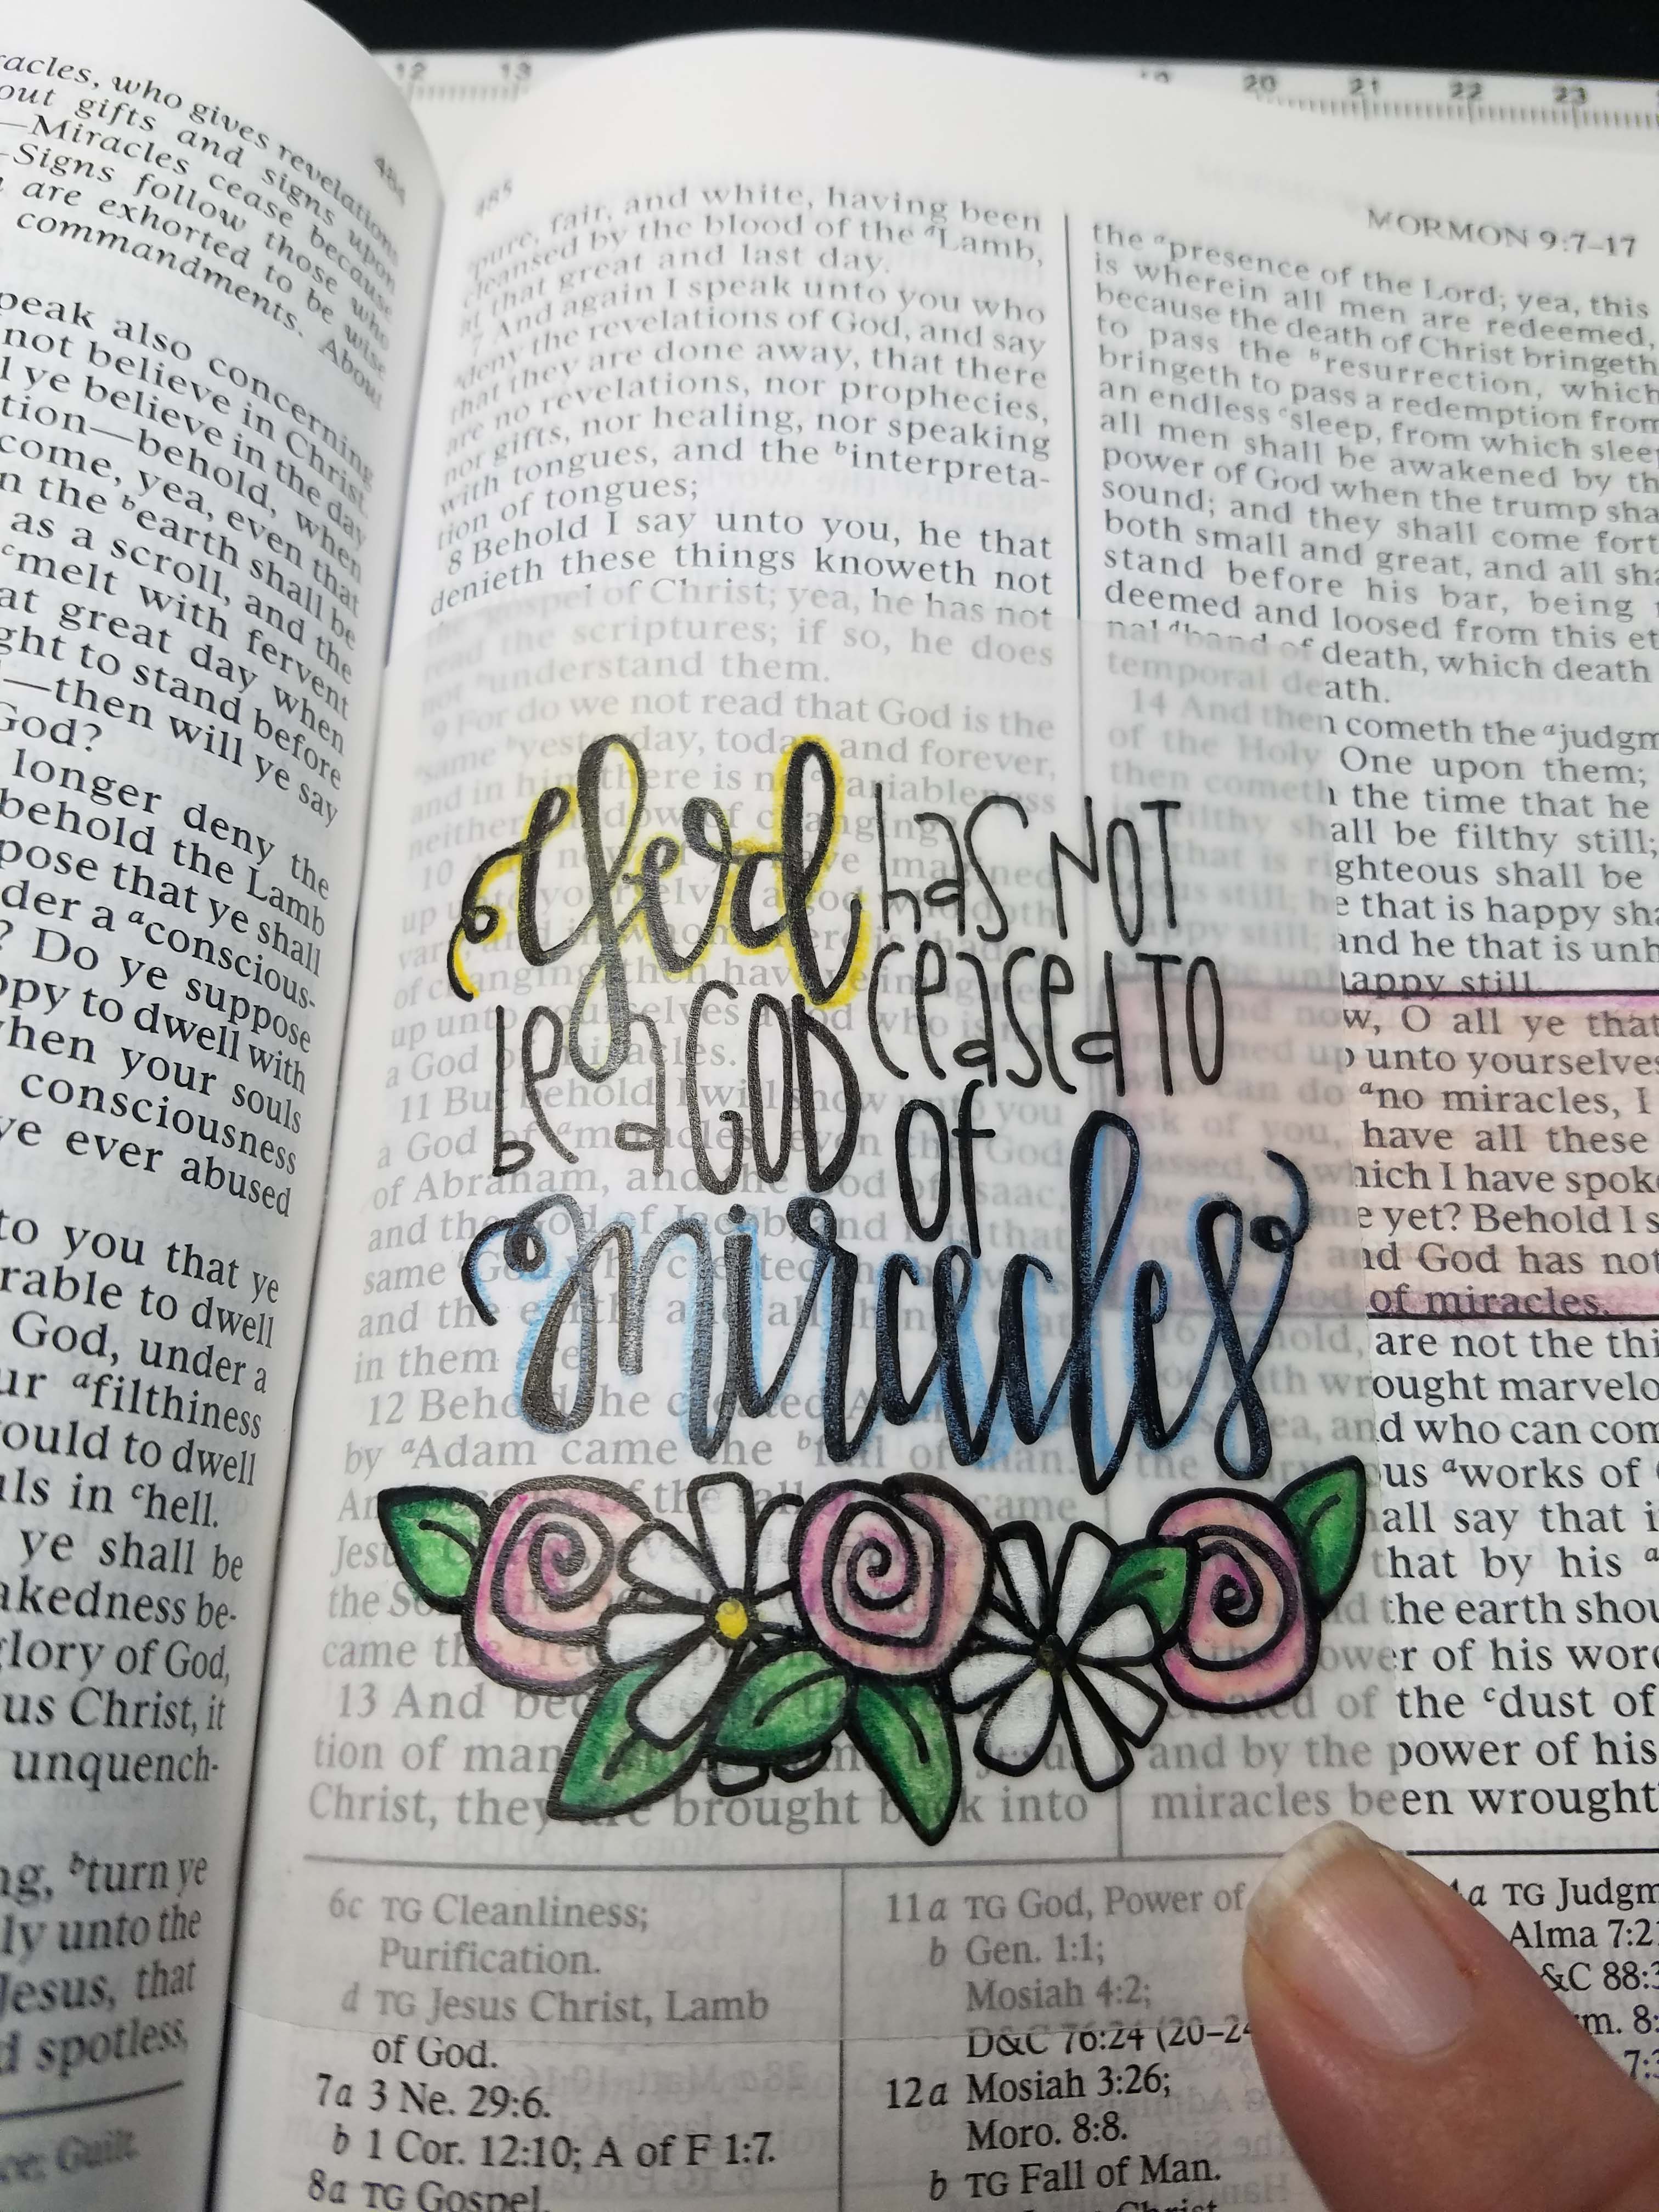
Mormon 9:5
I also colored in the corresponding scripture behind the
glue – in.
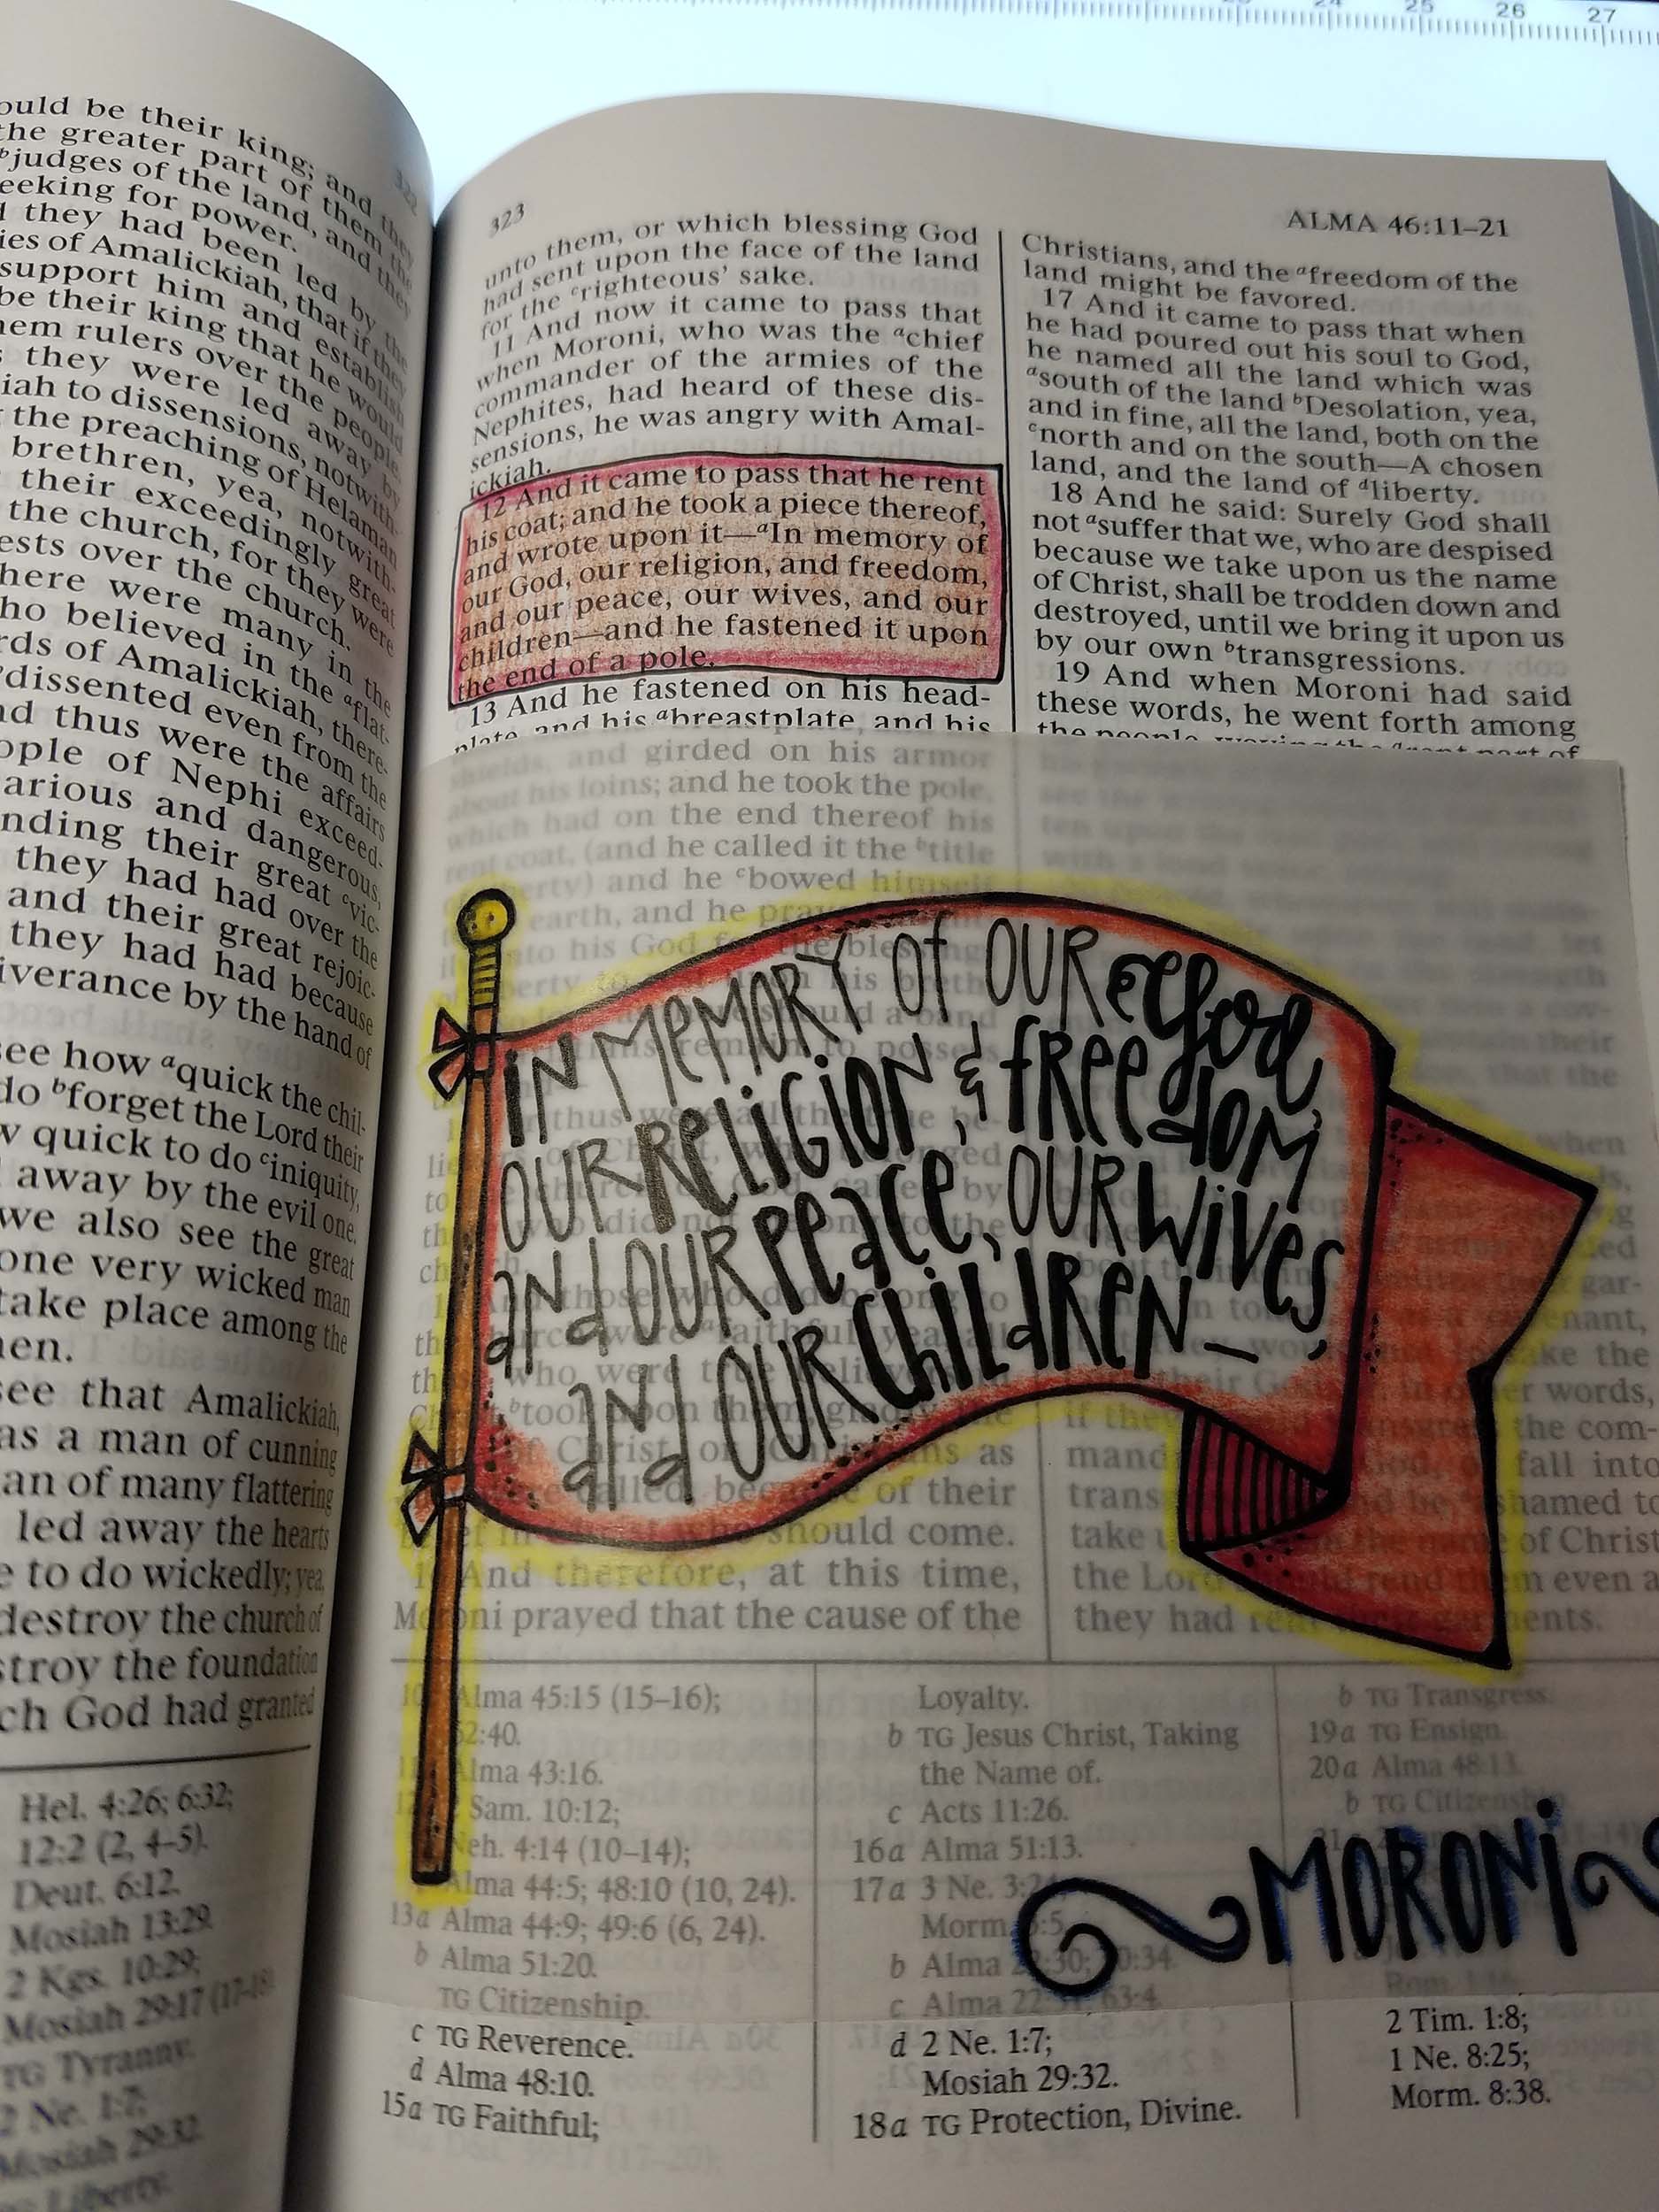
Alma 46:12

Mosiah 4:9
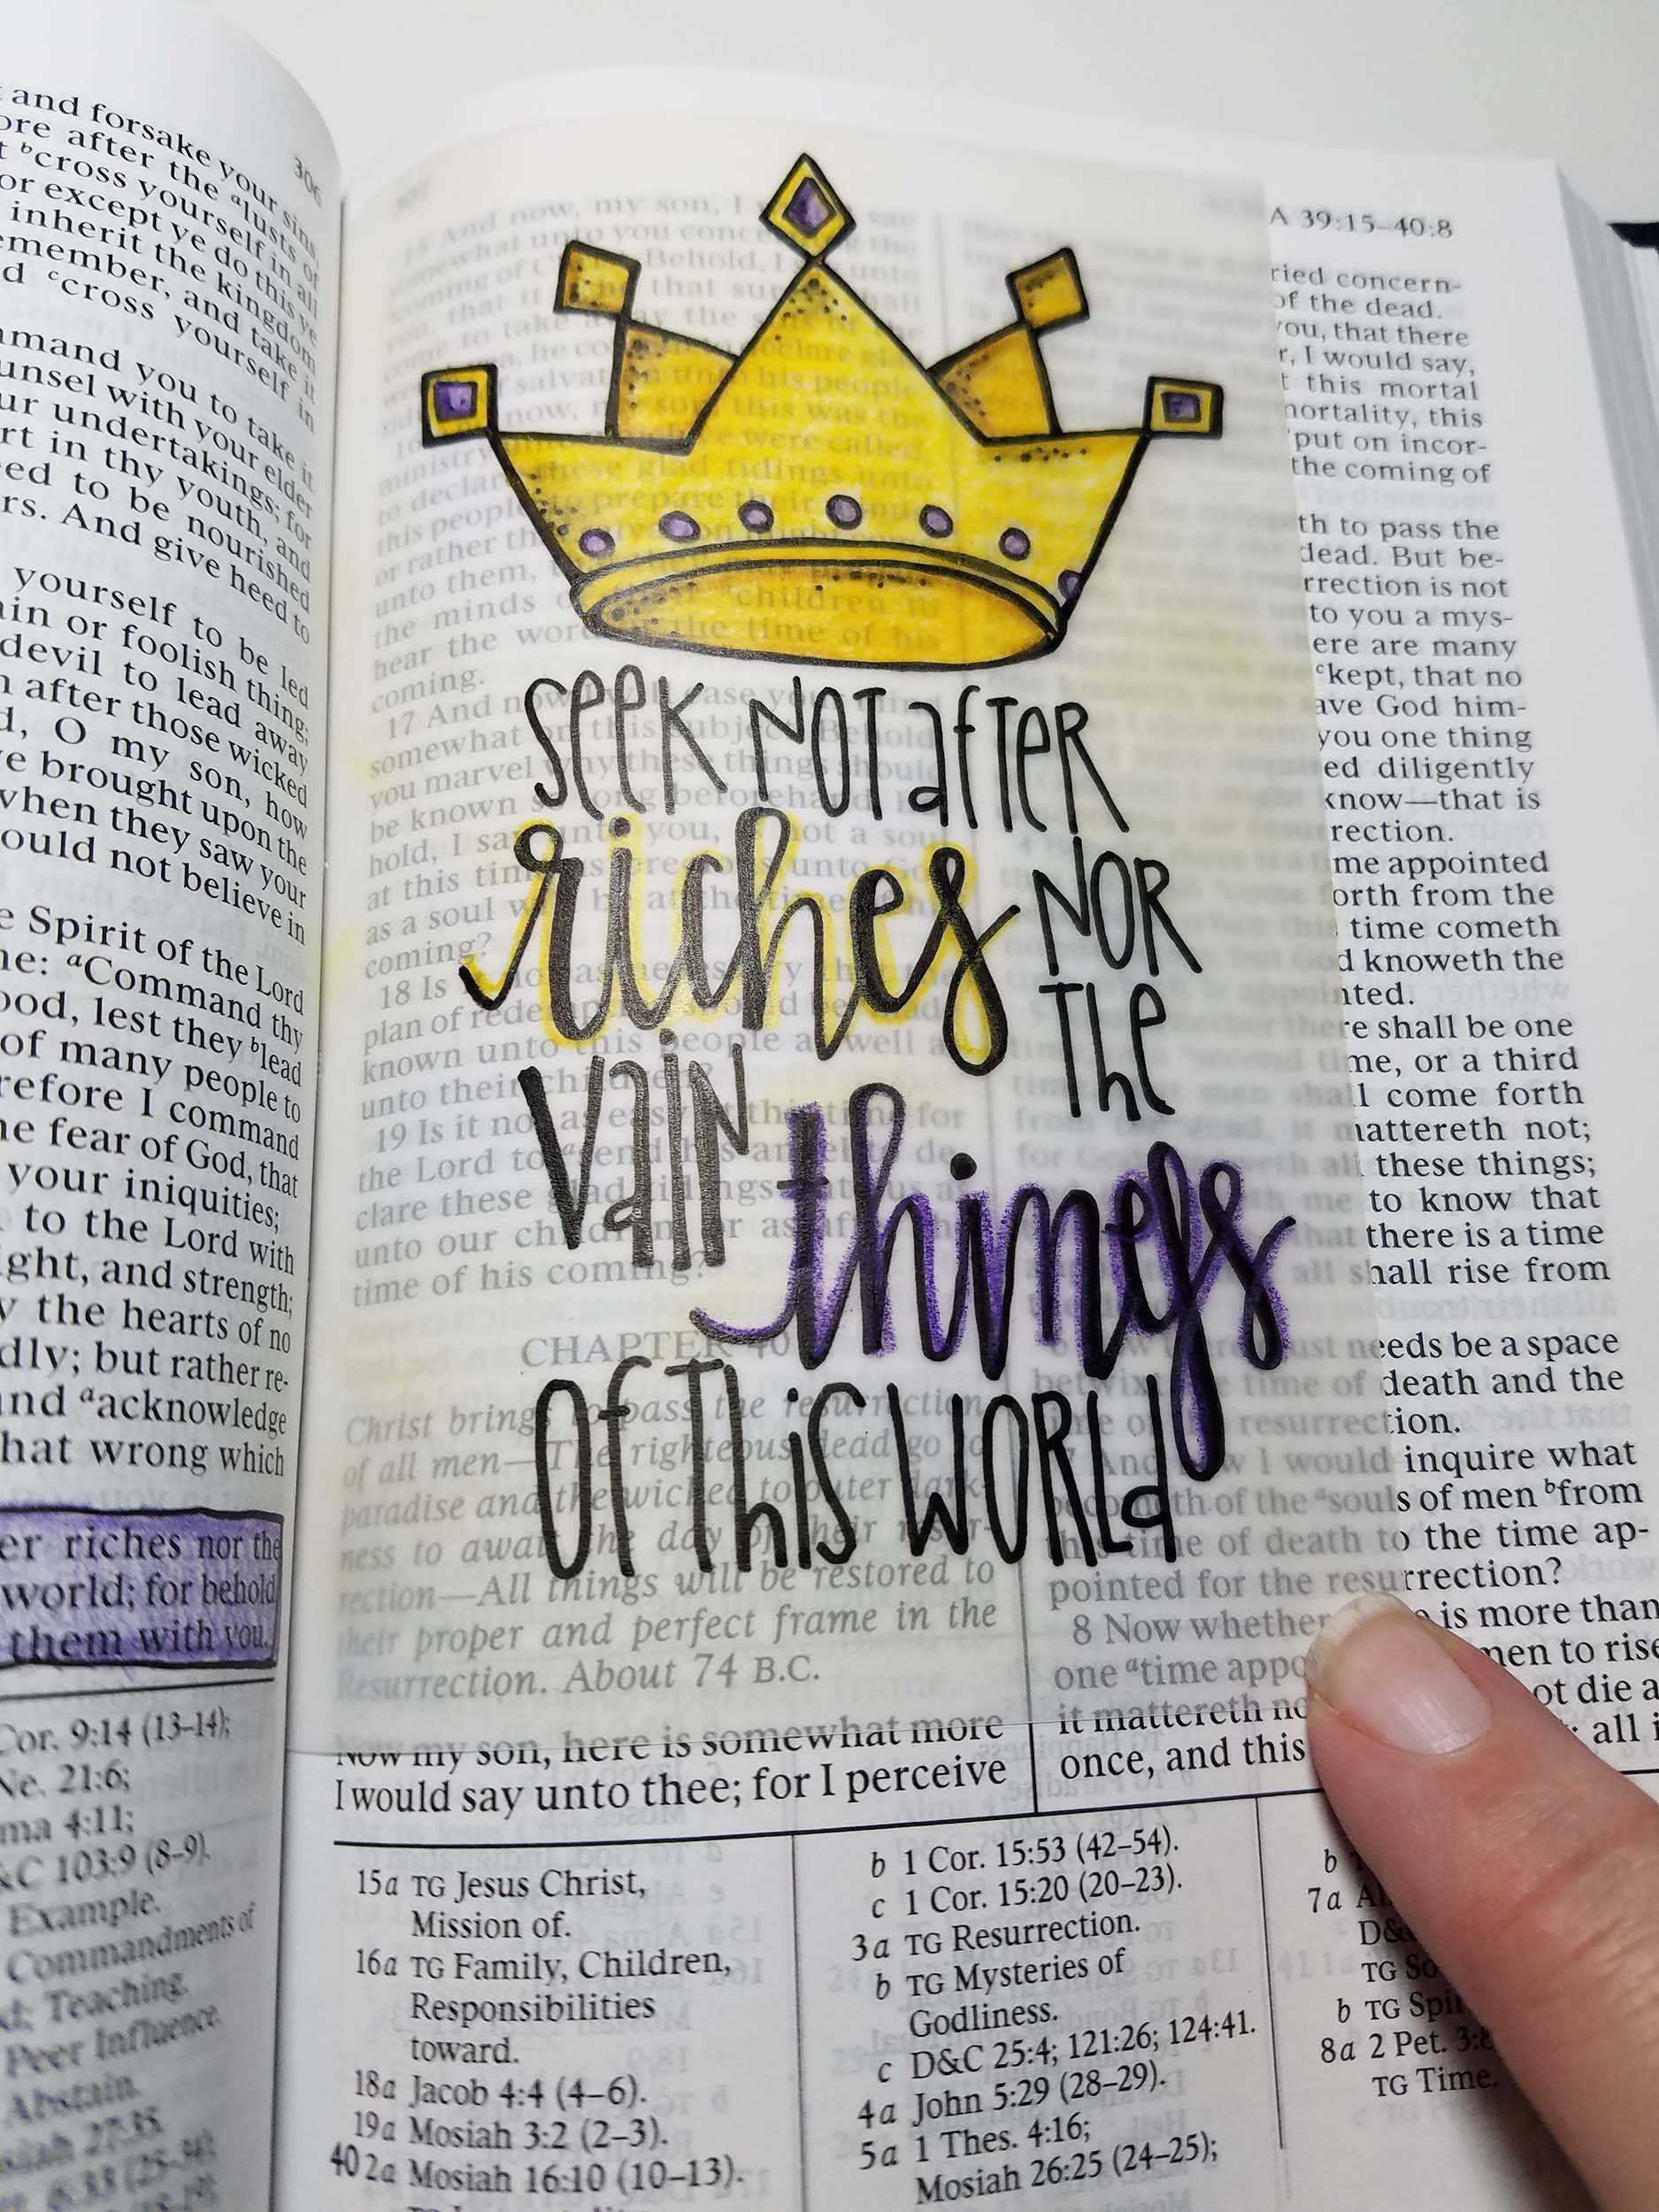
Alma 39:14
Here are the templates for the inserts above! Right click on the pages, and save them to your computer. Print, trace, color, and glue them in your book!
 Melonheadz Illustrating LLC 2017 line art")
 Melonheadz Illustrating LLC 2017 line art")
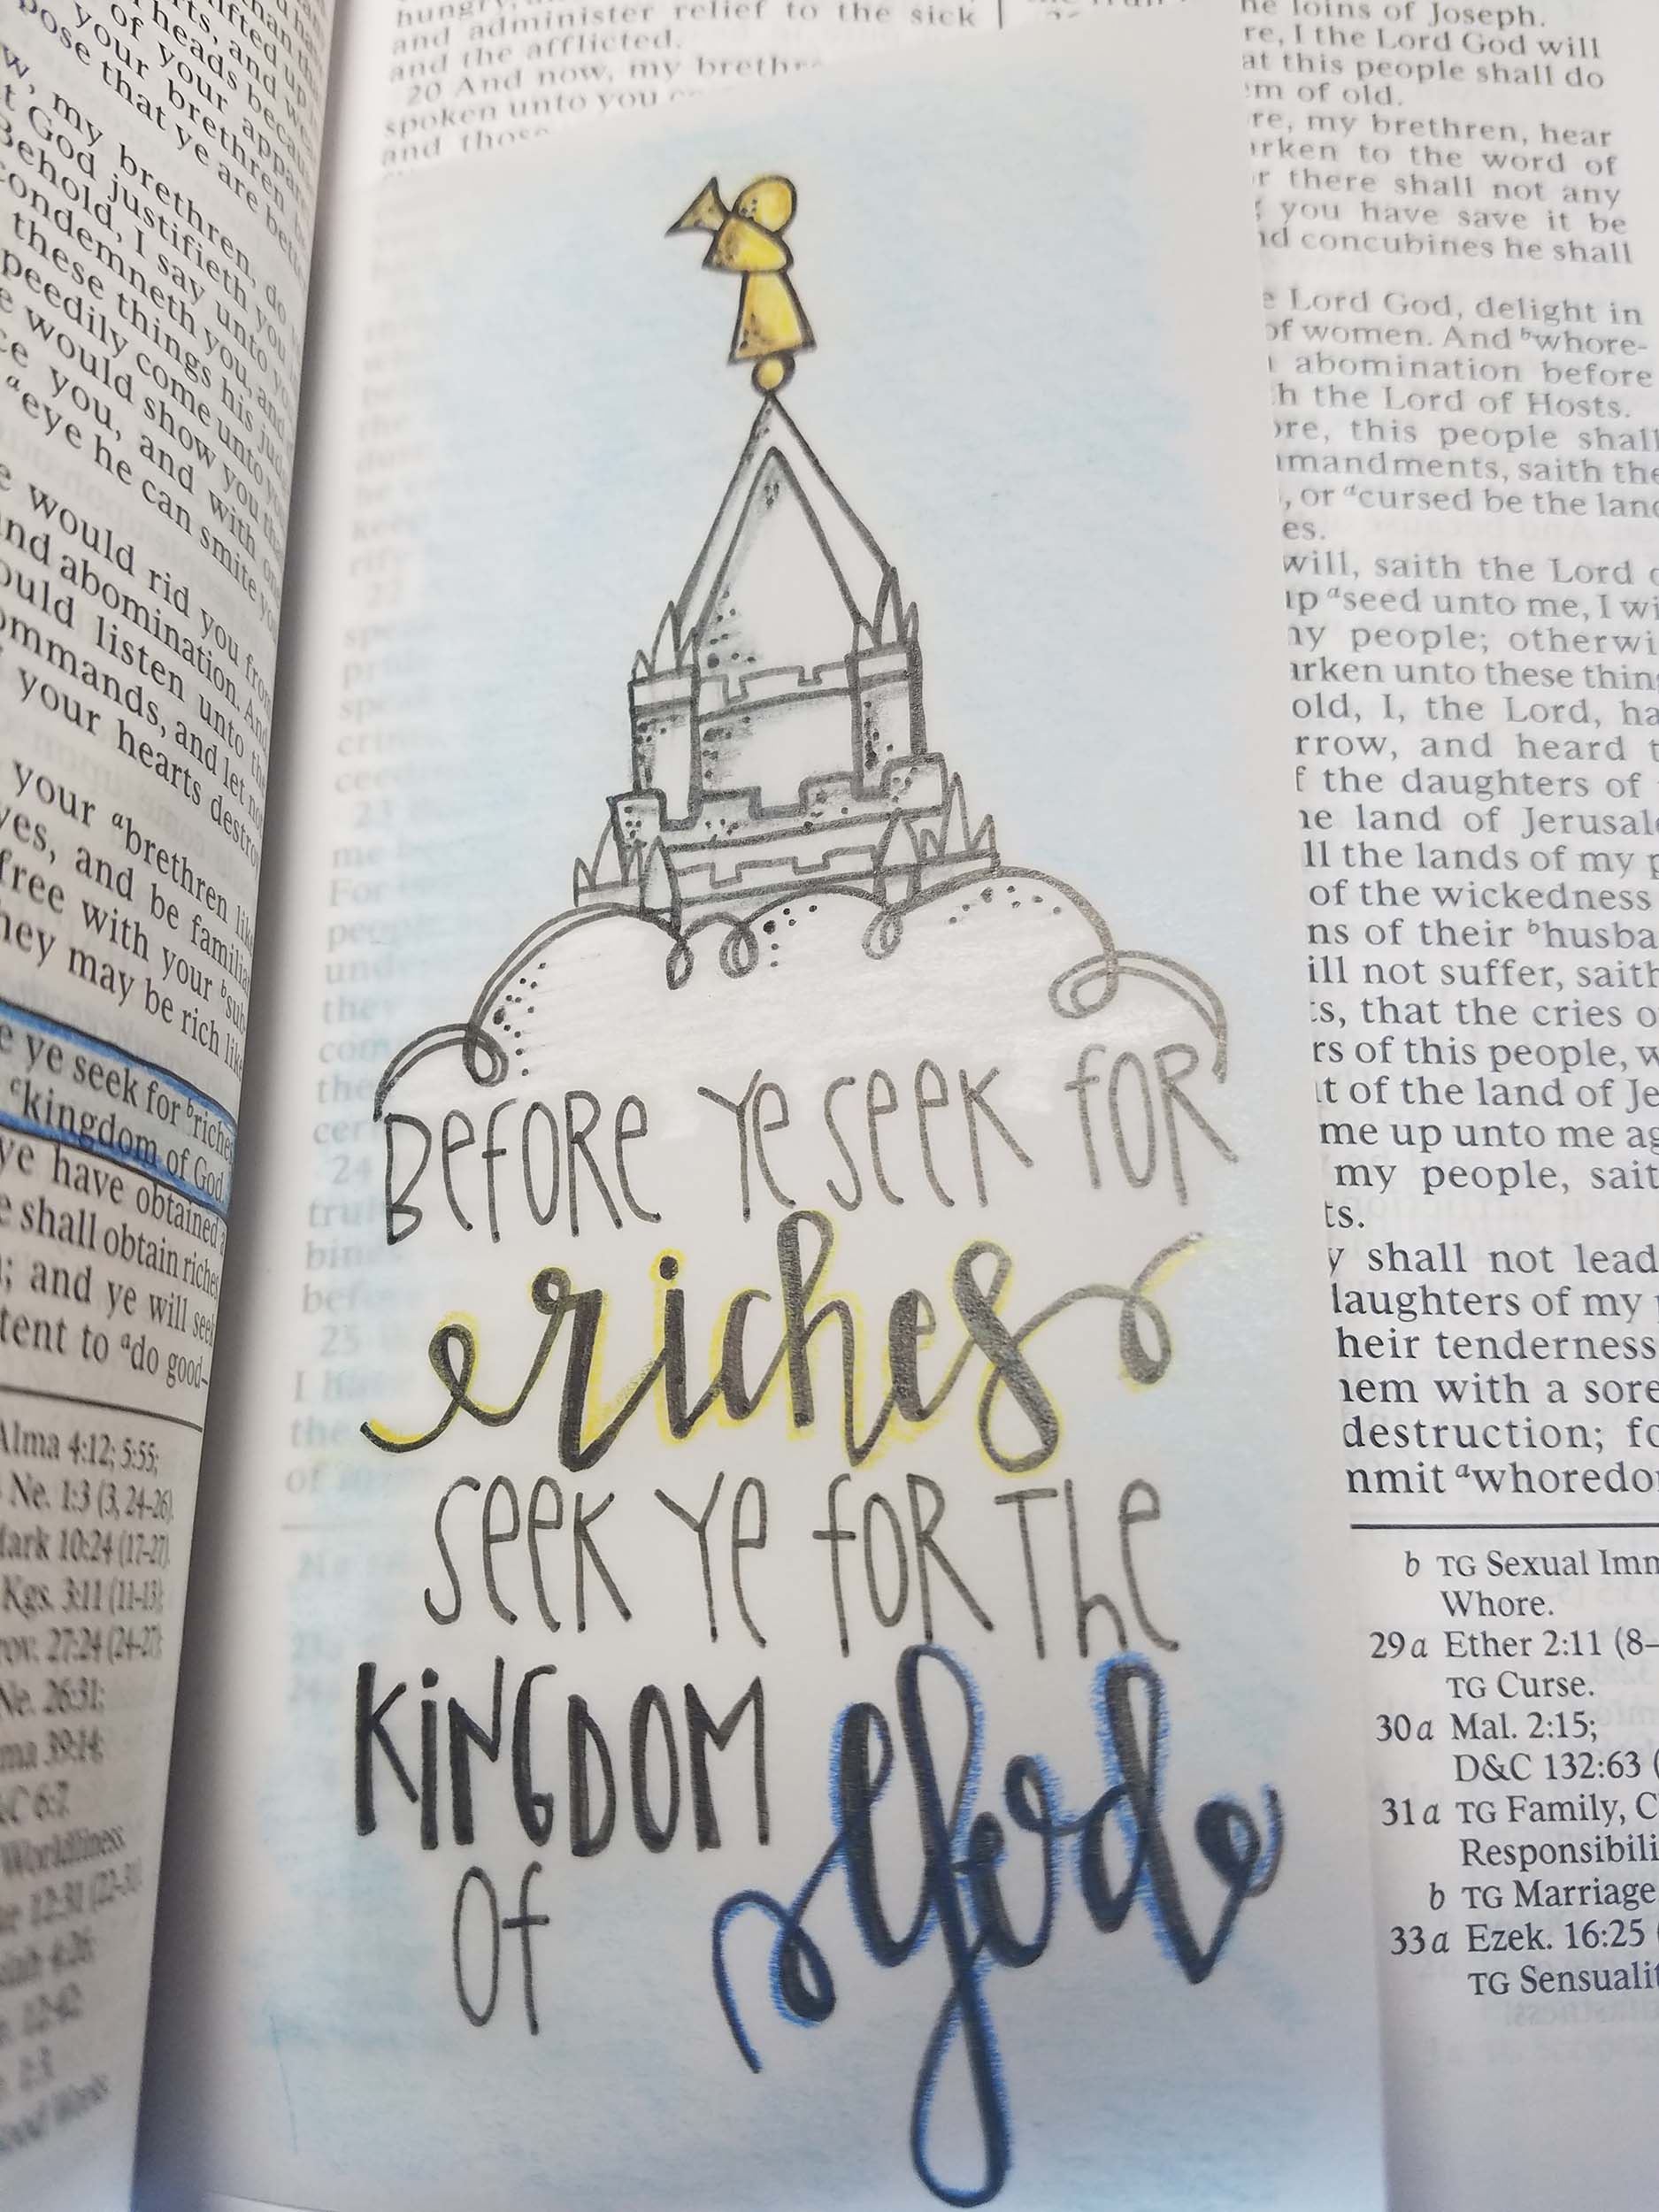
Jacob 2:18
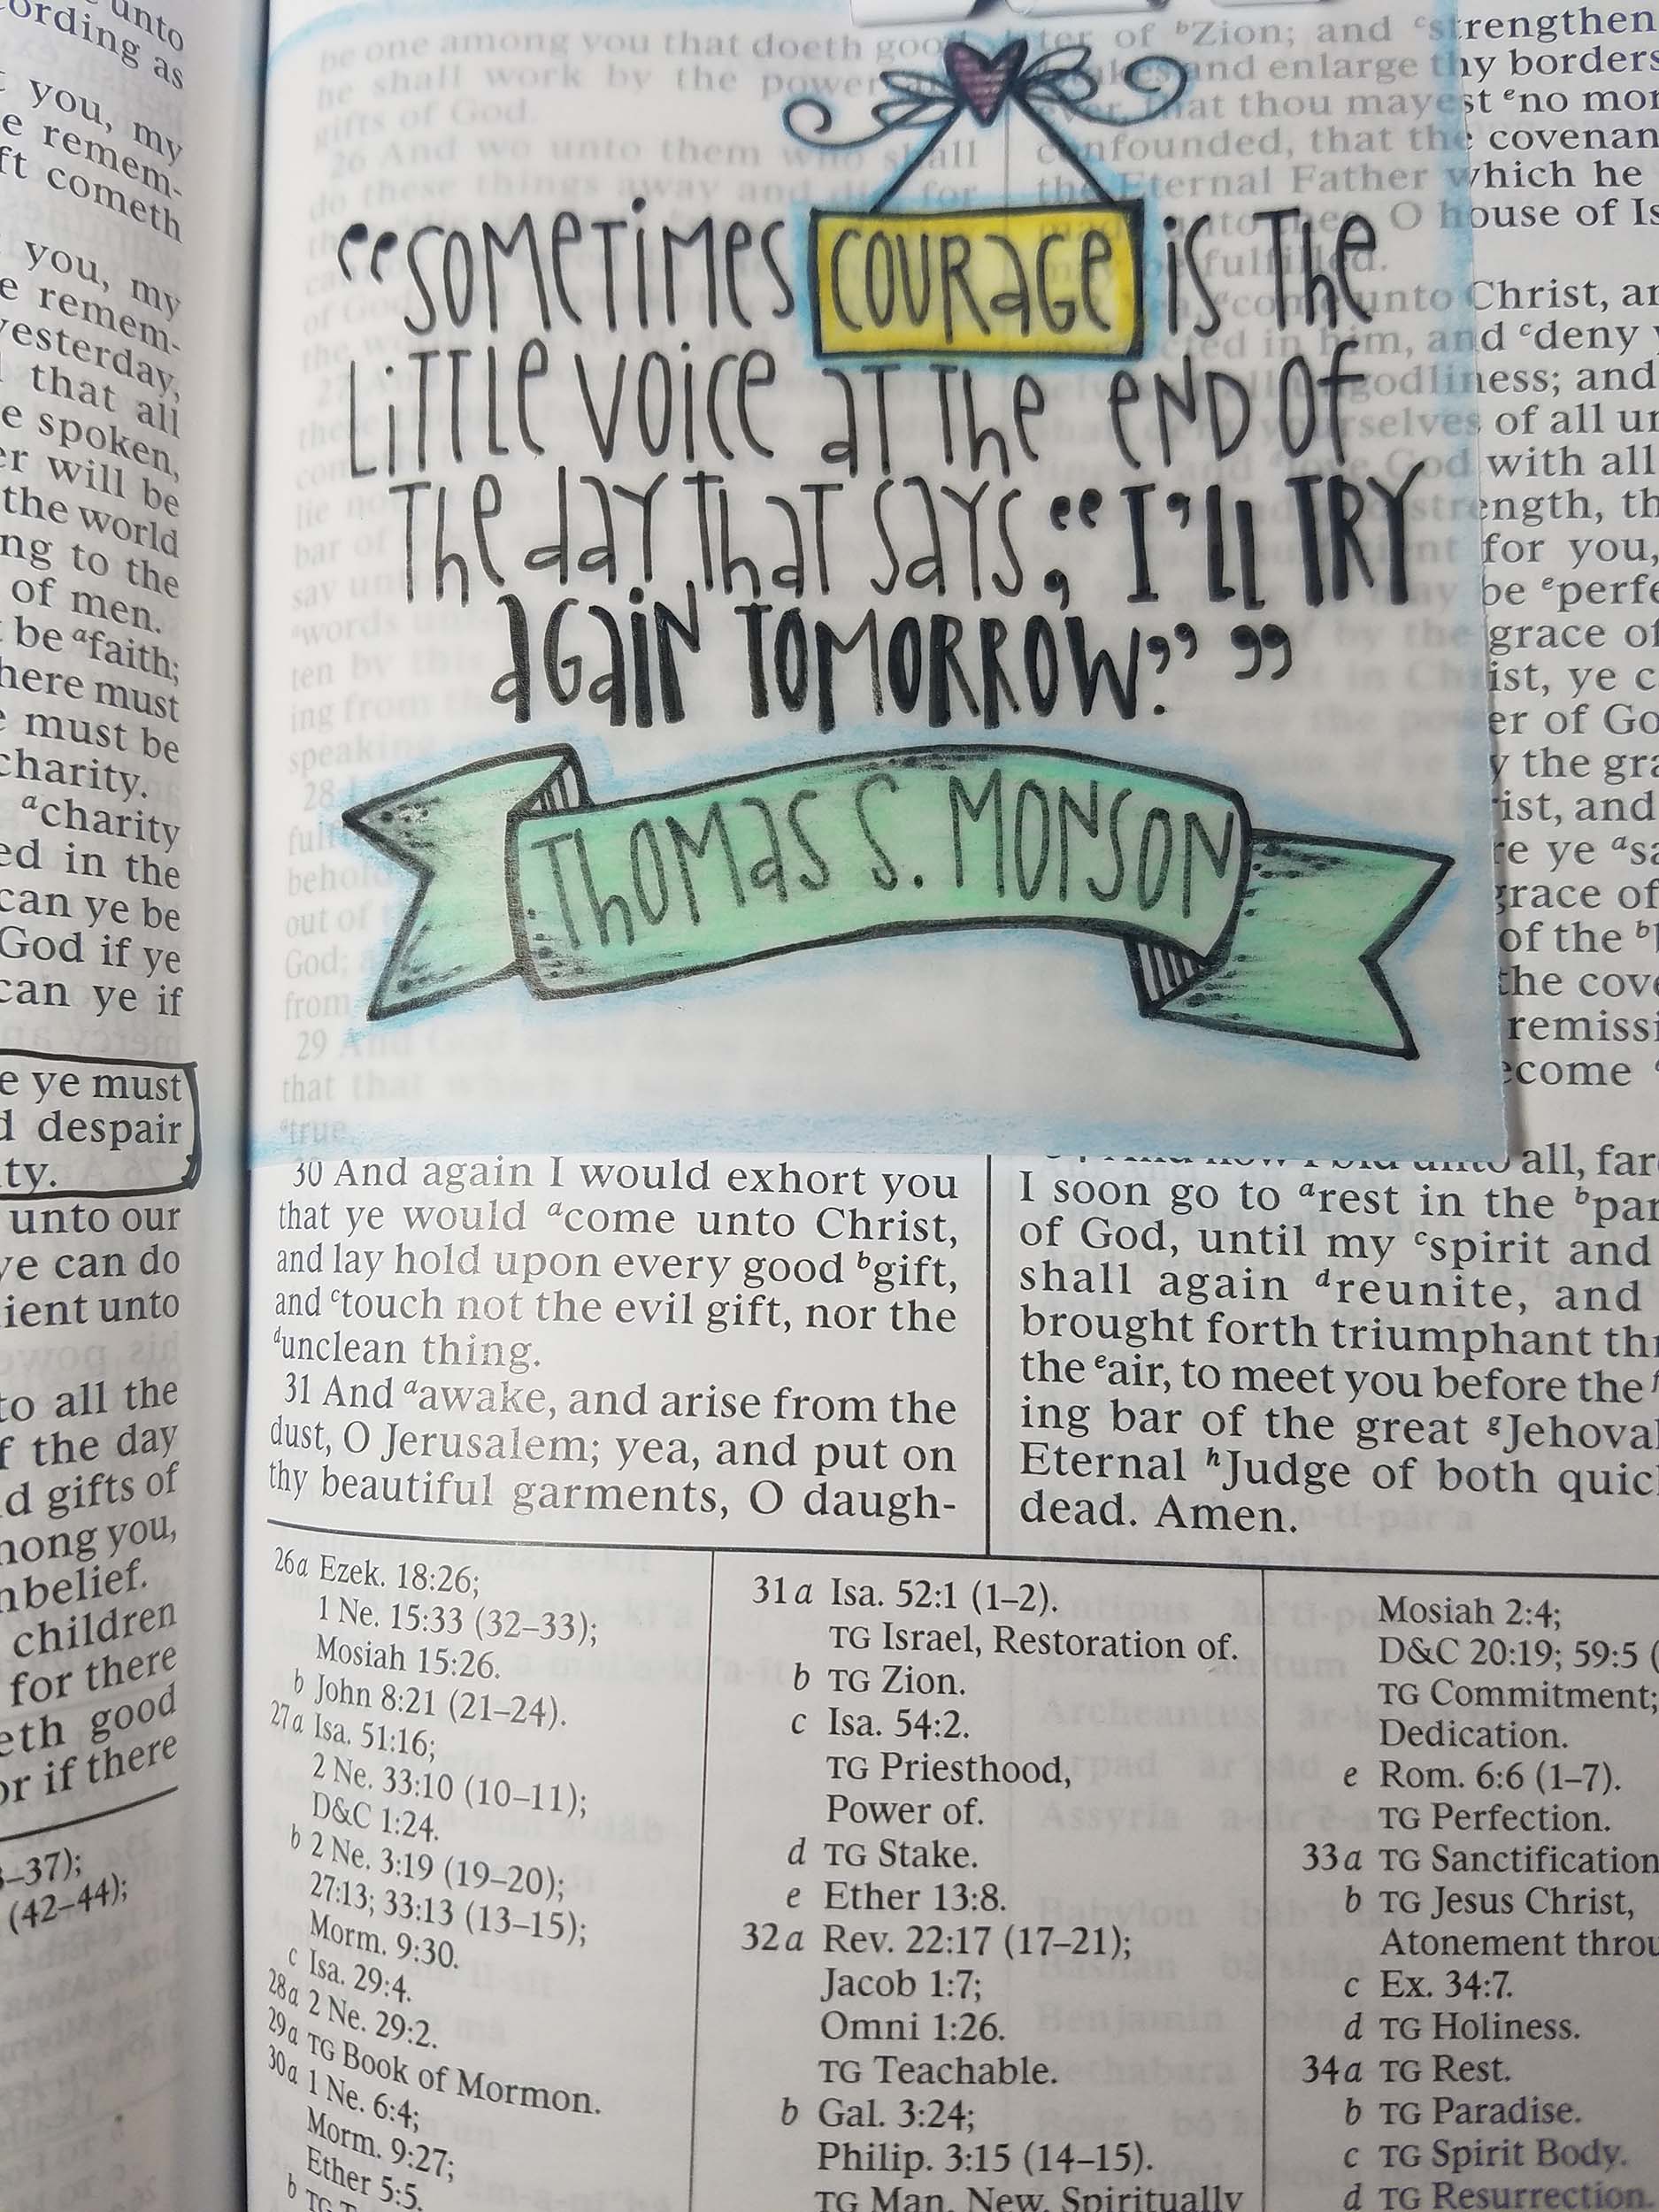
Moroni 10:22
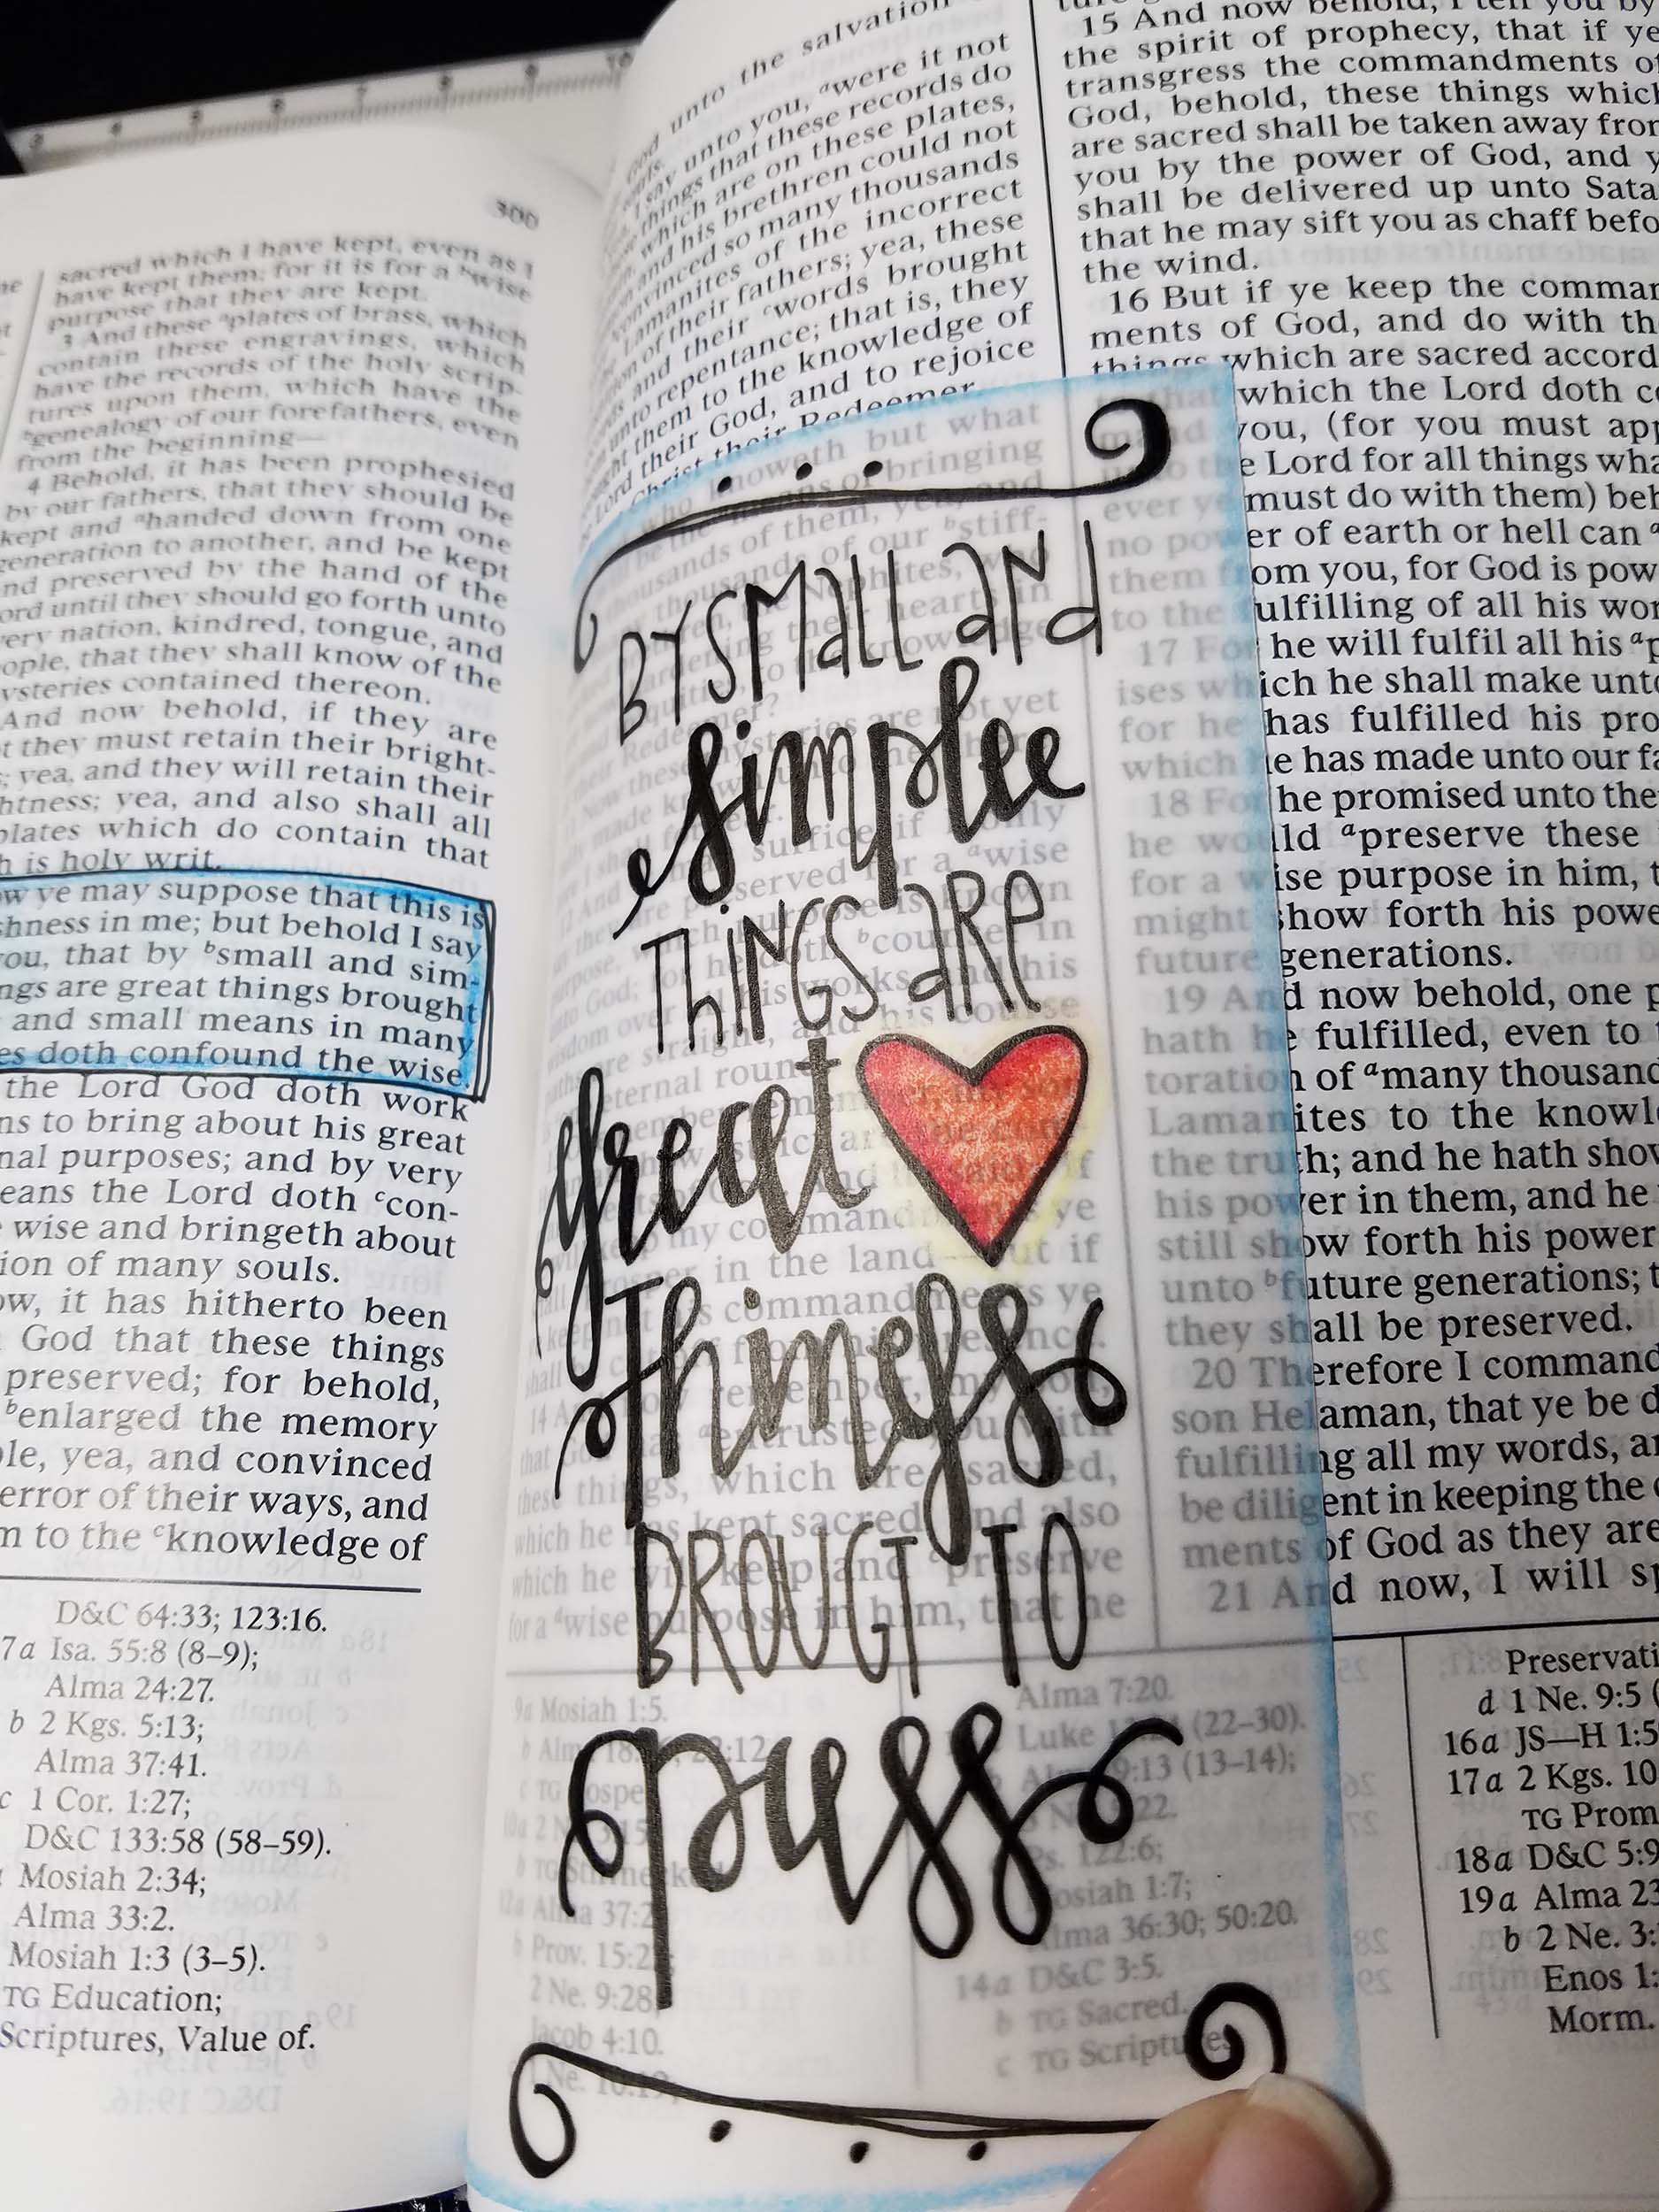
Alma 37:6
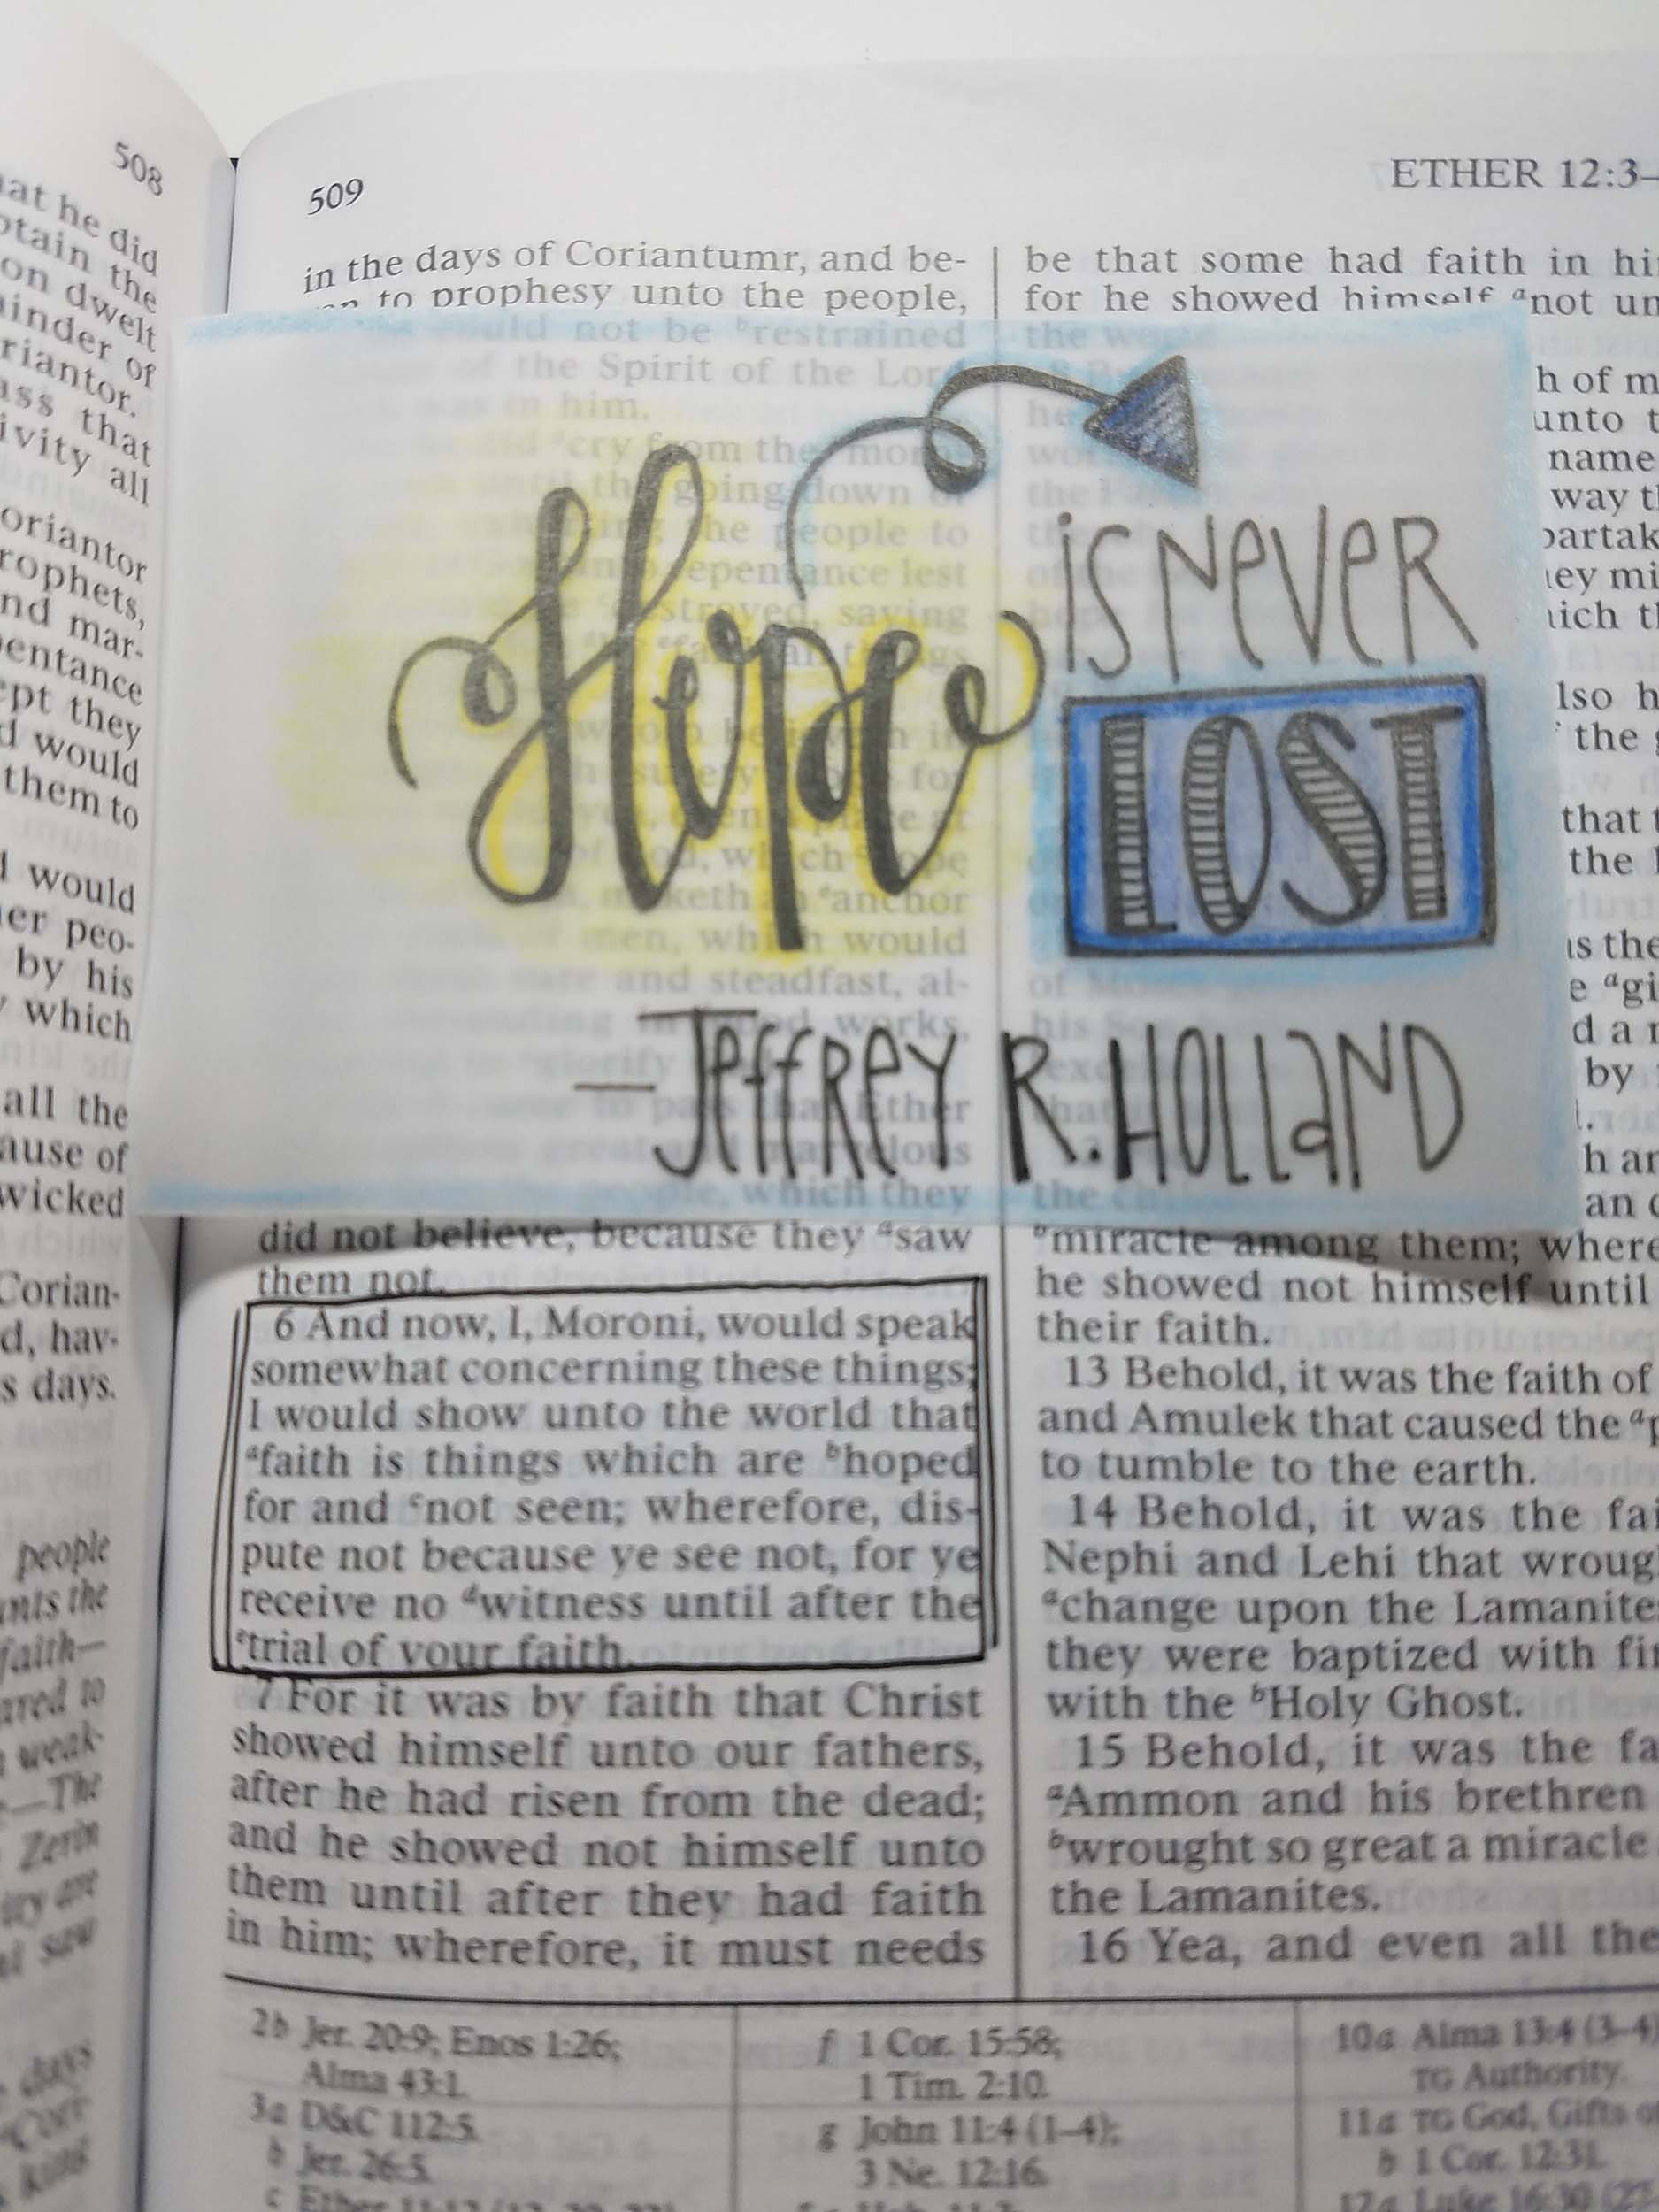
Ether 12:6
 Melonheadz Illustrating LLC 2017 line art.png")
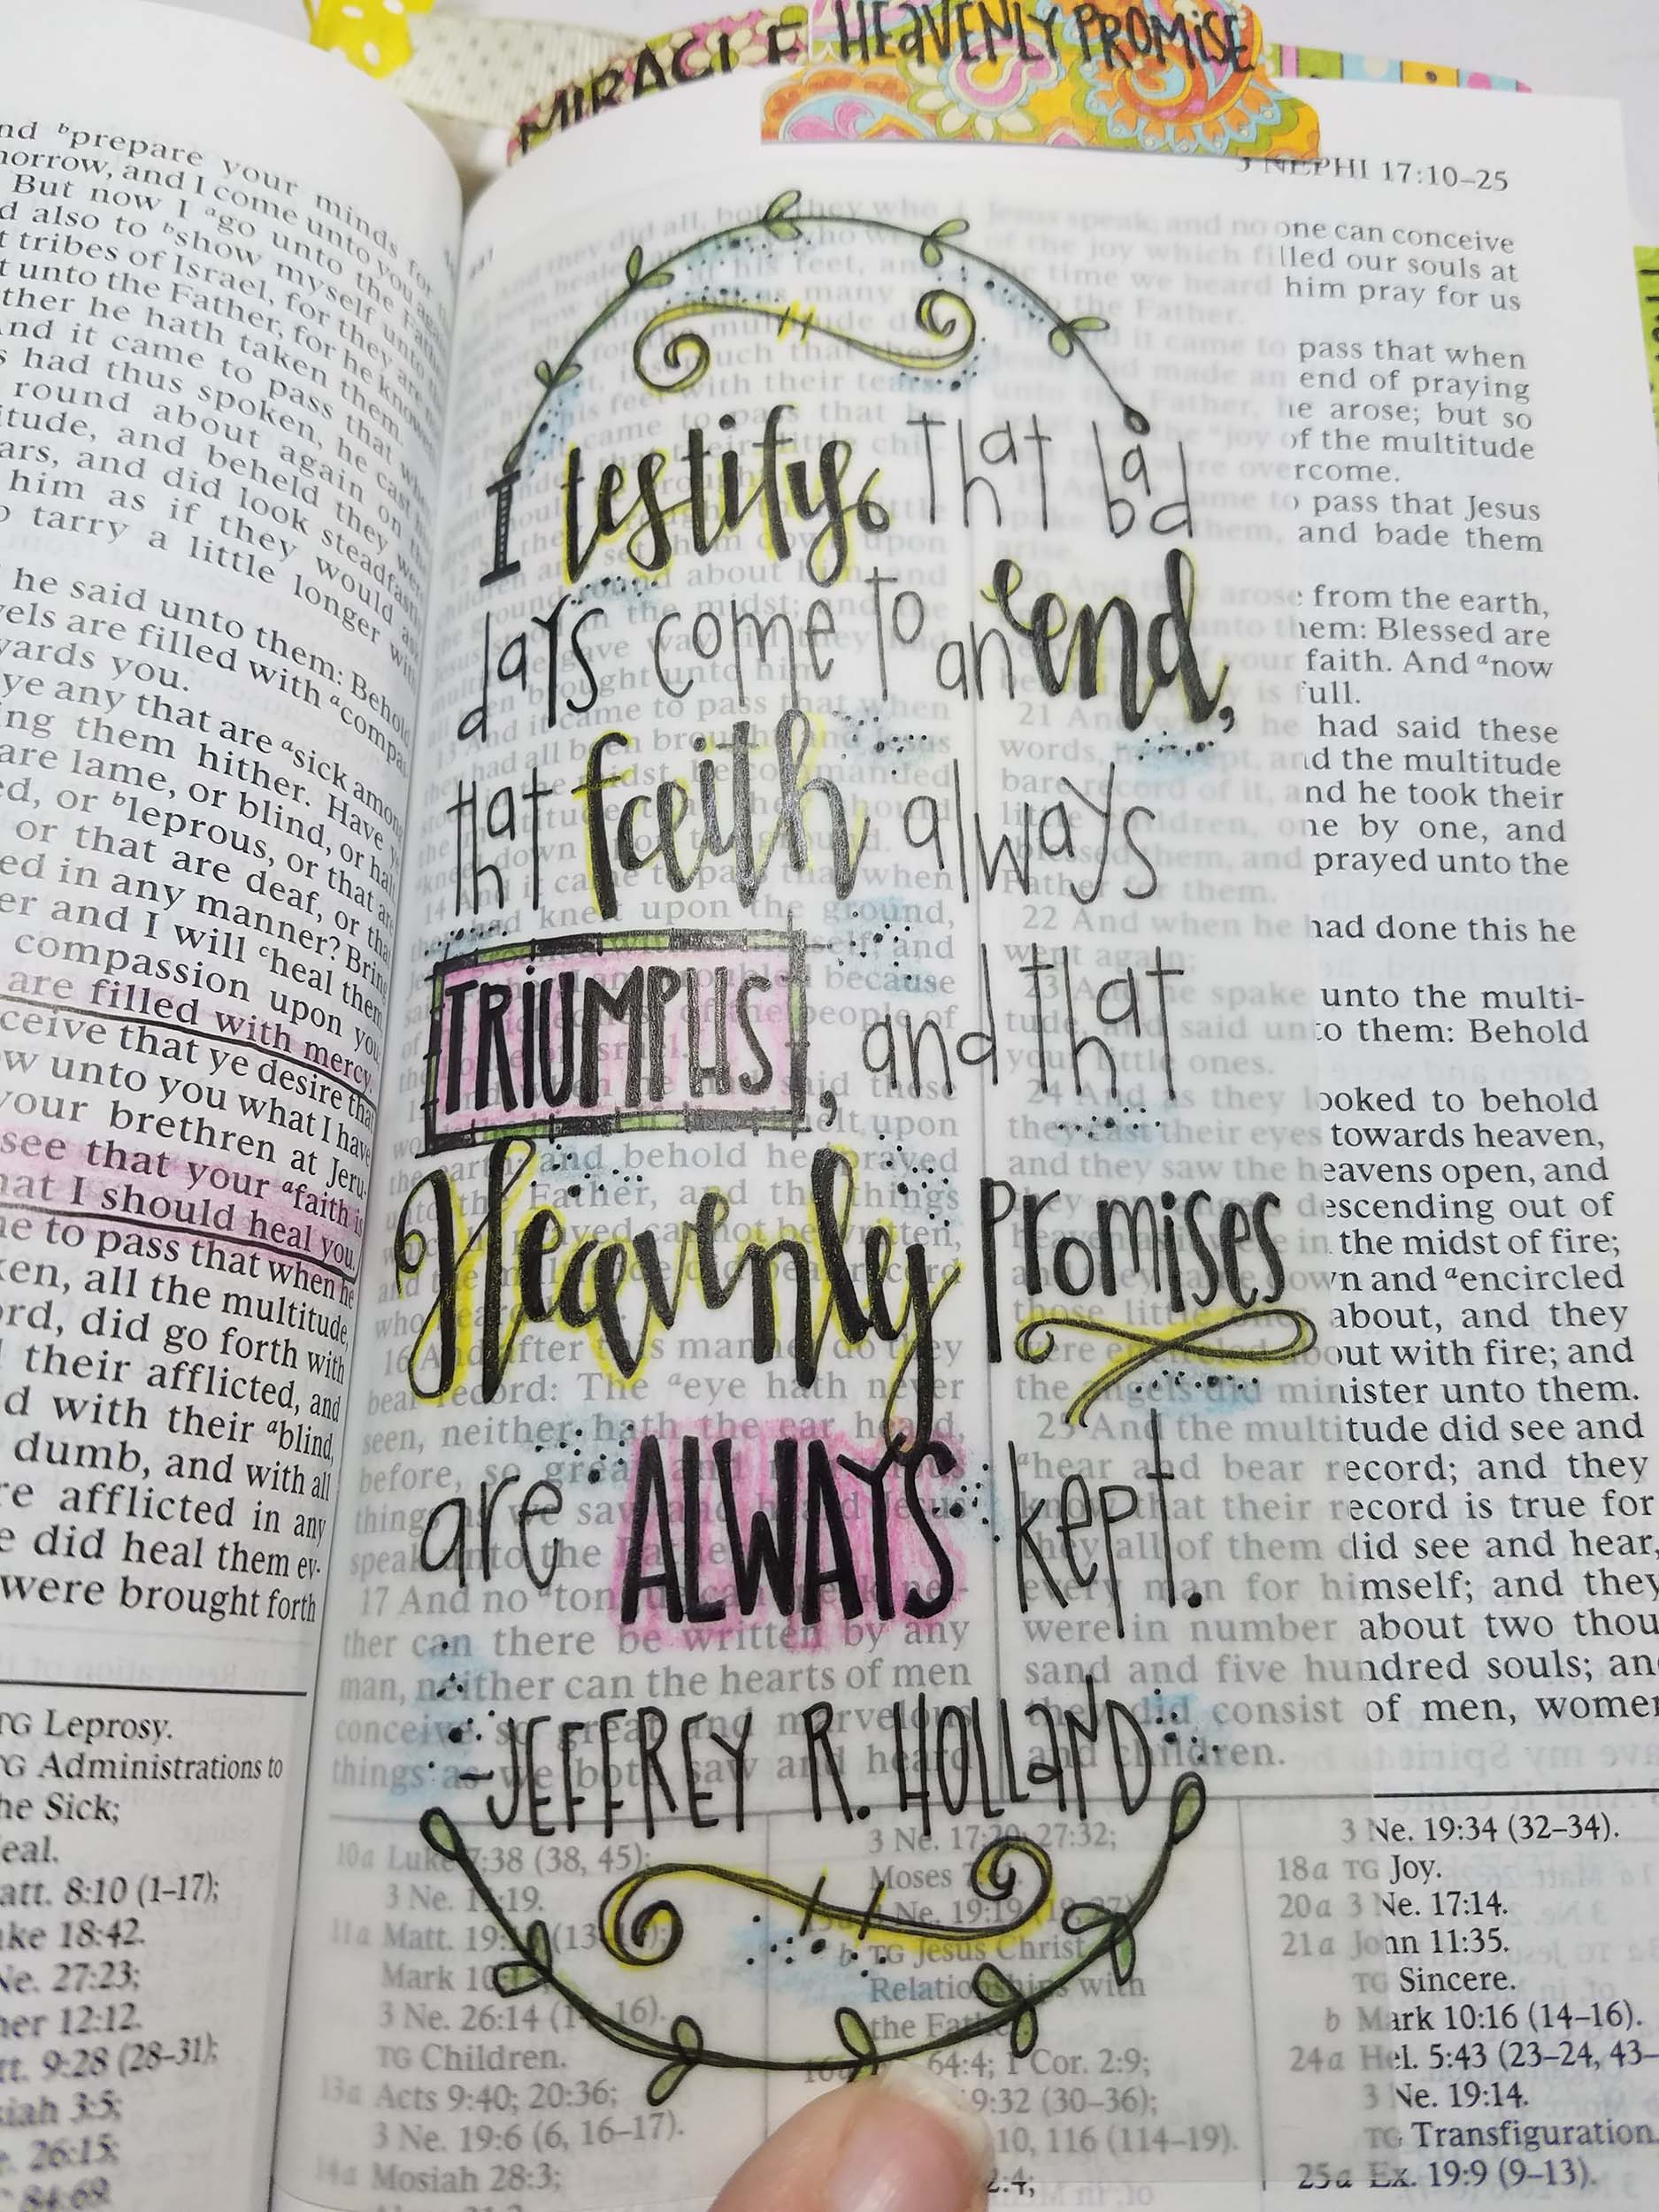
I LOVE Elder Holland! I could listen to that man talk for days!!!
1 Nephi 17:8
As it should 🙂
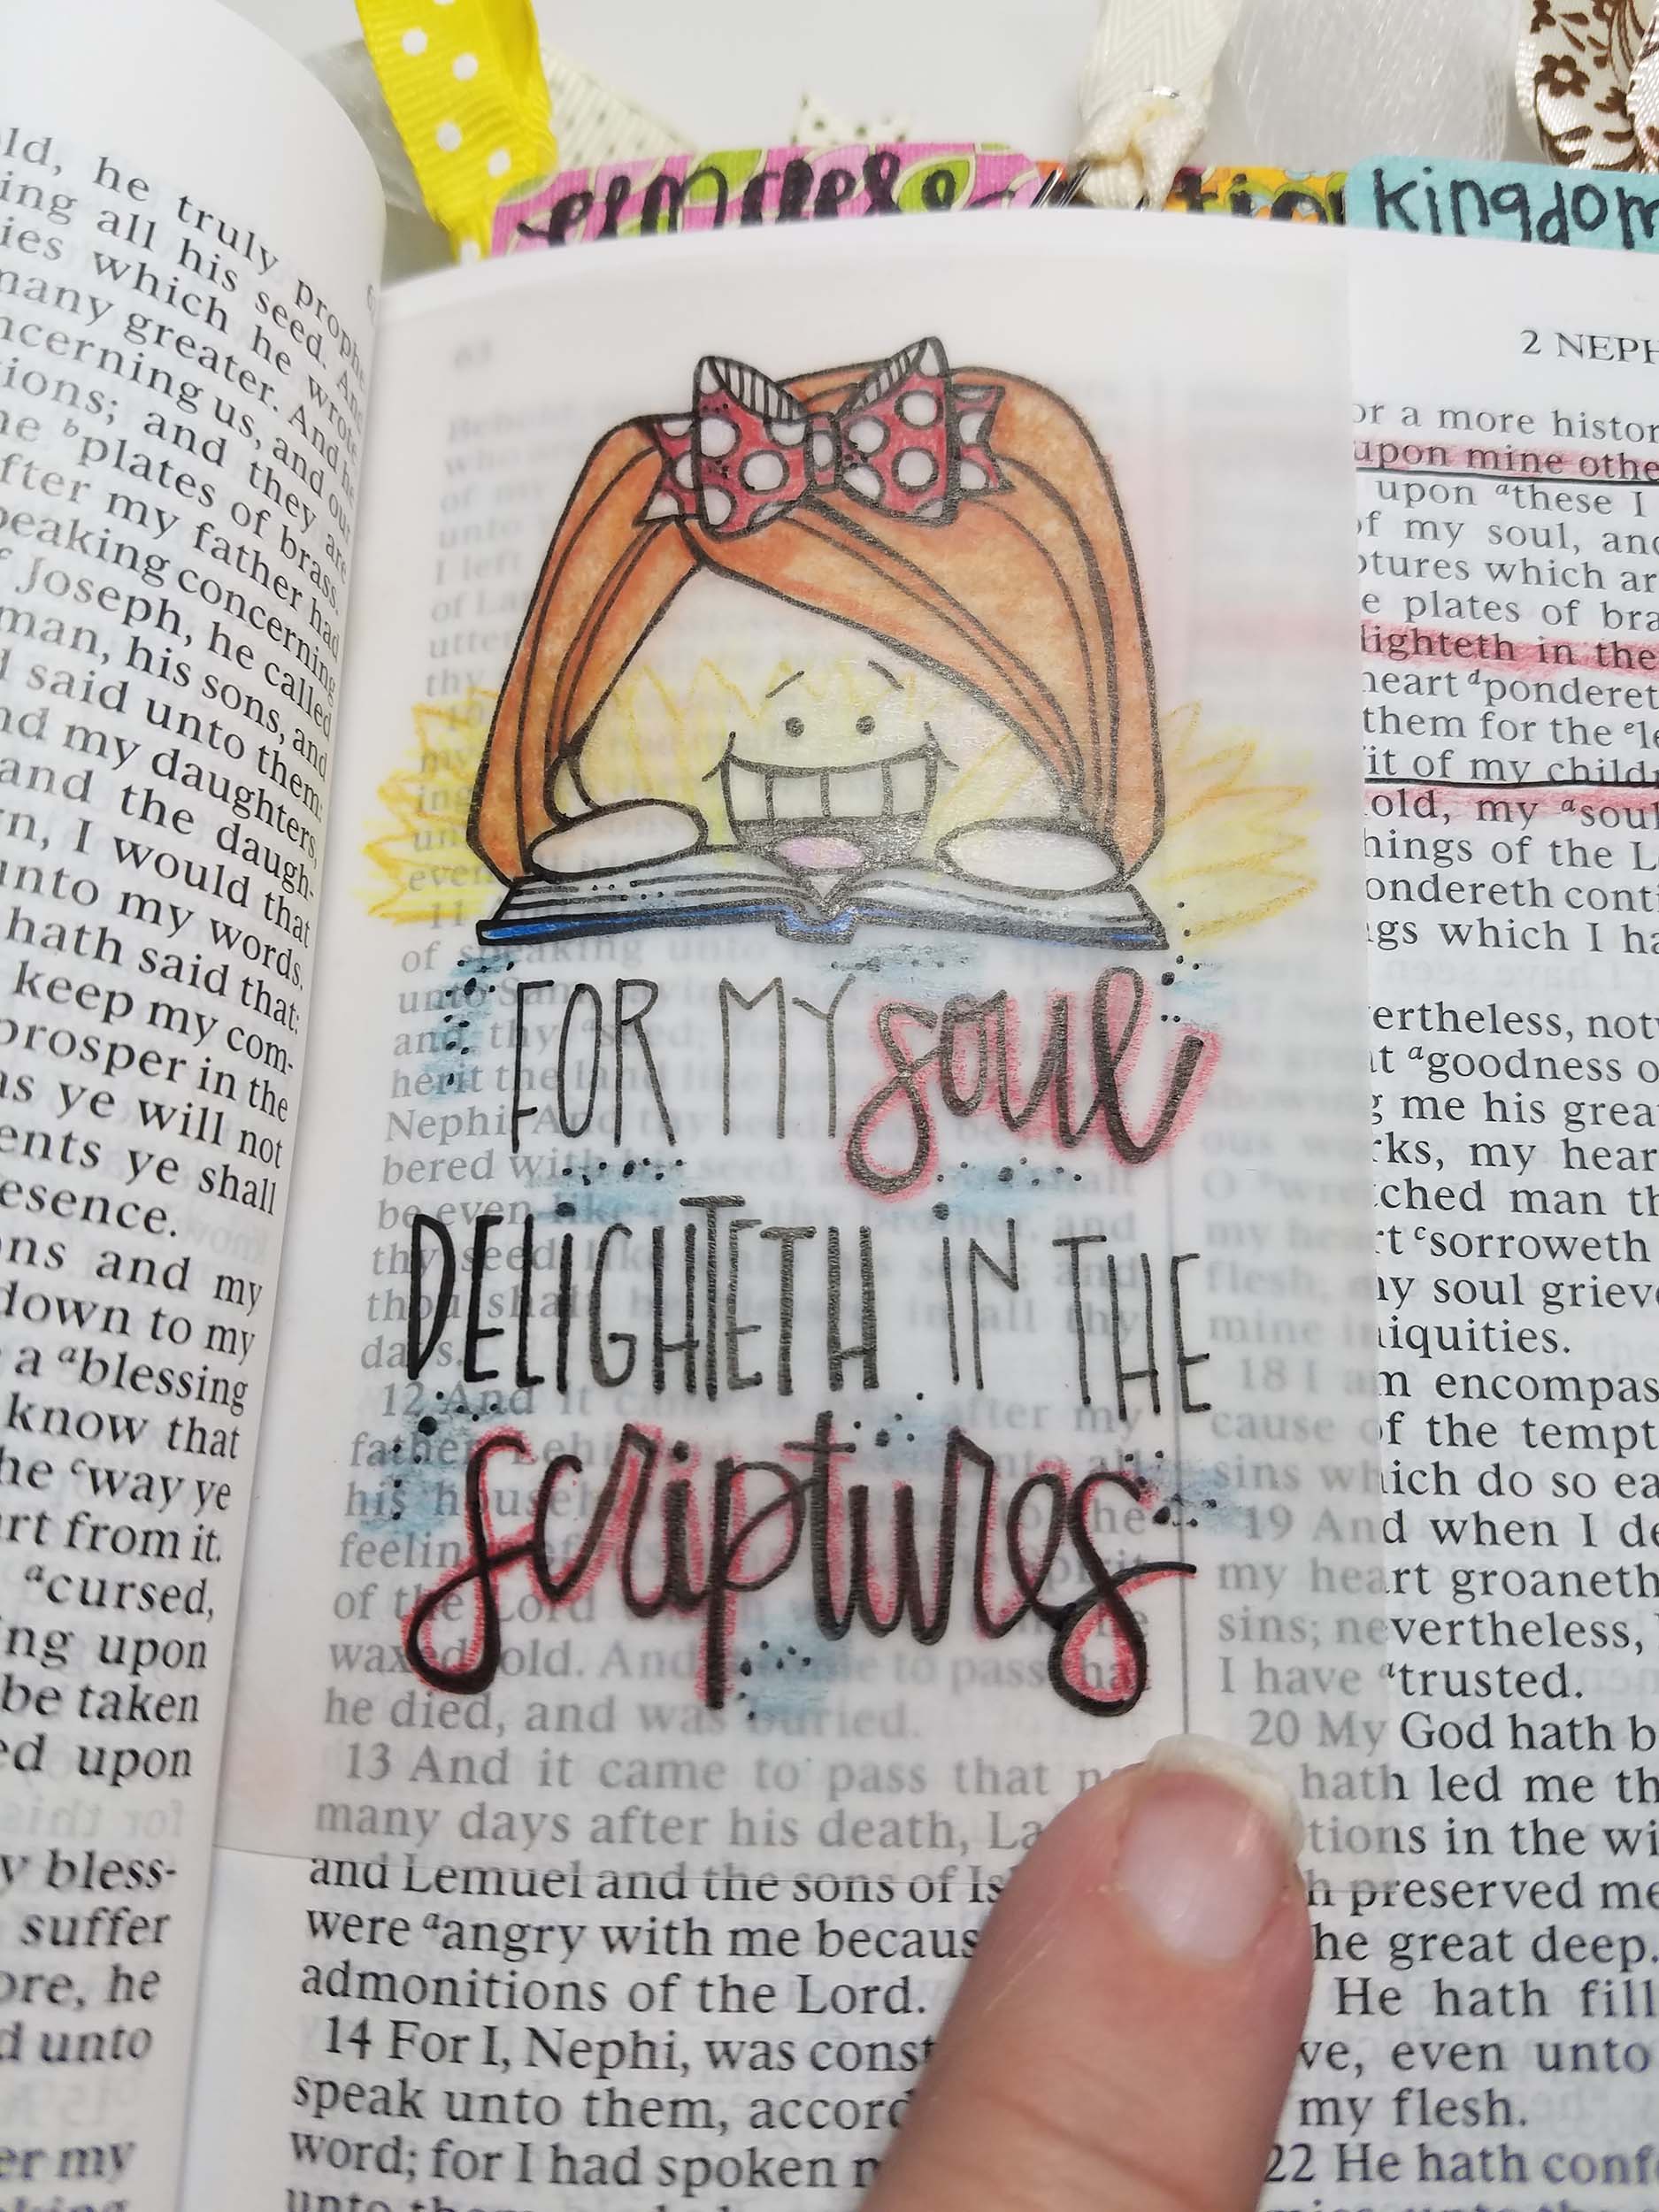
2 Nephi 4:5
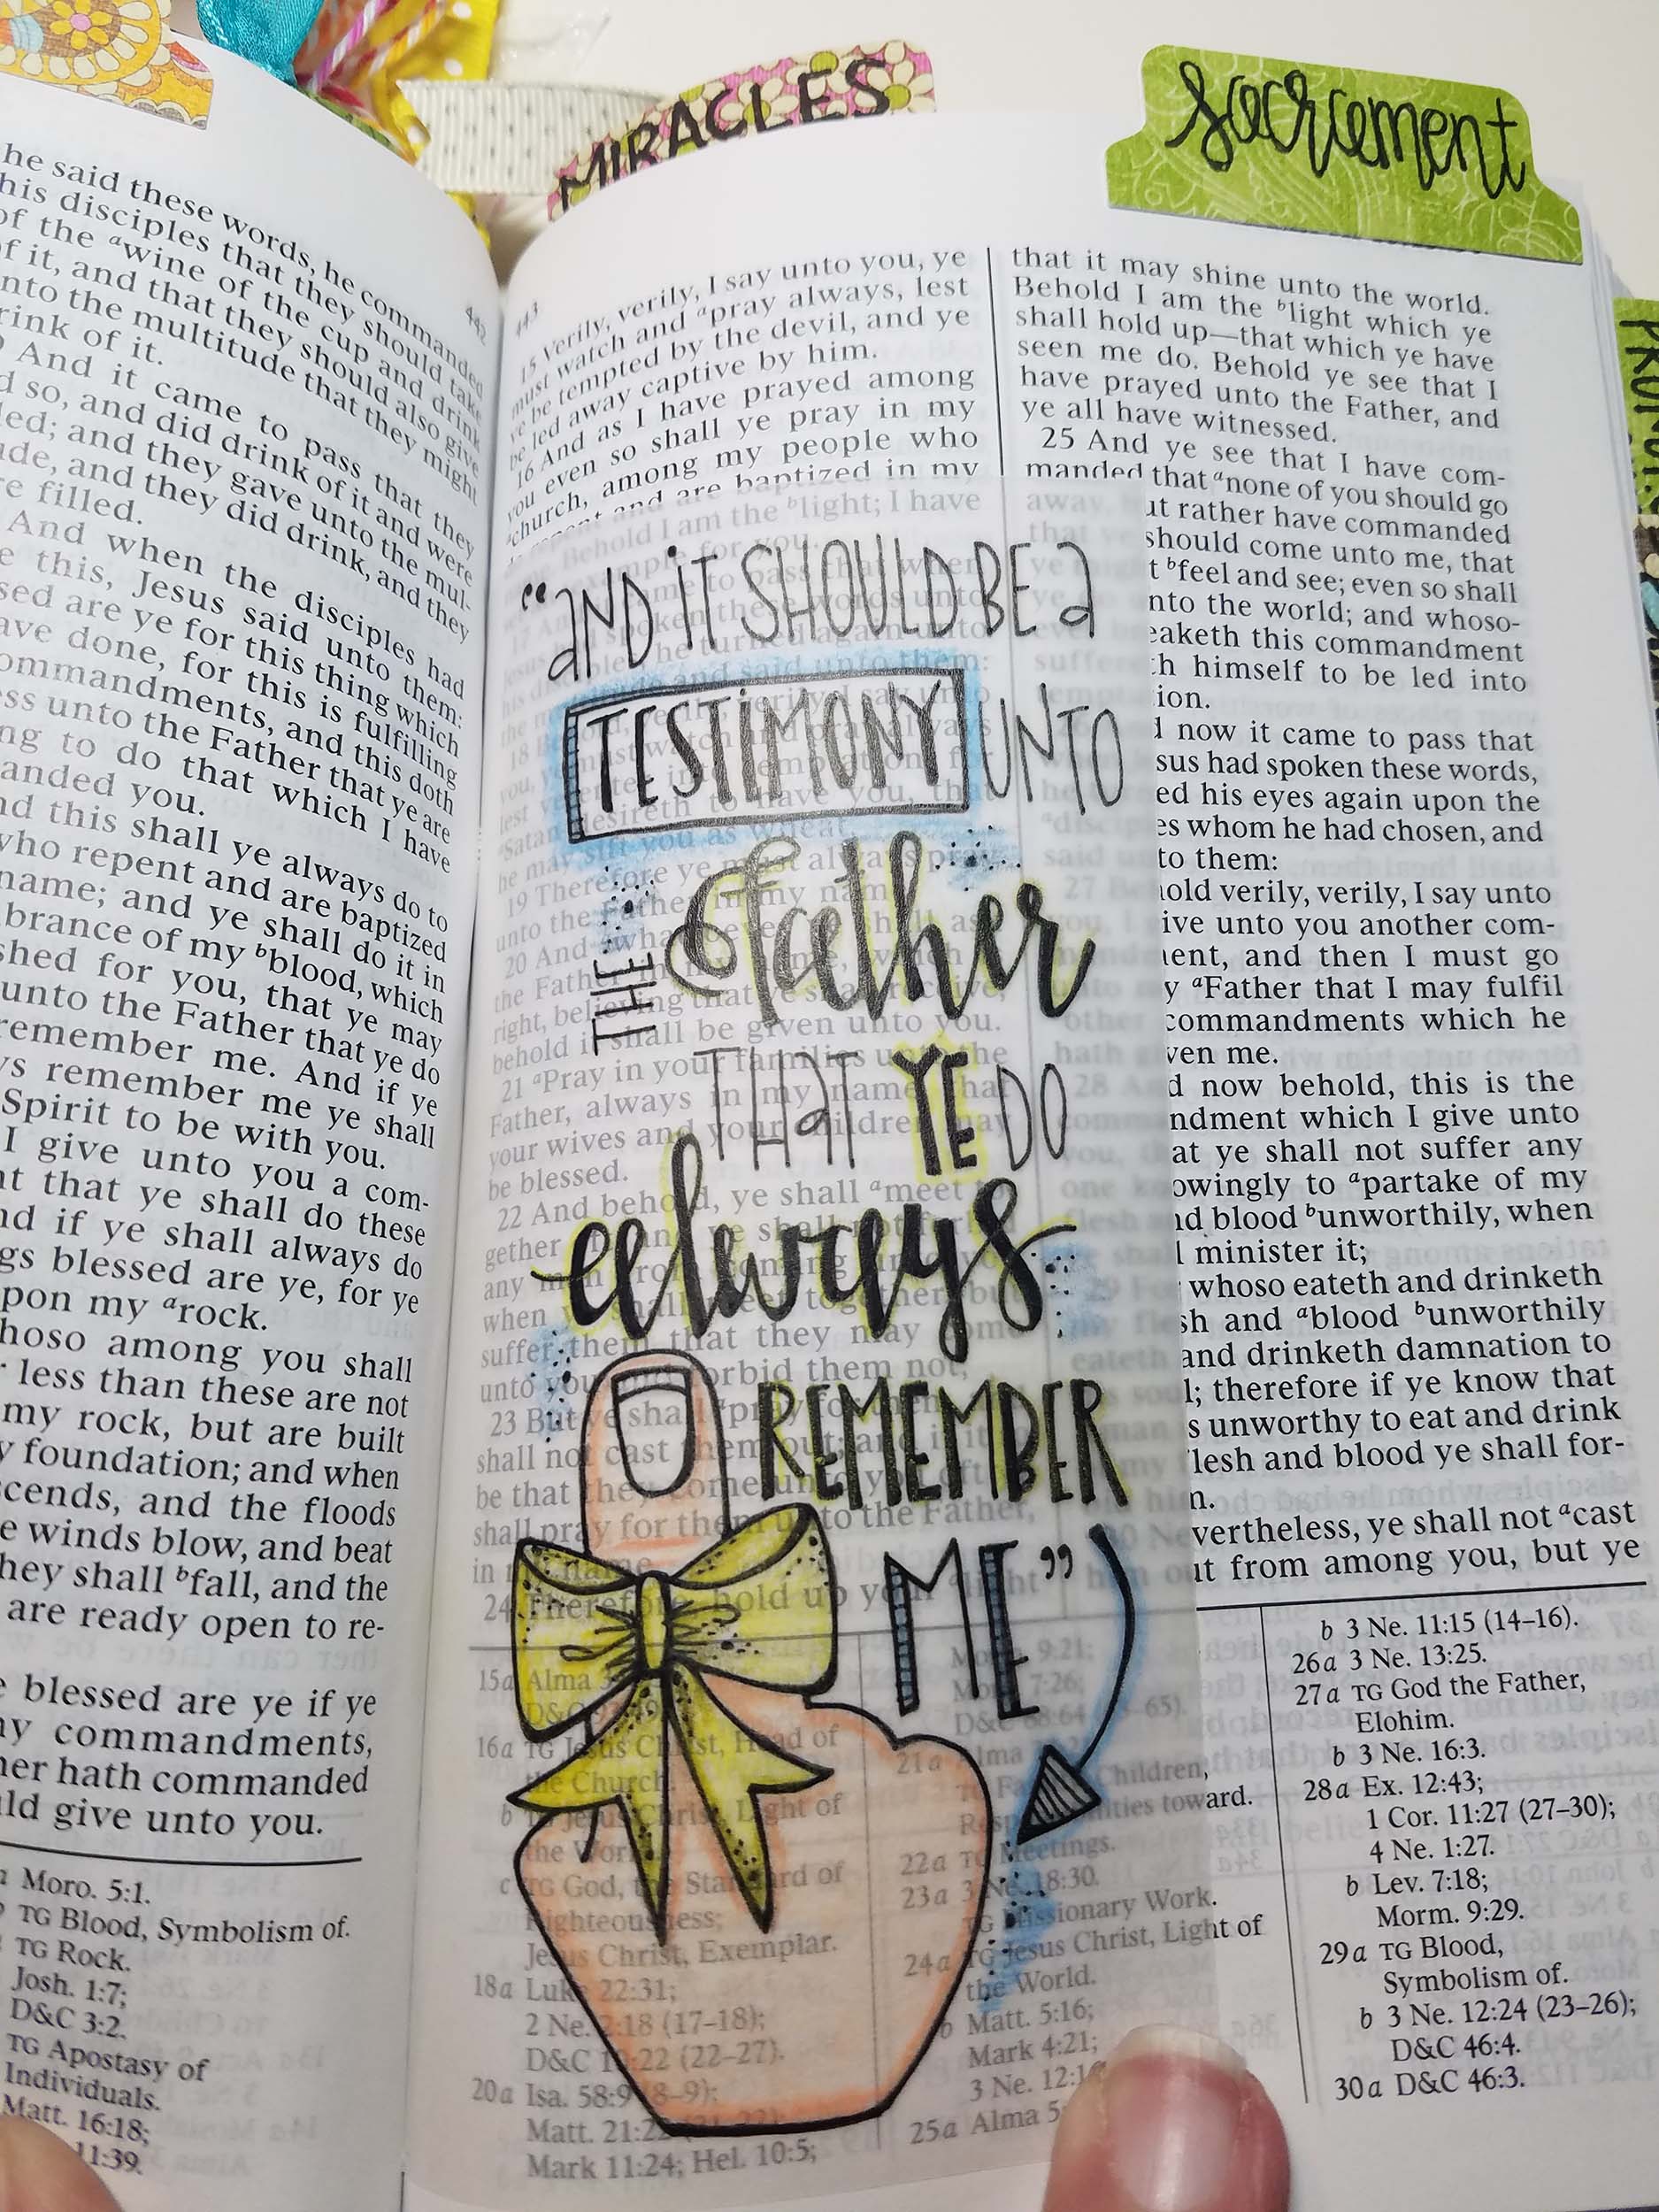
3 Nephi 18:7
 Melonheadz Illustrating LLC 2017 line art")
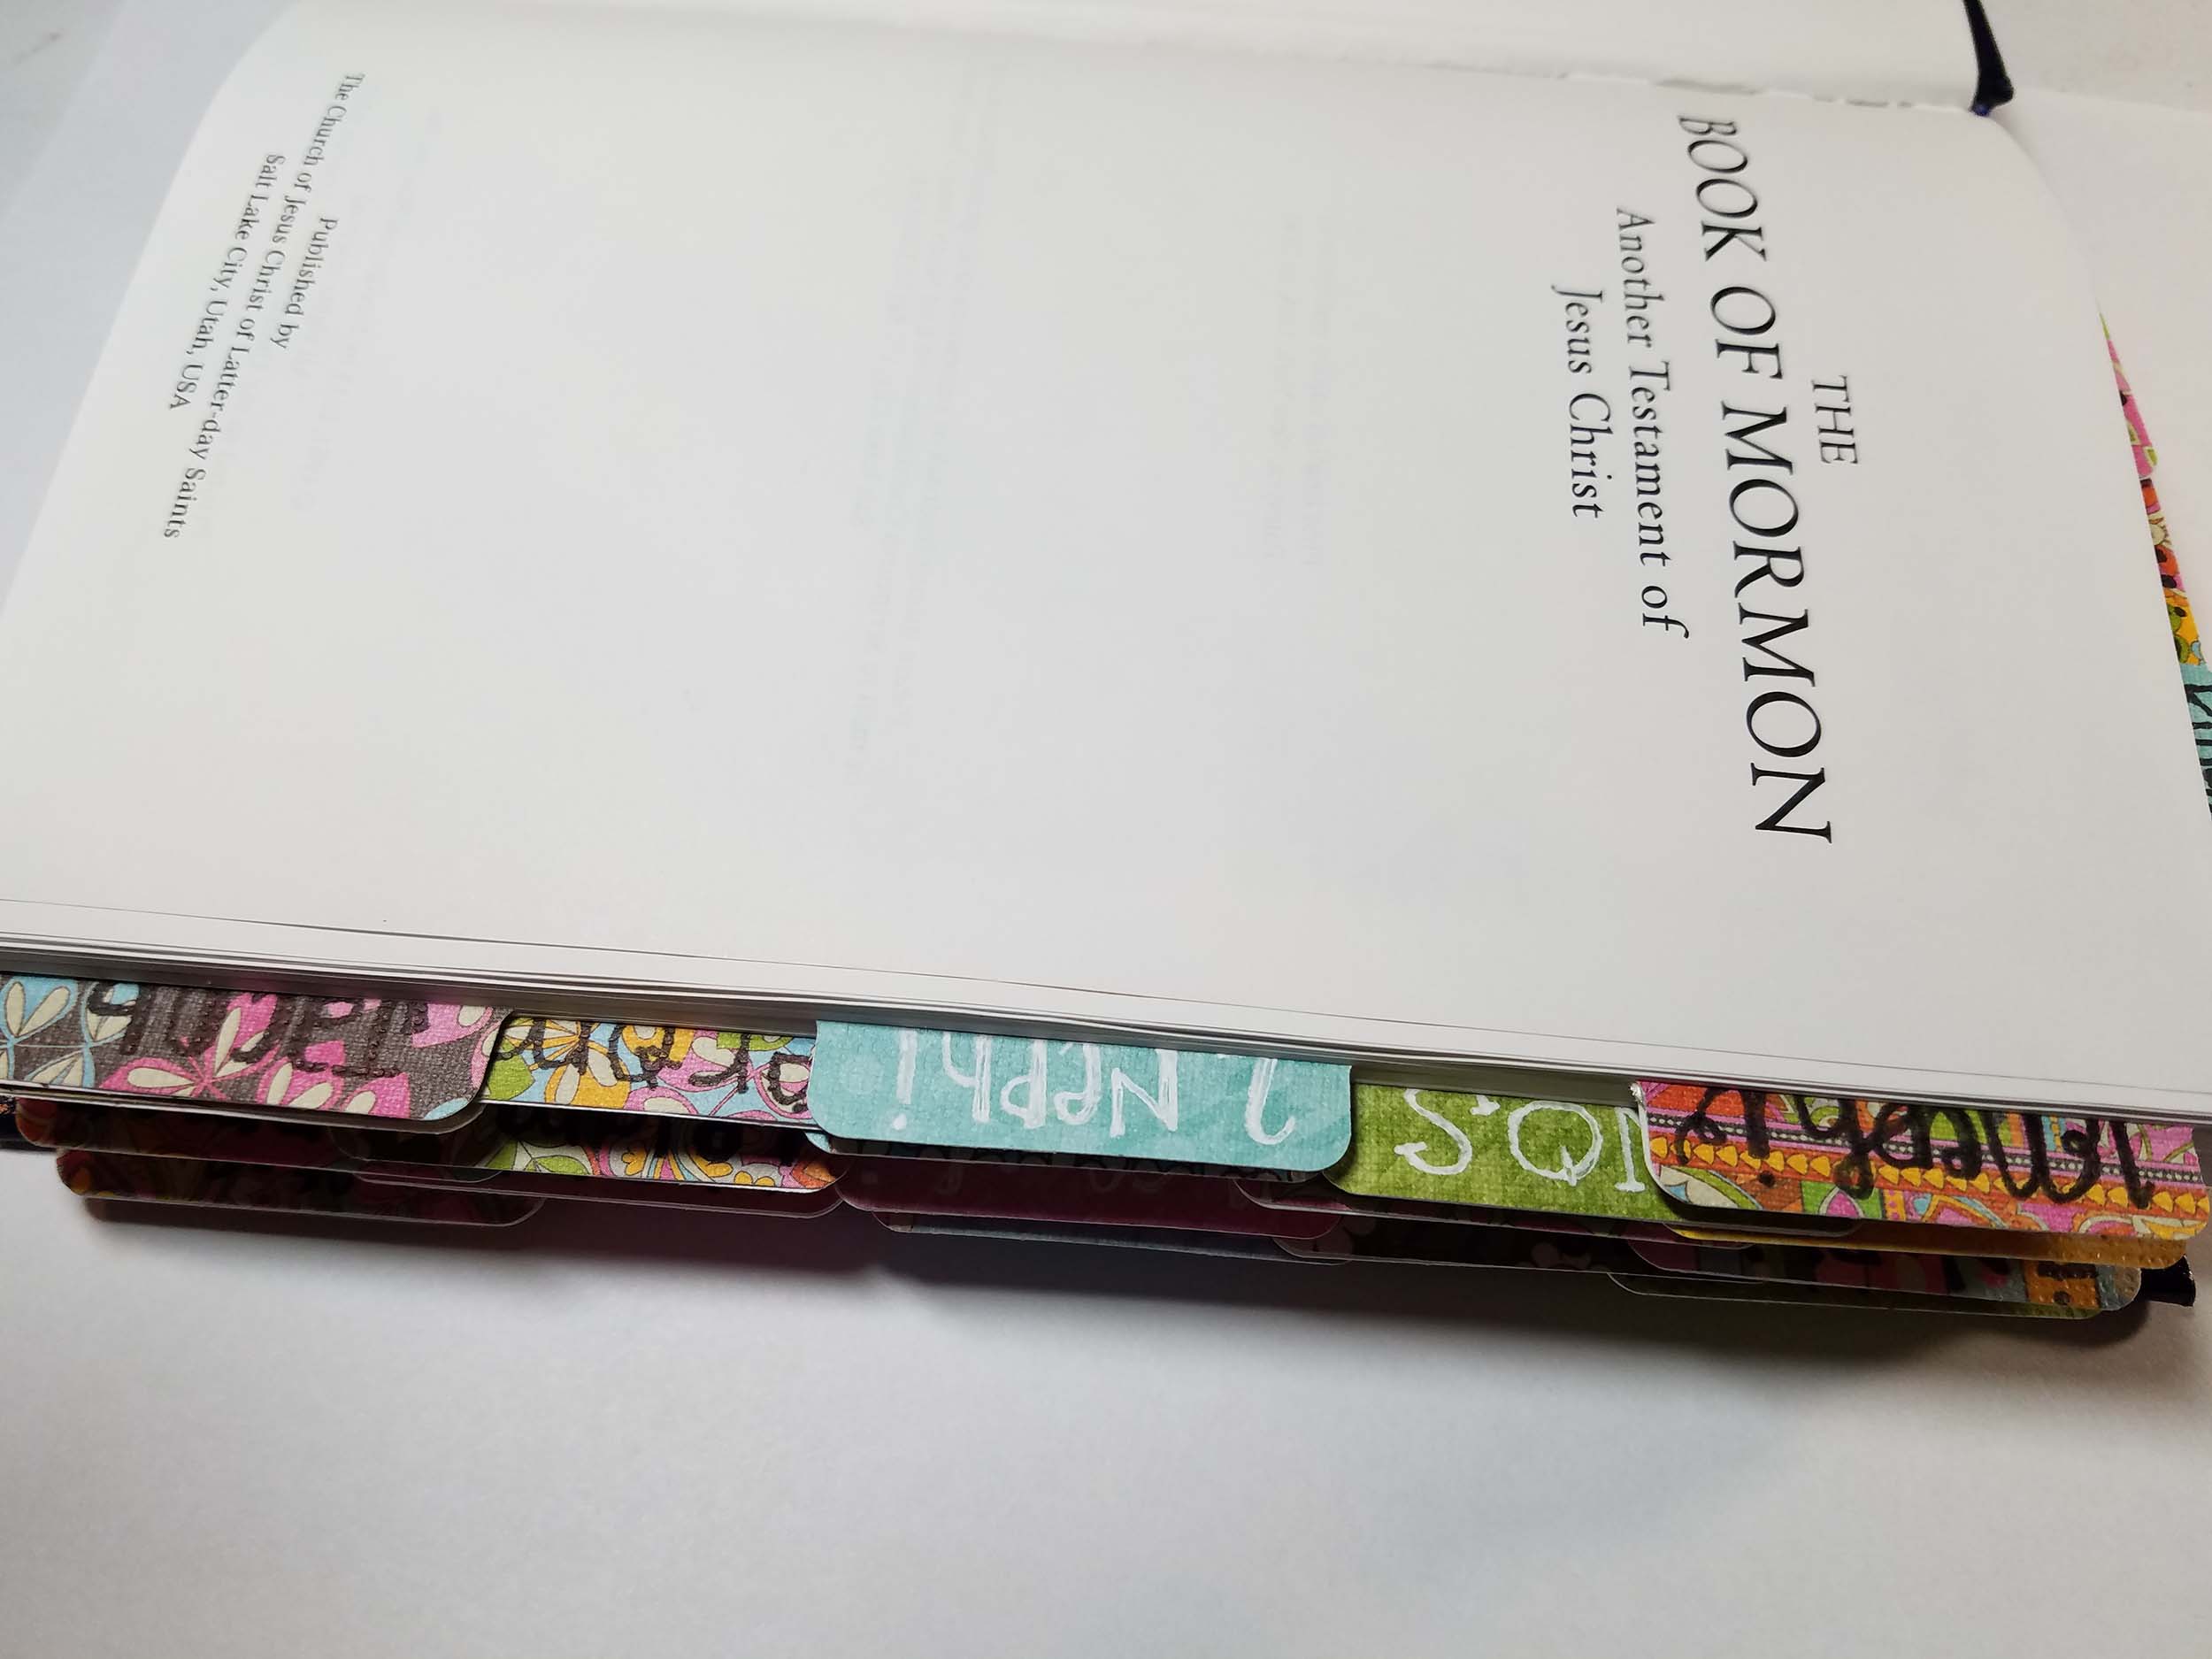
I decided I wanted to put some tabs on my book too. I found some patterned card stock that I liked (20 coordinating prints 🙂 )
And I purchased a tab punch!

I punched out a TON of tabs, and glued them into place with glue dots, and then used rubber cement to attach the back piece. I wanted the tabs to be thick. I have seen where others just do one thickness and glue dots.
After pouring over the Pinterest boards and Facebook group posts, I found just what I wanted. I used different handwriting styles, and black ink and a white gelly roll pen.
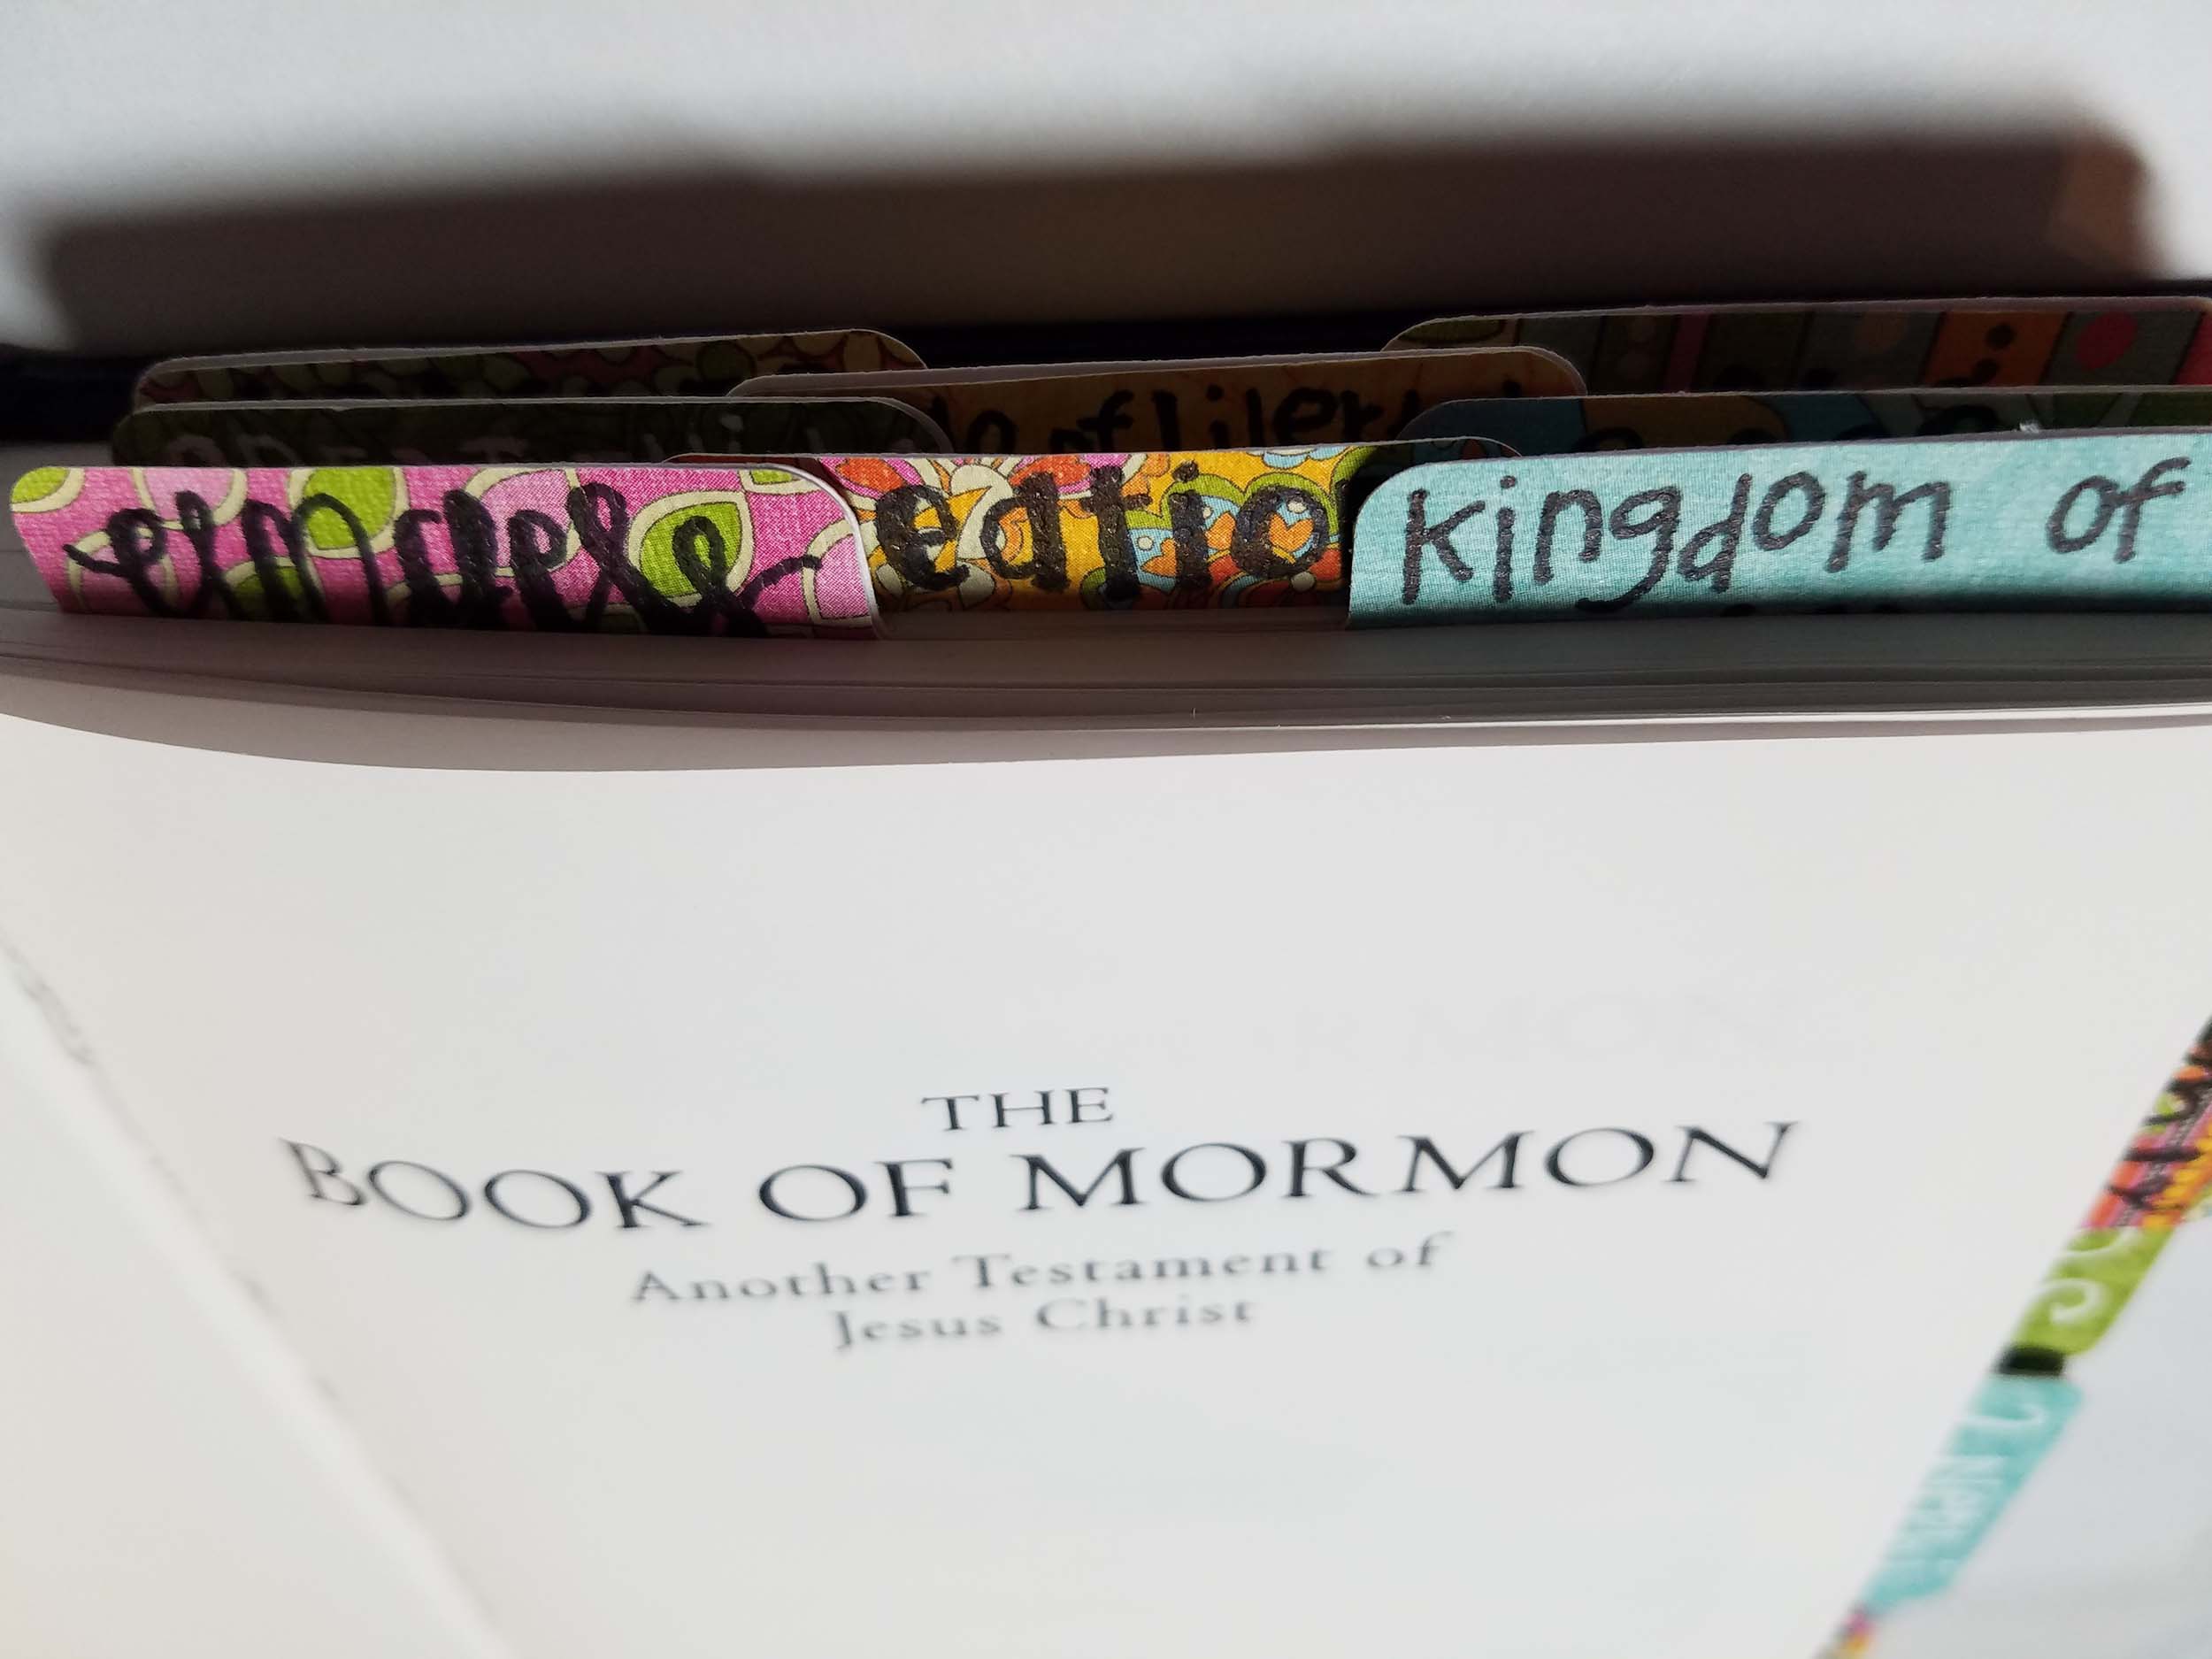
The tabs on the side are the names of the books, and across the top are the journaling that I have already done in my book.
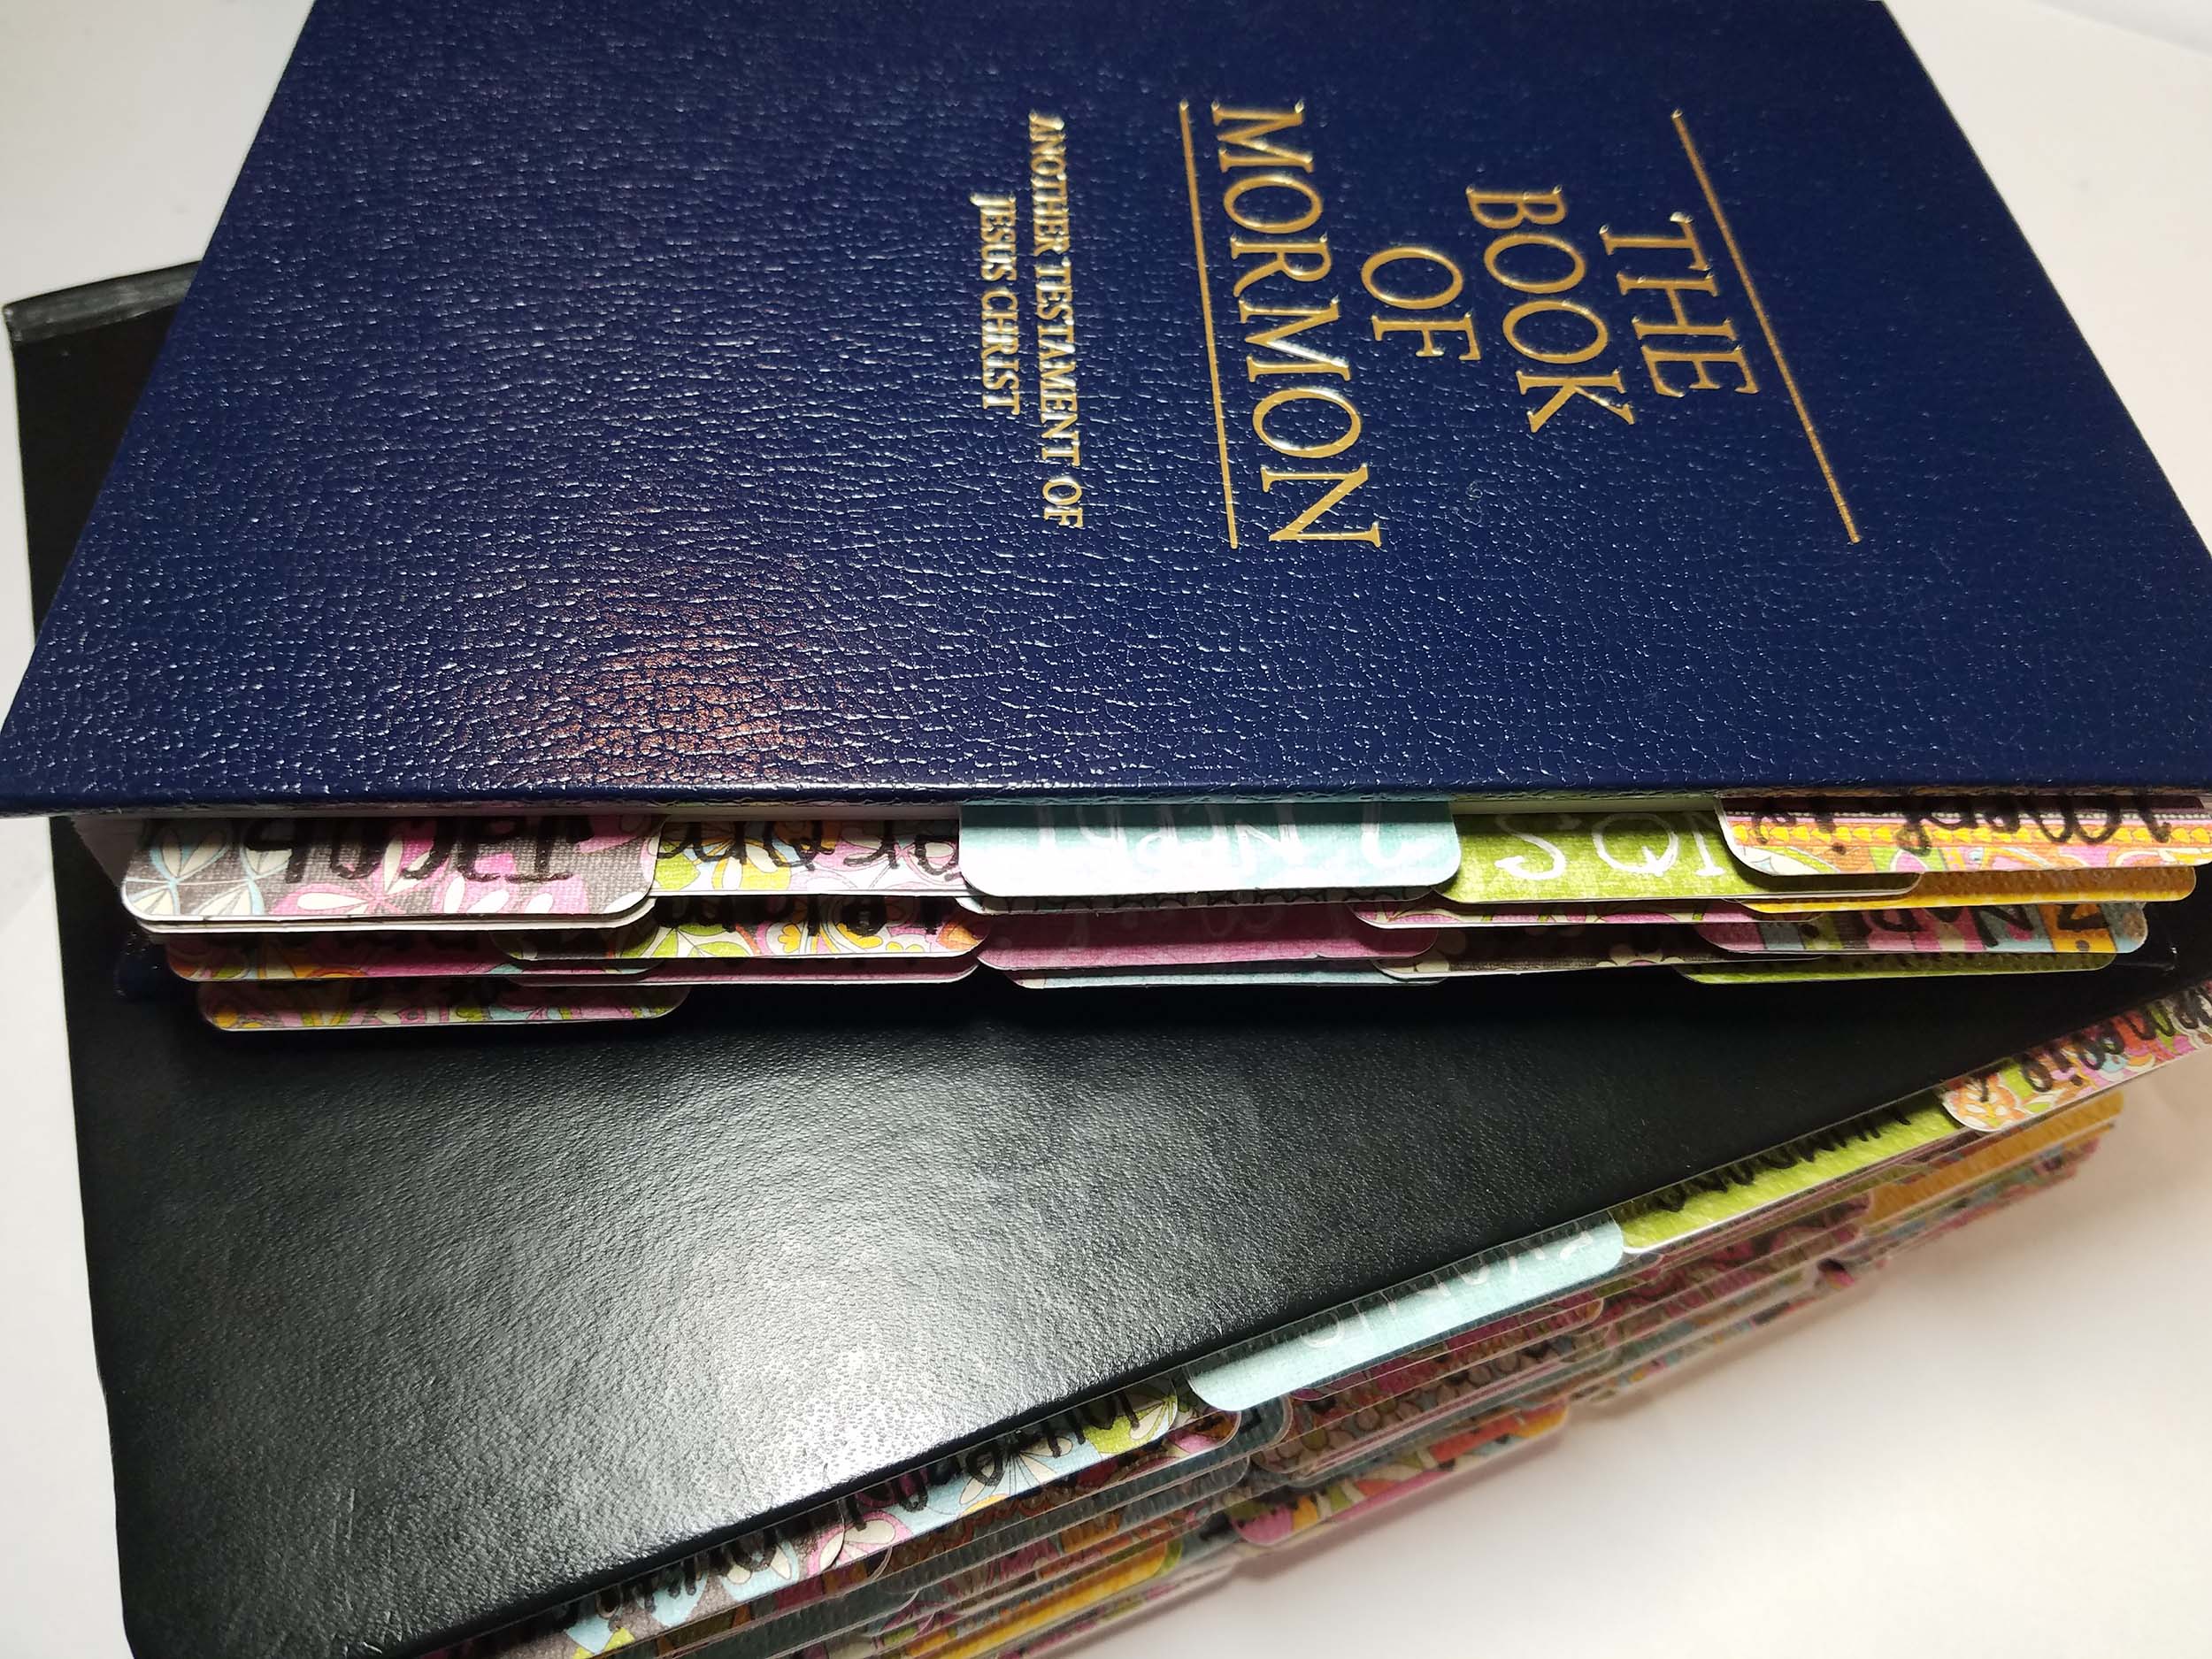
I made matching tabs for the my Bible as well. I think they turned out beautifully!
Have you seen the bookmarks people make for the books? OHMYWORD…. I about had a heart attack. I made up a WHOLE bunch today… It was so fun! Here’s what I did:
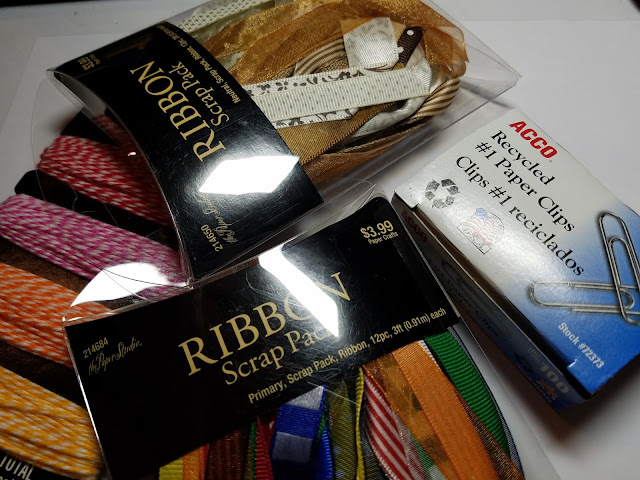
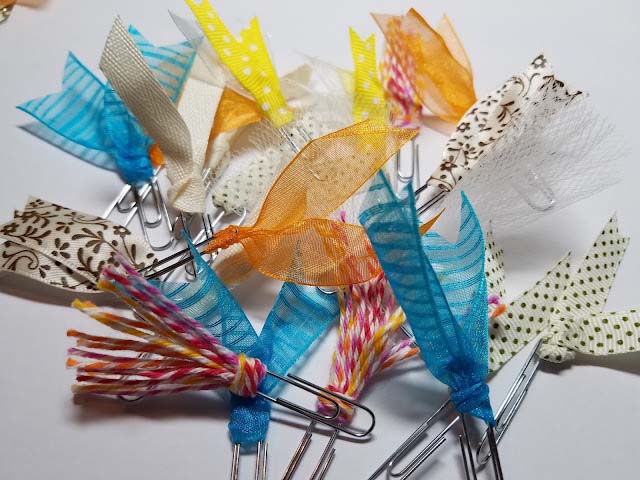
I used ribbon, bakers twine, and tuelle, along with some paper clips. I’ve seen them done with fabric as well. That’s next on my list.
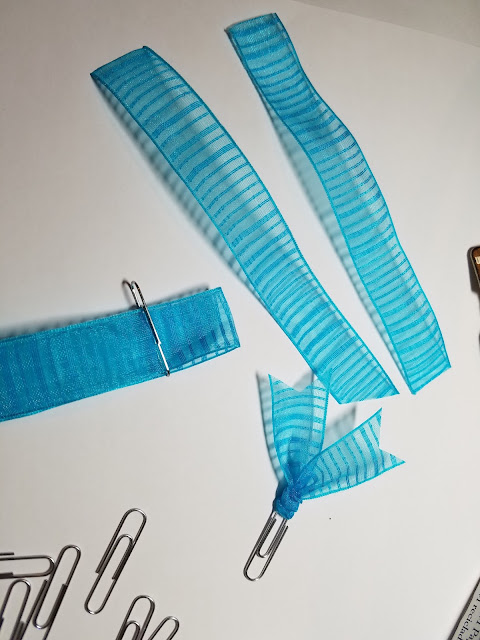
I cut the ribbon in to about 5 inch lengths. I wanted to be able to trim them later.
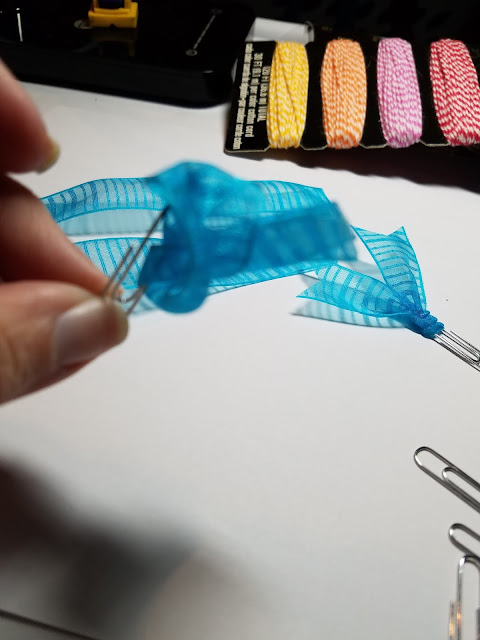
I folded the piece in half, and pulled the ends through the loop on the other side of the paper clip, tying a knot.
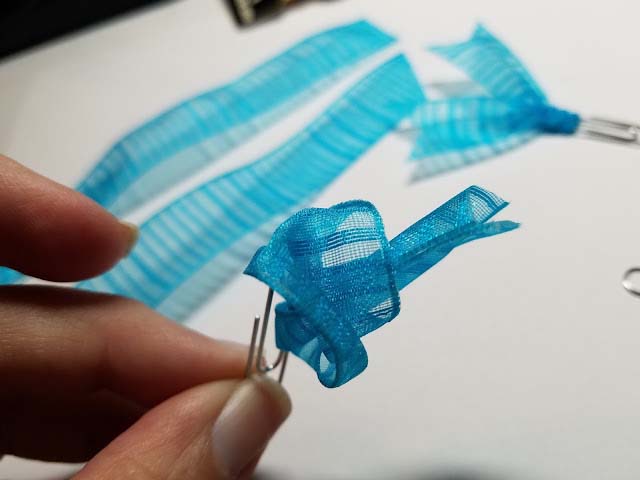
I pulled them pretty tight so that the knots wouldn’t come undone.

Once I had it pulled tight, I put a little drop of hot glue right above the knot to hold the ends together and keep the knot in place.

I might have gotten a little carried away with the finished products…. I made bucket loads! They’re so pretty!
I thought maybe you would like to see my personal book. I bought the Triple Combination for myself. I picked out some pretty papers that suit me. I ABSOLUTELY love it!


I am obsessed with my gold “Journal Band” by Heidi Swapp
For the inside of my book, I decided to do it a little differently. I didn’t draw faces on my inserts, and I didn’t color them.
I bought a date stamp, so I can remember when I did that page. I have been drawing a box around the coordinating scripture.
I found some religious print Washi Tape at Michaels, and I got a little inspired 🙂
I taped this insert to the page and created a “tip in”. I got called to go to Girl’s Camp this year. We are doing Book of Mormon Journaling as our craft. I created a whole set of scriptures just for camp. This is one of them 🙂
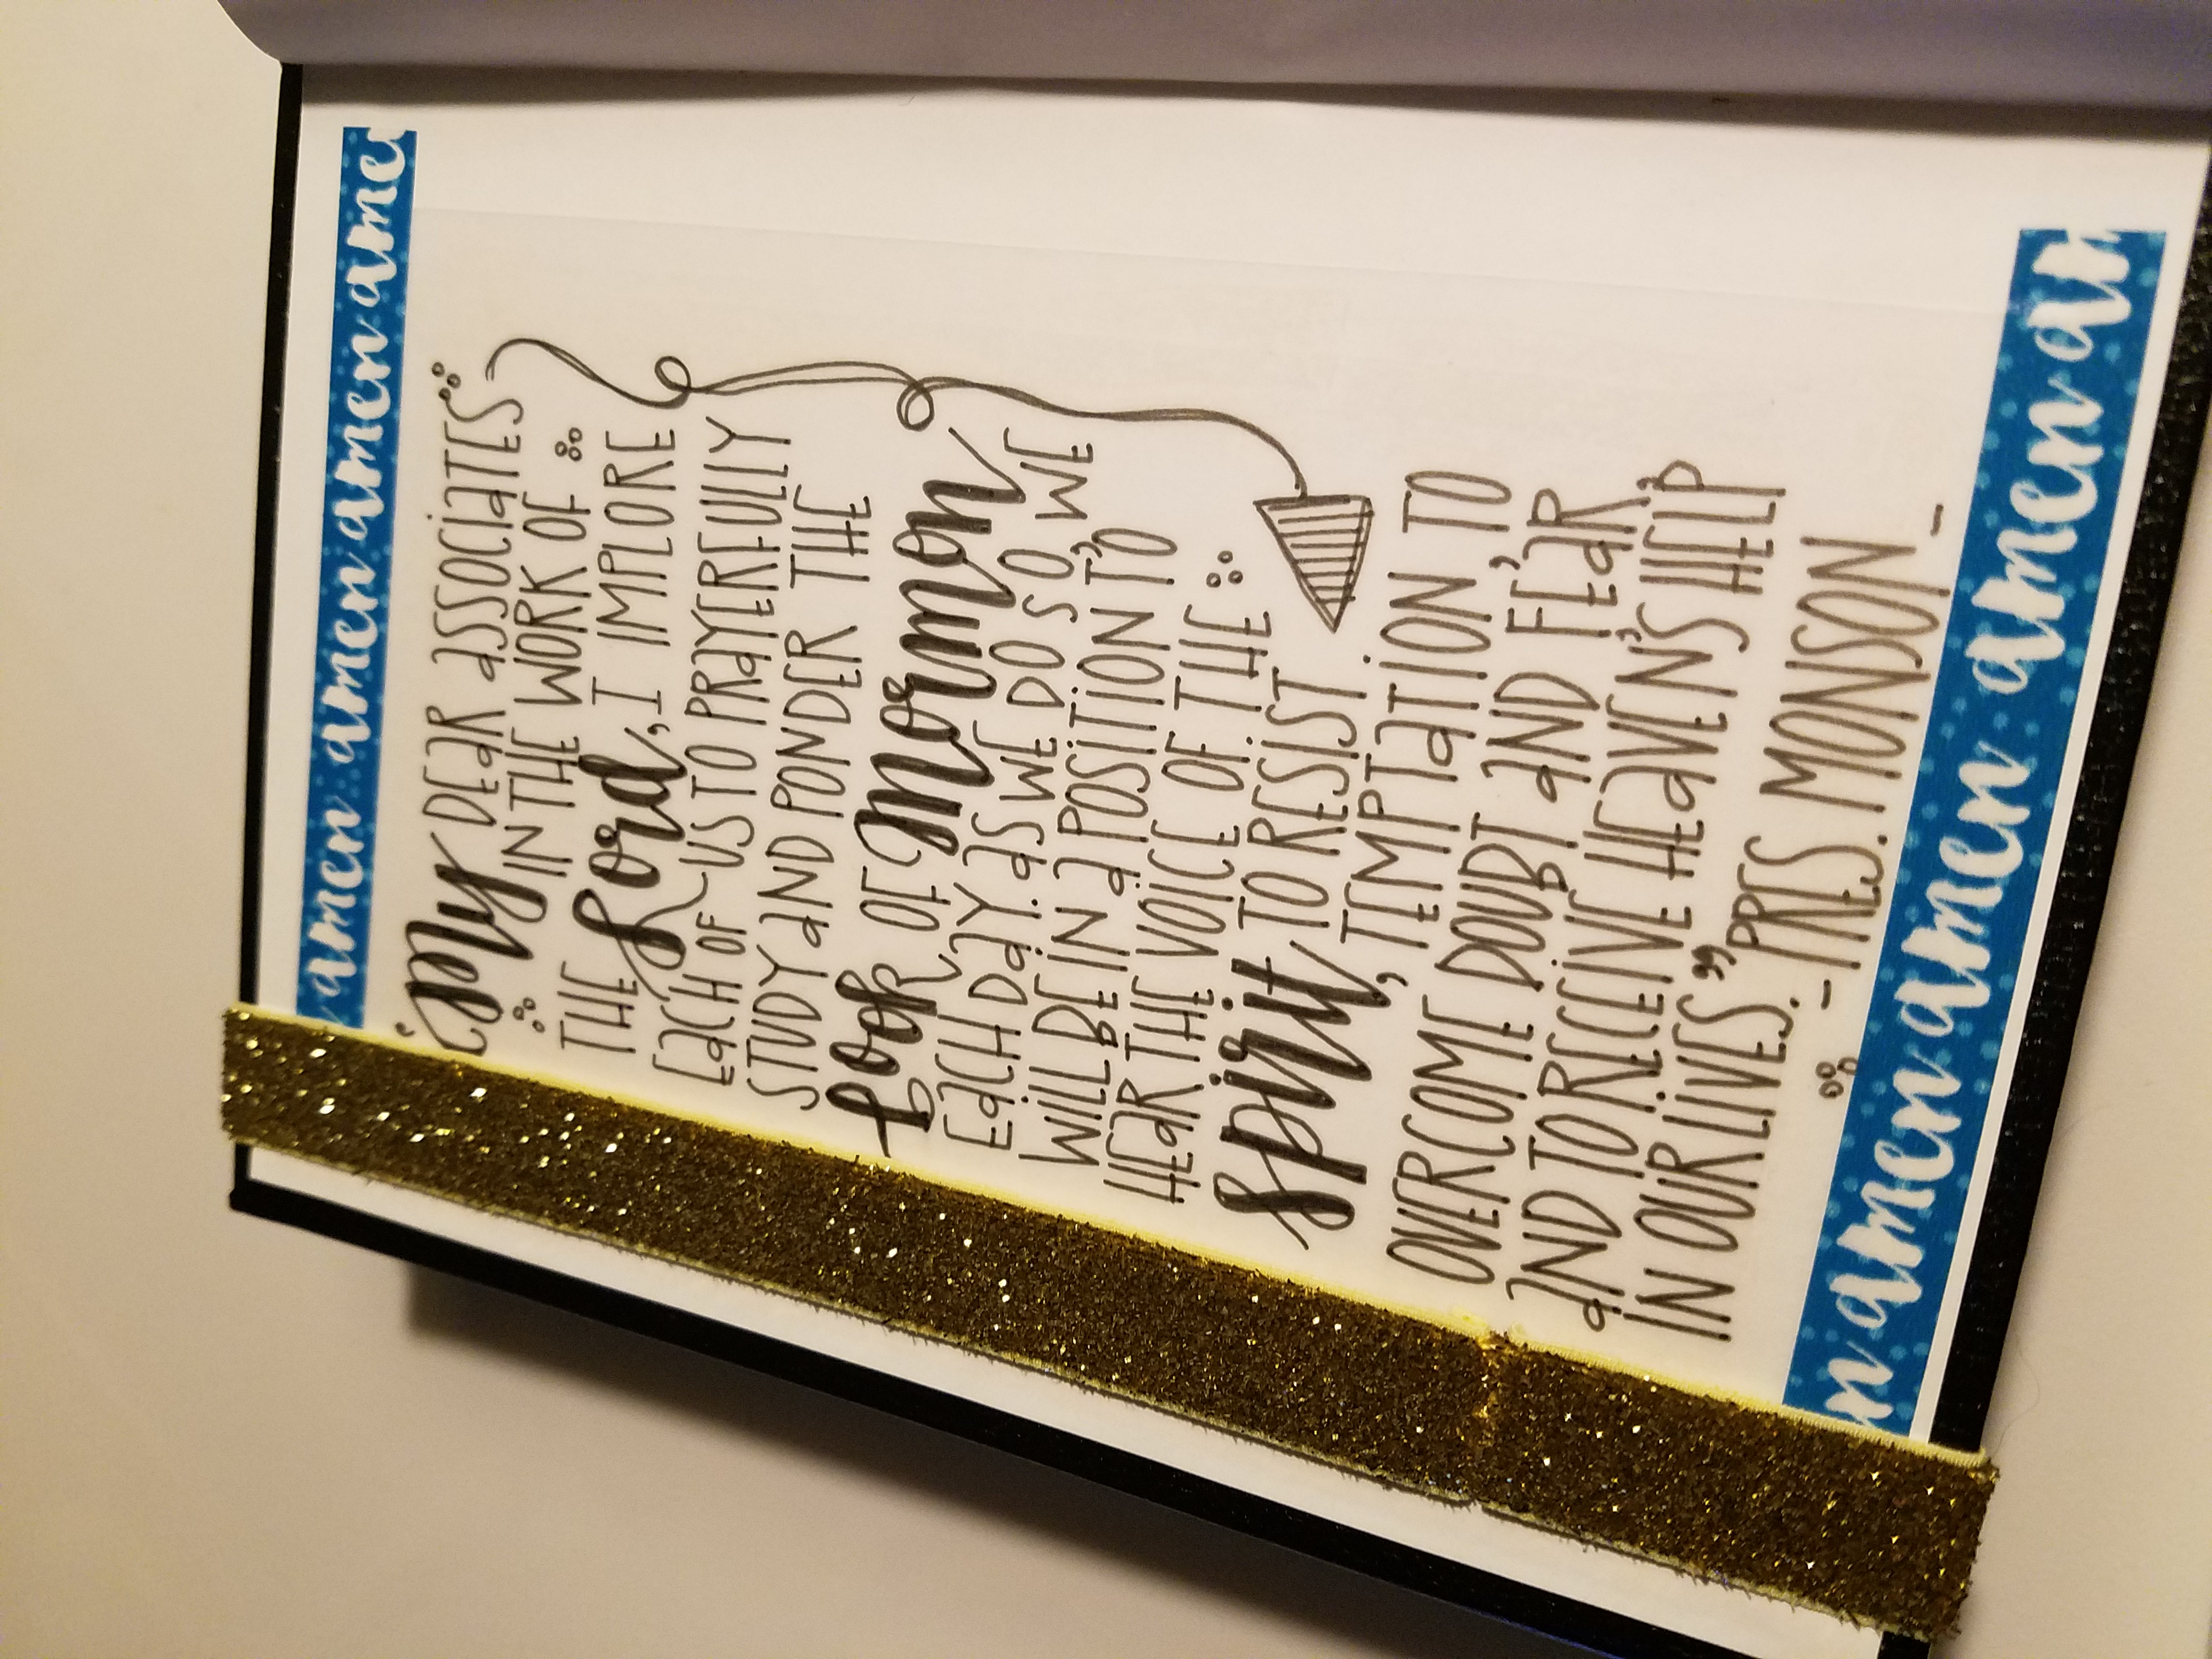
I LOVED this quote by President Monson, from a past General Conference.
It’s taped to the inside of the front cover.

I used a variety of punches to make my tabs for the top. I really love the way that it turned out.

I found that I wanted to mark other scriptures as I read, but I didn’t necessarily want to do an insert. In doing Bible Journaling, there are big spaces for this. Here’s how I took advantage of the small space in my book.
Happy Independence day!
Here are a few of the scriptures I found that made me feel a little patriotic <3


I’ve had a few people ask me about my writing on the pages, and how to do it. Here’s what I do:
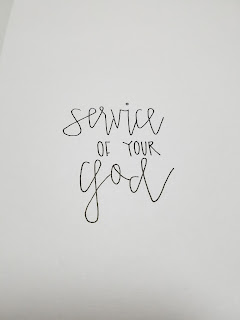
This is the basic design. I just add wide loop holes, and lots of dropped down links between the letters. The more crooked the letters are the better.
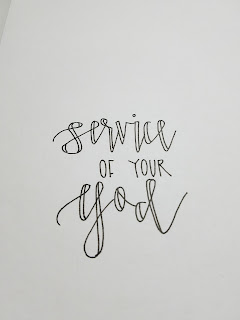
I make the up and down lines thicker where the loops and spaces are wide enough.
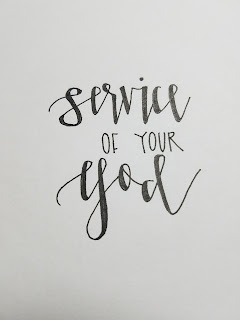
Color in the wide lines.
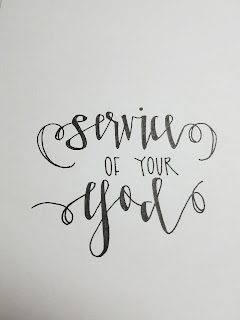
I also added some extra swirly loops.
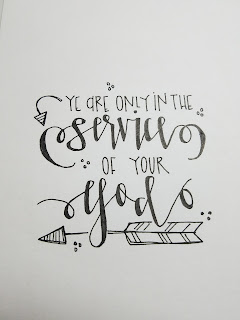
A few more embellishments, and I was pretty satisfied with how it turned out.
Here’s the printable all ready for you!
 Melonheadz Illustrating LLC 2017")
 Melonheadz Illustrating LLC 2024")
One year I got asked to be a Stake Specialist for girls camp! I was able to help with the craft and the design for the shirts and sweat shirts. It was absolutely amazing to see hundreds of girls and leaders walking around wearing something I had drawn out on paper. I might have teared up a bit, lol. Here’s what the shirts and hoodies looked like:

For the craft, we did Book of Mormon Journaling. I almost missed this part. A month before camp, I had to have emergency surgery. I wasn’t able to stay at camp for the week, but I was able to go up twice for a few hours. I was able to see the girls work on their books. Special thanks to my bestie Val, for punching out over 5,000 tabs!!! We needed a little over 7,000, and she saved me! Also thank you to Amy (the fantastic camp leader) and Helen, for all that they did to help as well. I am so grateful for those who picked up and finished getting things together and ready for the girls when I could not.

Yep, this made me cry too.
So, here’s what we did:
Each girl was given a book,
A bag containing pre-punched tabs with adhesive tape in place,
pre-cut inserts along with a list with page numbers and coordinating scriptures,
a book mark matching our theme,
7 paper clips,
and 7 coordinating pieces of ribbon.
They were able to write on their tabs and stick them right on.
We used rubber cement to place the inserts in the books.
They used glue guns to make their ribbon and paper clip book marks.
Here are the inserts and other printables we used:
 Melonheadz Illustrating LLC 2017")
To download the FREE PDF containing these insets,
CLICK HERE
Download, print, and cut!
Below are the tab placements.


I can’t even tell you how awesome this experience was for me! To see the girls working and helping each other with such kindness was almost overwhelming. They were so excited. They were so grateful. Some of the girls had never had their own Book of Mormon. Even now, almost 2 months later, it brings me to tears. Best.Camp.EVER.
 Melonheadz Illustrating LLC 2024")
My husband had recently got called to be a Ward Missionary. As we were talking about it, we decided I should make up a few BOMs that he could share with the children he goes to visit. The girl sets were easy, but we needed a boy set. Here’s what I did:


For the tabs, I used paper that looks like old maps. It looks awesome.
I had a bit of an issue with the handwriting, because I didn’t want it to be too cute.
Hopefully this will do 🙂
I used my Book of Mormon Heroes set, in the black & white, and printed off the images.
I added the names to each insert after I printed and cut them out.
Here’s the set:
 Melonheadz Illustrating LLC 2016")
To purchase this set of clip art
CLICK HERE
The set has images for Nephi, Lehi, Enos, King Benjamin, Mormon, Abinidai, Alma, Ammon, Alma the Younger, Moroni, Captain Moroni, Helaman, Samuel the Lamanite, and the Brother of Jared.
The inserts were placed to coordinate with the stories of each Hero.
*** NEW ***
I have updated this and added a printable version!
To purchase the Book of Mormon Heroes Edition PDF
CLICK HERE
 Melonheadz Illustrating LLC 2024 SMLPIC")
 Melonheadz Illustrating LLC 2024")
This is probably my favorite version so far. We had a fundraiser for the Young Women in our ward, and I donated a finished book to the silent auction.
We also had a dinner for our ward family, thanks to my hubby for smoking the yummy pork for our sandwiches! And thanks to August from @JackOfAllTravels for purchasing it!
Here’s the paper I chose for my Tabs:
 Melonheadz Illustrating LLC 2019")
I just love these colors. It turned out beautifully!
 Melonheadz Illustrating LLC 2019")
 Melonheadz Illustrating LLC 2019")
Here’s a view of the top and side tabs.
 Melonheadz Illustrating LLC 2021")
These are the inserts…. special thanks to the girls in the Melonheadz LDS Facebook group for helping me choose the scriptures. <3 to Jacque, Shanna, Joan, and Heidi.
I printed them off on Velum, and colored them with colored pencils.
Here are pictures of the inside:
 Melonheadz Illustrating LLC 2019")
I used washi tape to attach this insert to the page.
 Melonheadz Illustrating LLC 2019")
The inserts in the binding were glued in with a tiny bit of rubber cement.
 Melonheadz Illustrating LLC 2019")
 Melonheadz Illustrating LLC 2019")
 Melonheadz Illustrating LLC 2019")
This set has a few that are on the same page… I inserted one into the binding with rubber cement, and washi tape to attach the second one to the page.
 Melonheadz Illustrating LLC 2019")
 Melonheadz Illustrating LLC 2019")
 Melonheadz Illustrating LLC 2019")
I’m loving the “tip ins” where the inserts are taped directly on the pages with washi tape. It’s so stinkin’ cute!
 Melonheadz Illustrating LLC 2019")
 Melonheadz Illustrating LLC 2019")
 Melonheadz Illustrating LLC 2019")
 Melonheadz Illustrating LLC 2019")
 Melonheadz Illustrating LLC 2019")
 Melonheadz Illustrating LLC 2019")
 Melonheadz Illustrating LLC 2019")
This was inside the back cover. I just loved the polka dotted card, the color was perfect!
The insert was again attached by washi tape.

The final touch was a “Journaling Band”. You can use it like a book mark. I had trouble finding affordable ones in colors that I liked. (Here’s a little bonus for you, I used a baby headband from Hobby Lobby! It’s perfect!)
I did hold myself back from adding glitter glue…. it was a struggle.
If you’d like to purchase the Cabbage Roses Edition PDF
 Melonheadz Illustrating LLC 2024")
This version has a very special place in my heart.
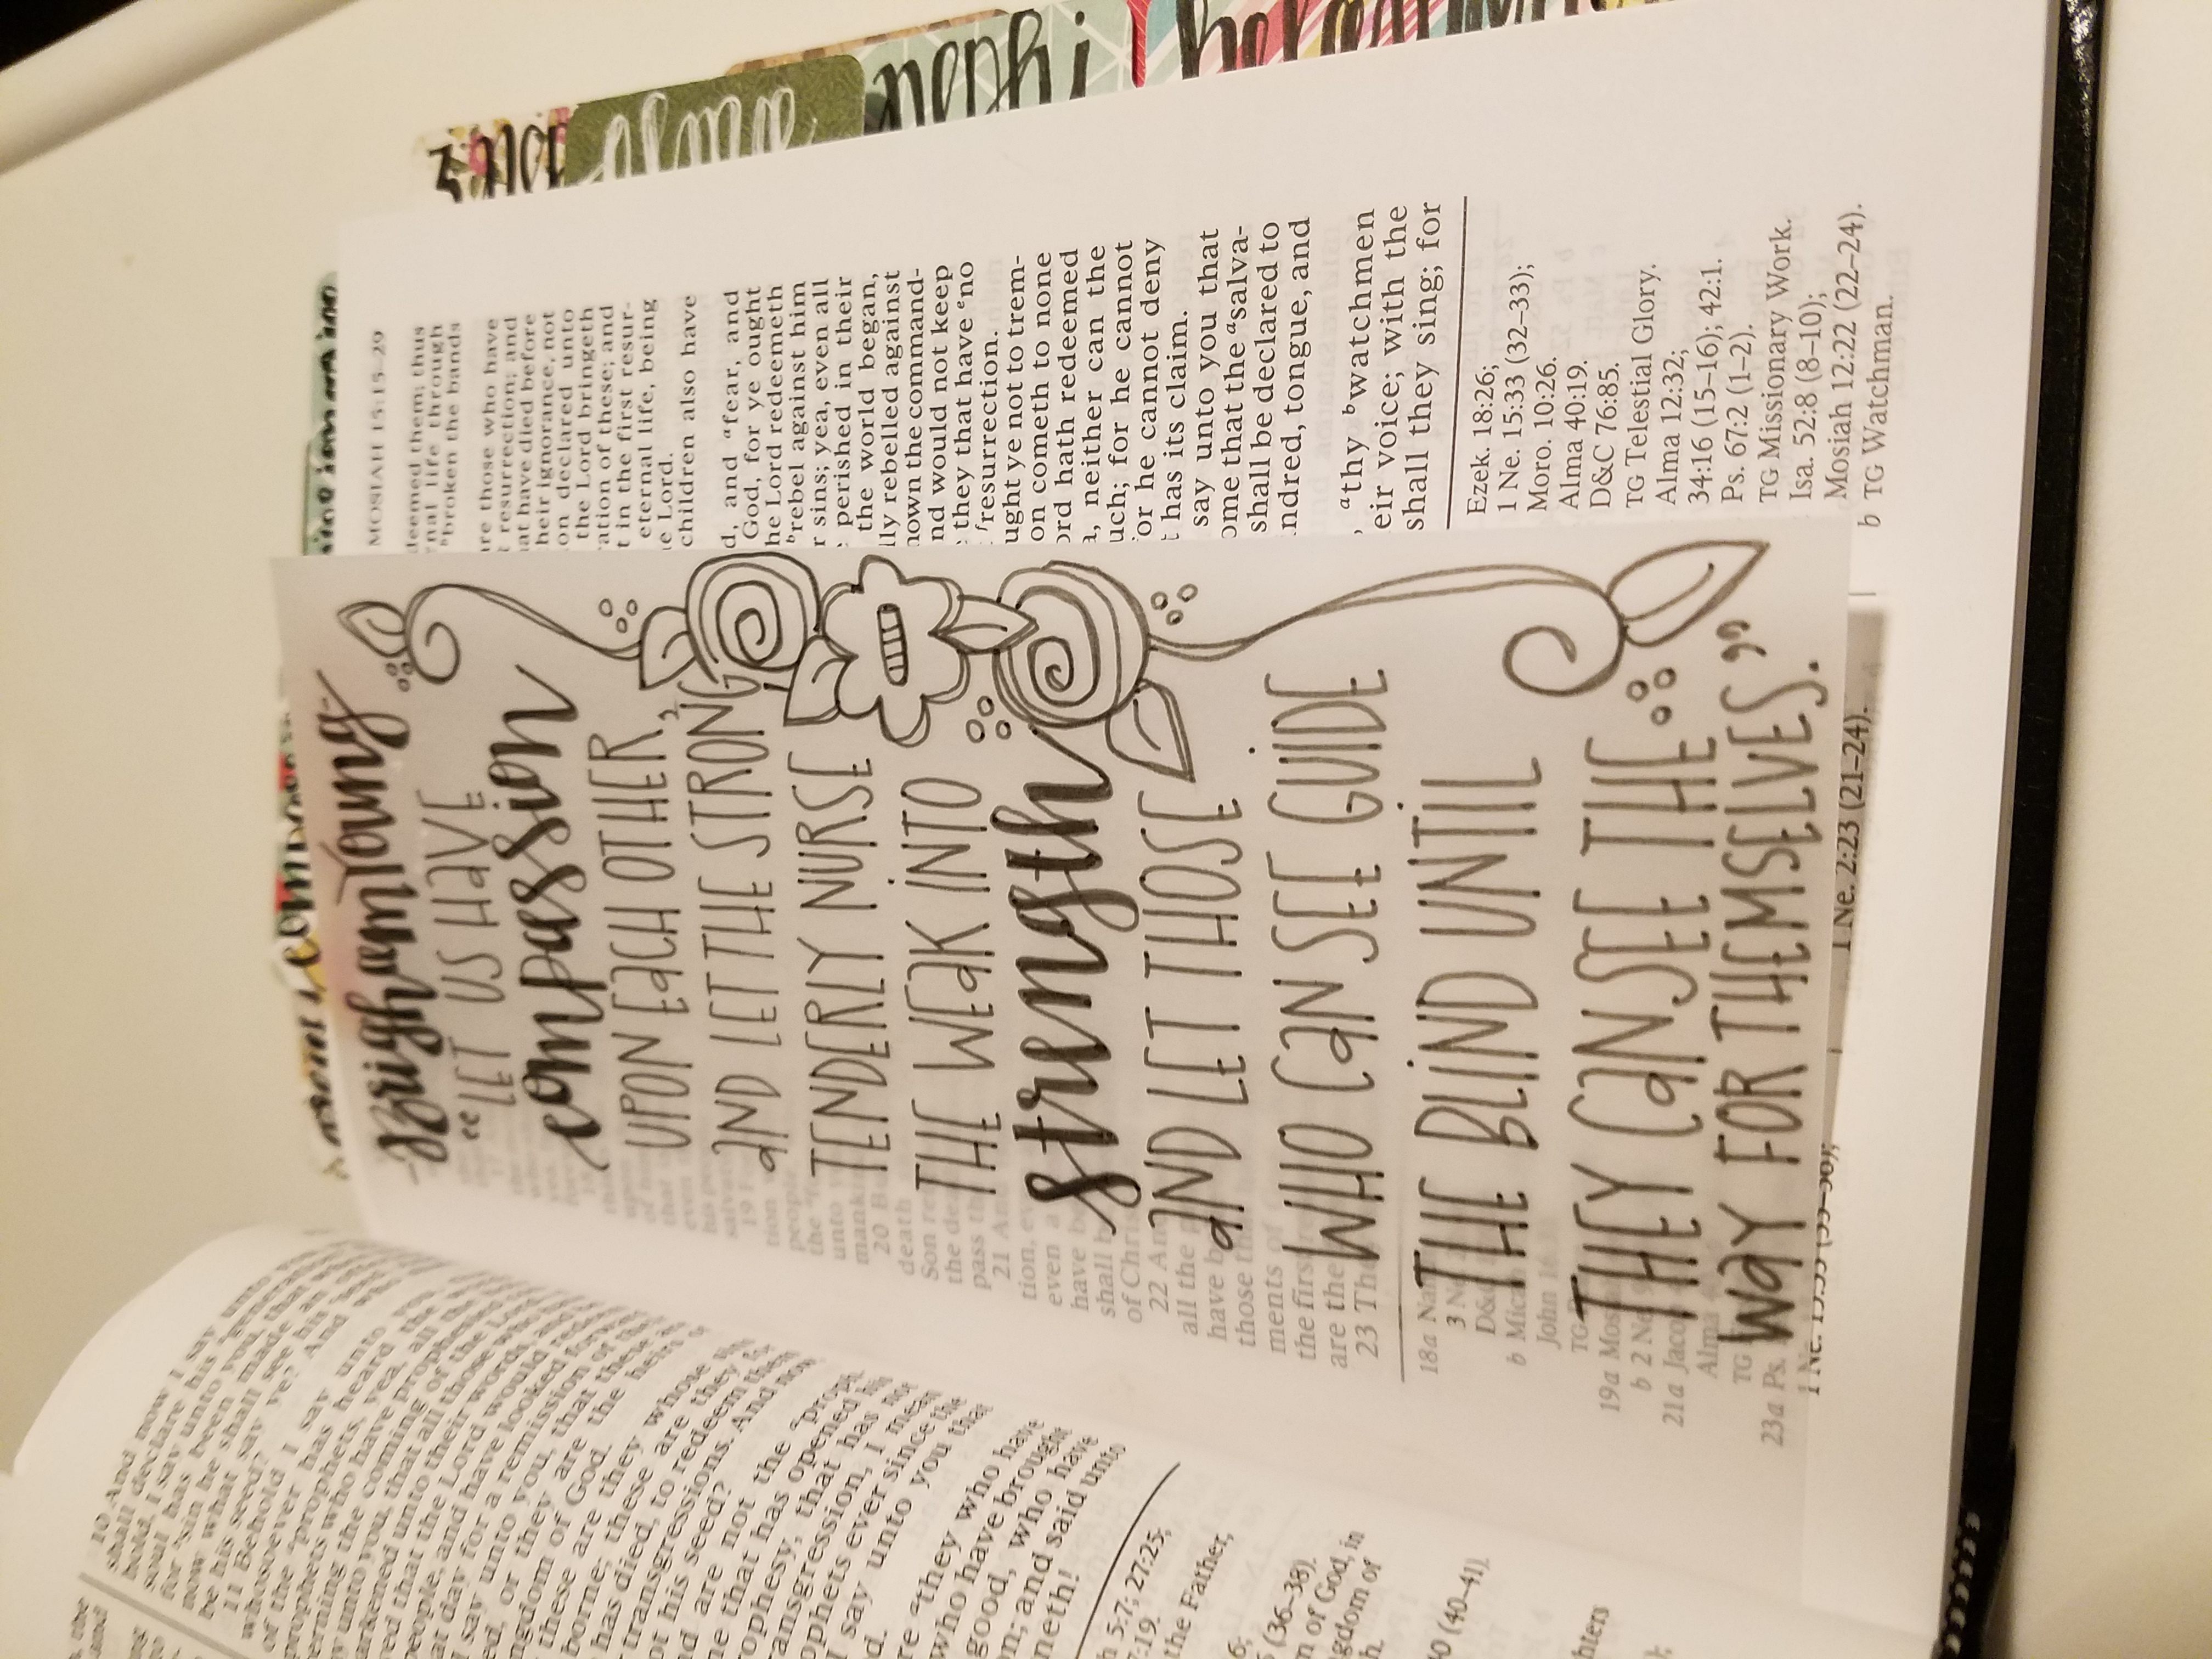
This is the first time that I asked for someone else to help design and give input on the content. I’m super grateful for the
gentle soul that patiently walks through life guiding me, and teaching me. I am so blessed. I feel like the world needs to be a little kinder. A little more loving. A little more compassionate. Life somedays is just plain hard.
I used the black Triple Combination (Missionary Version), with the hard cover.
The names of the books are printed by hand, and placed down the side of the book. Tabs labeled and coordinating to the inserts are placed across the top.
 Melonheadz Illustrating LLC 2021")
I chose bright colored plain paper in rainbow colors for my tabs. I think the solid colors are simple and just the right touch.

I found some ribbon that matched my theme, and made my own simple journal band. It’s not stretchy like the other bands that I have used, but I think it’s just what it needed!
 Melonheadz Illustrating LLC 2021")
Here are the inserts for this verion.
I printed them off on paper and then traced the designs onto vellum. After I had them all drawn
I used colored pencils to add color.
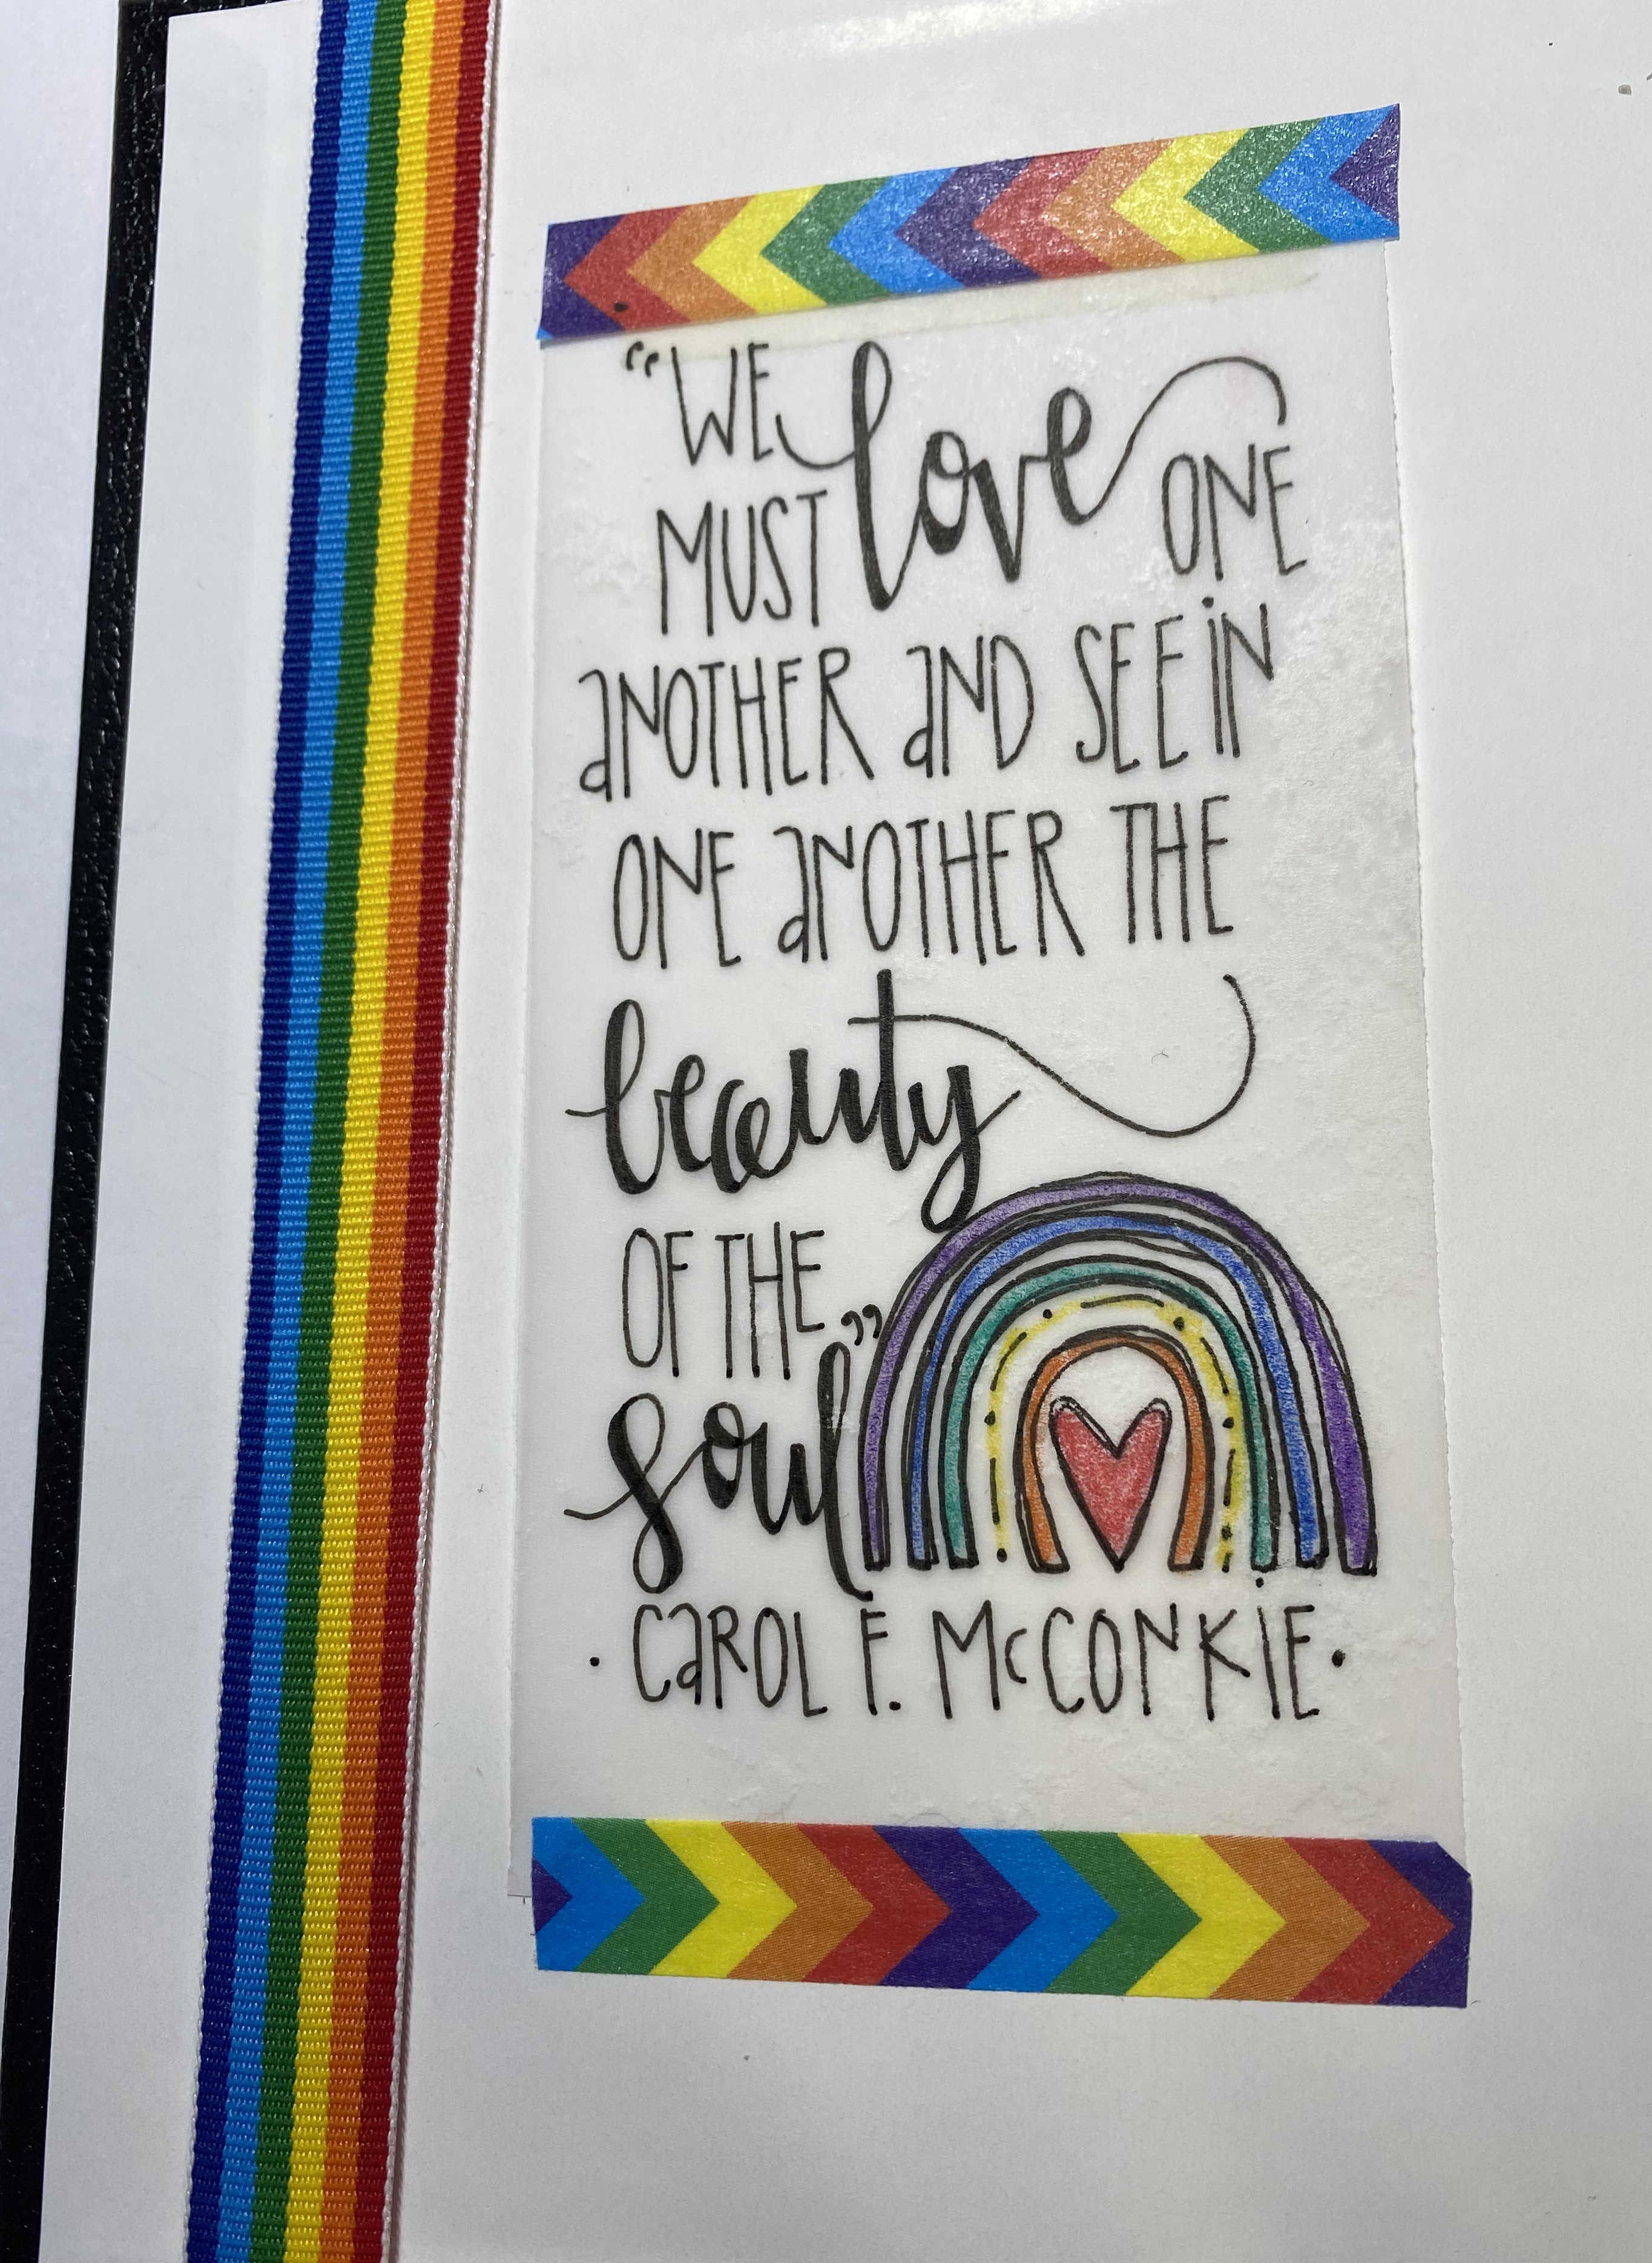
I used this quote by Carol F. McConkie inside the front cover. I used super thin double sided tape to stick it to the book, and ran some washi tape along the top and the bottom to make it stand out.
I added this insert by the title page for my book. A used the double stick tape and stuck the edge of the insert as far as I could into the binding. The washi tape is just there for decoration.
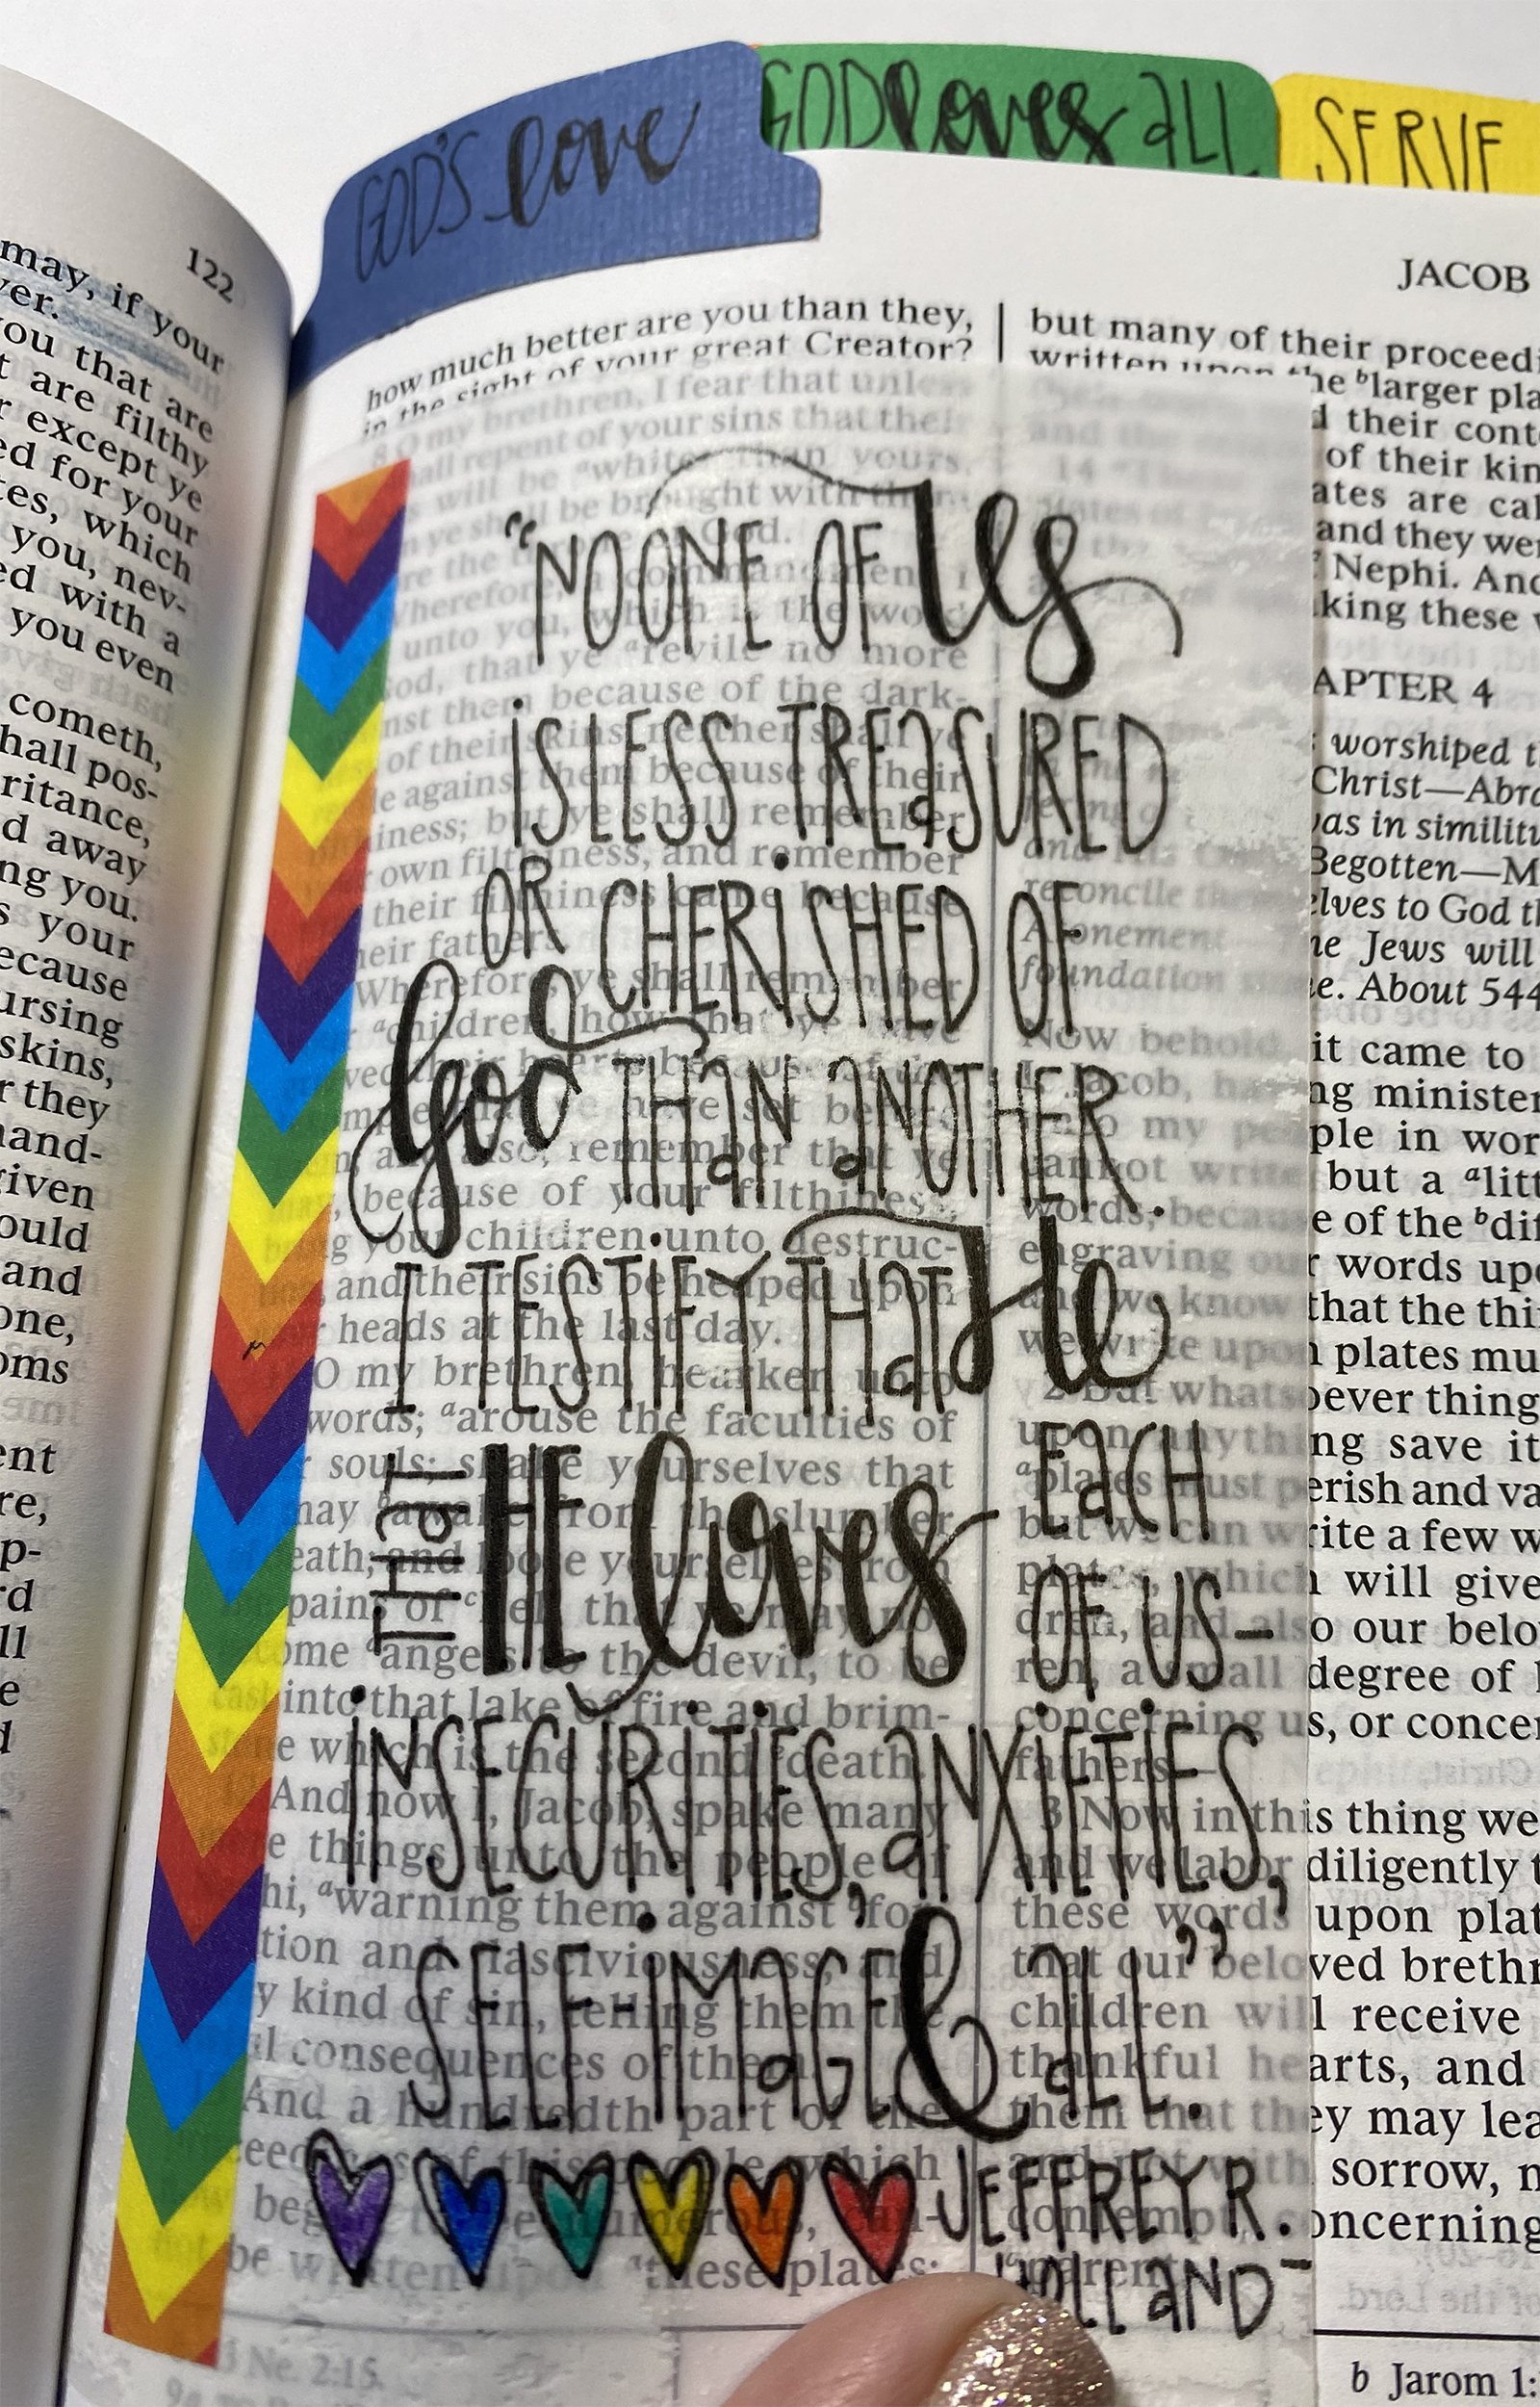
I really love this quote by Elder Holland. He is one of my favorites! I’m so grateful that Heavenly Father can see past all of my short comings. I’m a hot mess!
Below are the rest of the inserts that are included in the PDF:
 Melonheadz Illustrating LLC 2021")
 Melonheadz Illustrating LLC 2021")
 Melonheadz Illustrating LLC 2021")
 Melonheadz Illustrating LLC 2021")
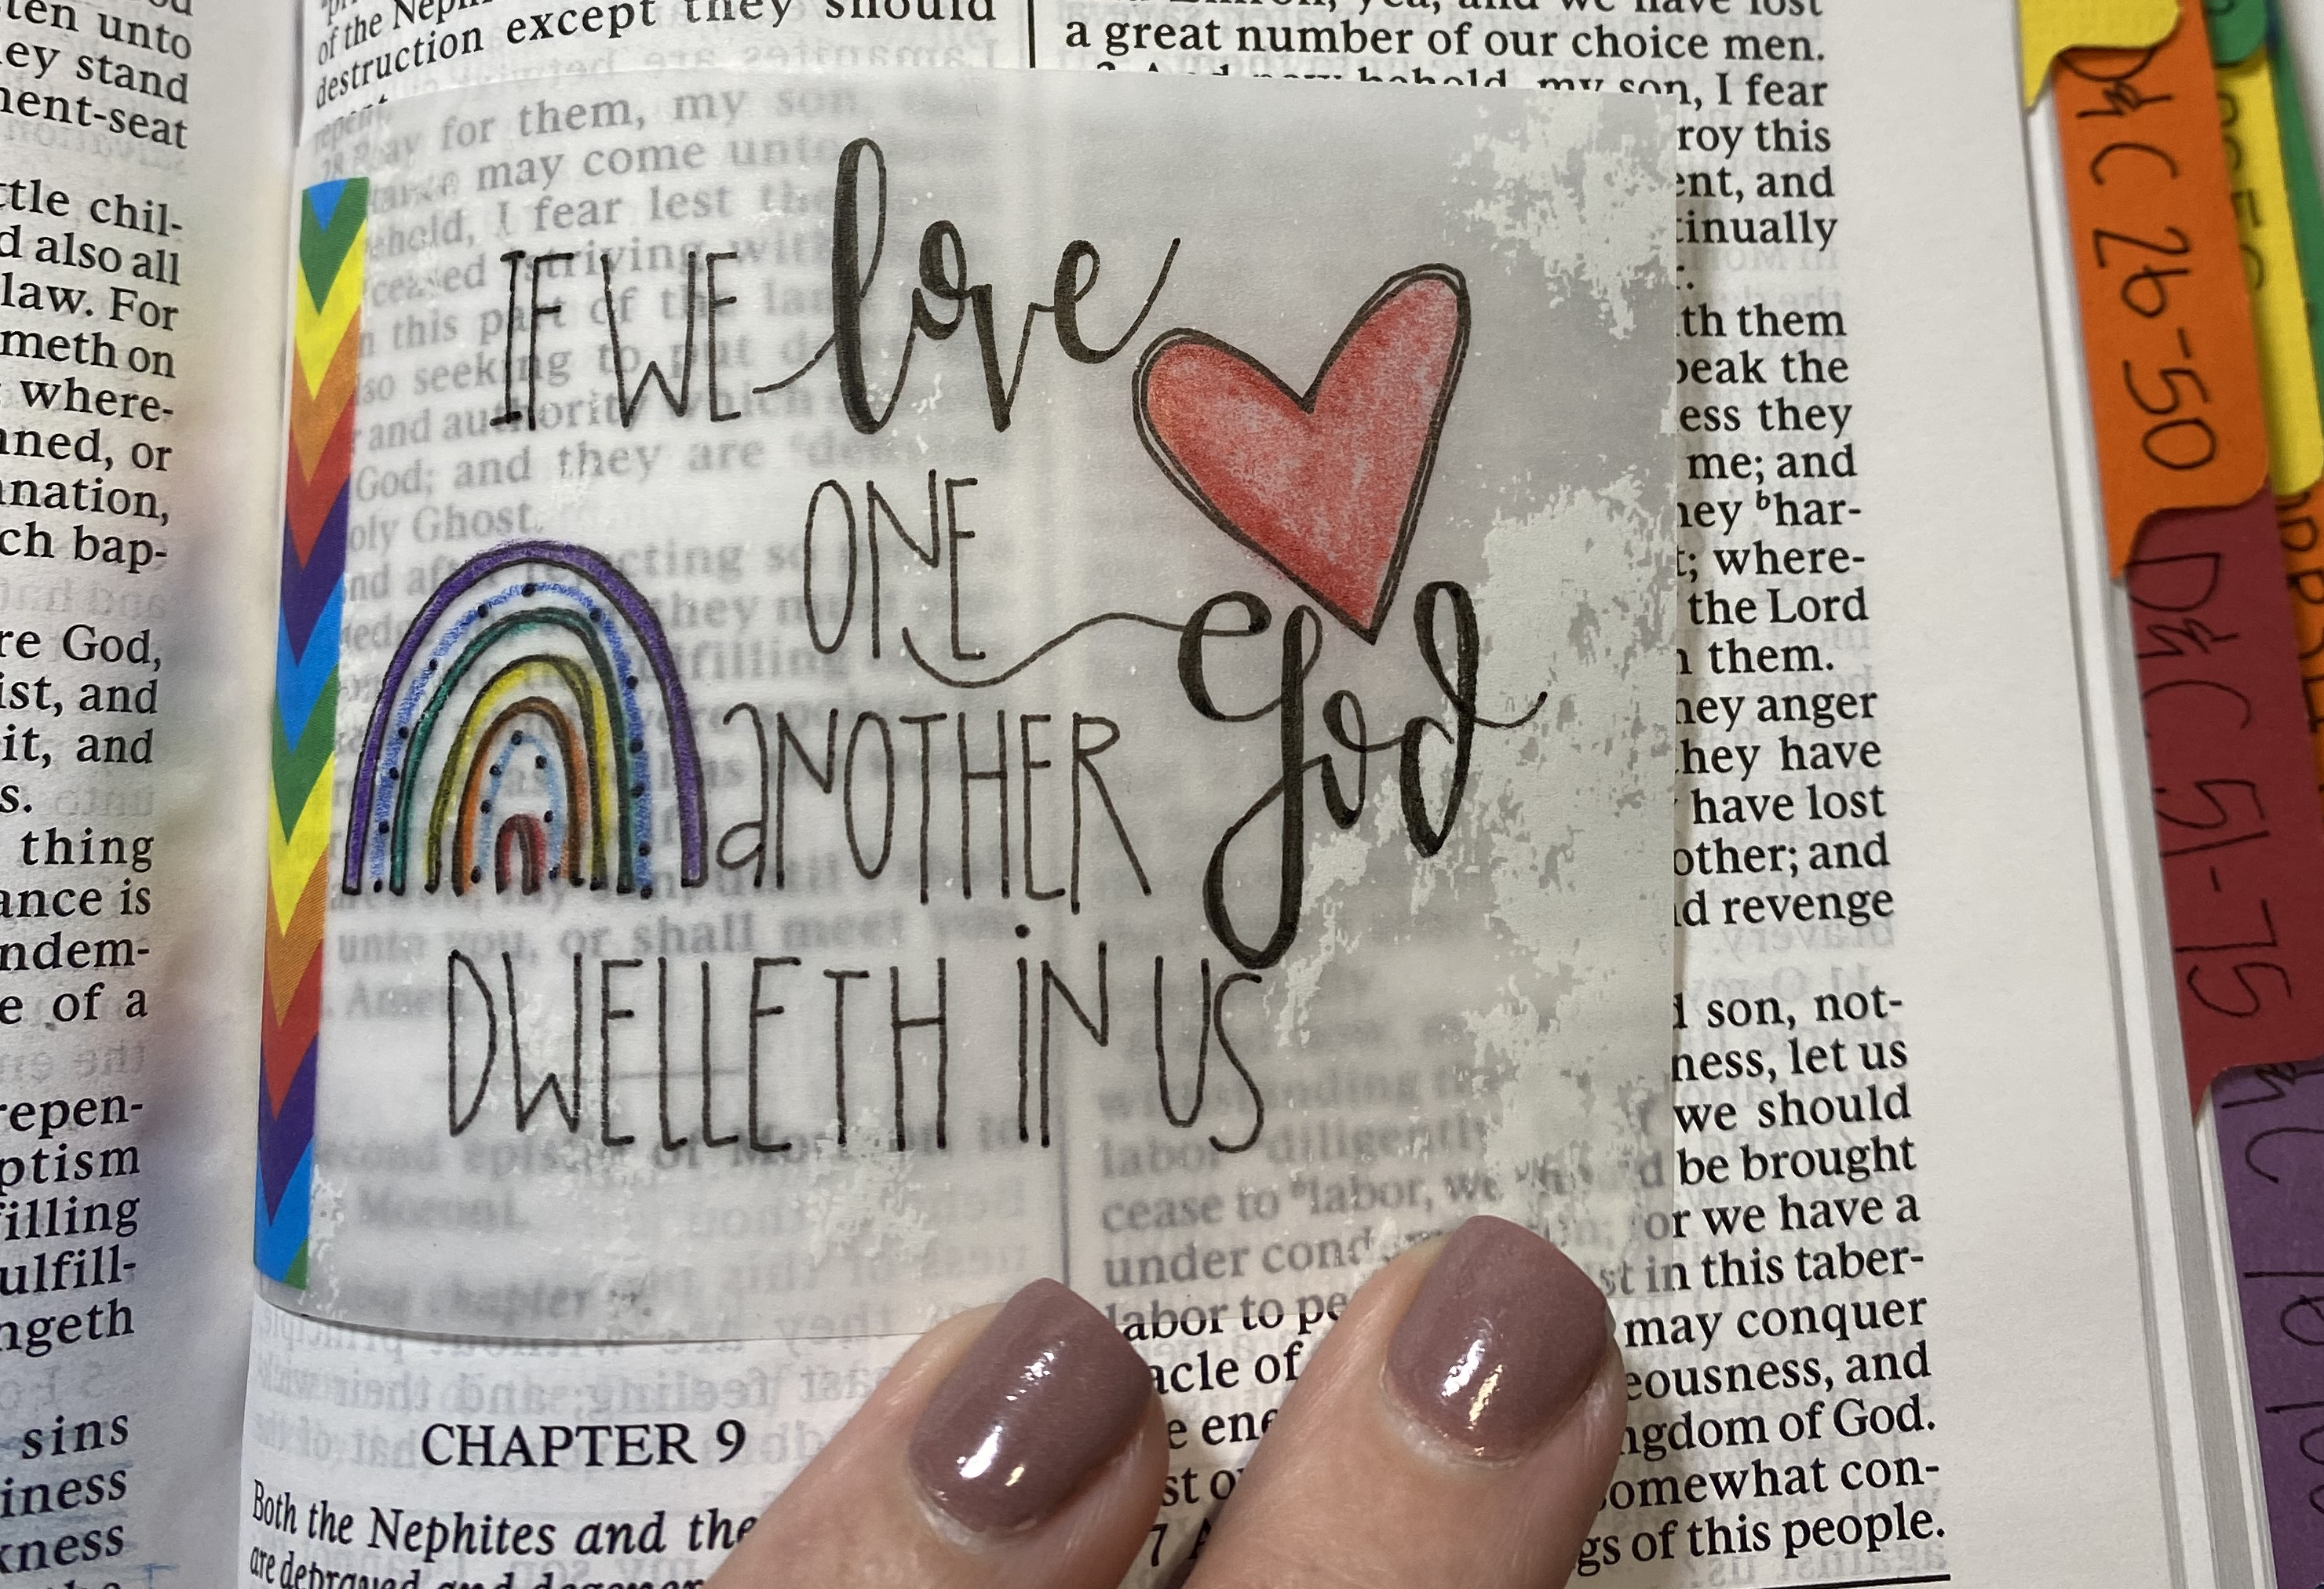
There are so many good quotes on loving others! I really had a hard time narrowing it down.
This set has so many options for theme as well. I think it’d be beautiful in just the black line in a book… simple and sweet.
A muted color palette as well…. pinks and mauves, maybe tan or gray. I might just have to do another book!
 Melonheadz Illustrating LLC 2021")
 Melonheadz Illustrating LLC 2021")
 Melonheadz Illustrating LLC 2021")
 Melonheadz Illustrating LLC 2021")
 Melonheadz Illustrating LLC 2021")
 Melonheadz Illustrating LLC 2021")
I went through and added a few quotes and thoughts on some of the pages in the book as well.
I really like the personal touch that it adds to my books.
I don’t usually put a tab where they are, just so that when the reader stumbles across them, it’s like an added gift.
 Melonheadz Illustrating LLC 2021")
 Melonheadz Illustrating LLC 2021")
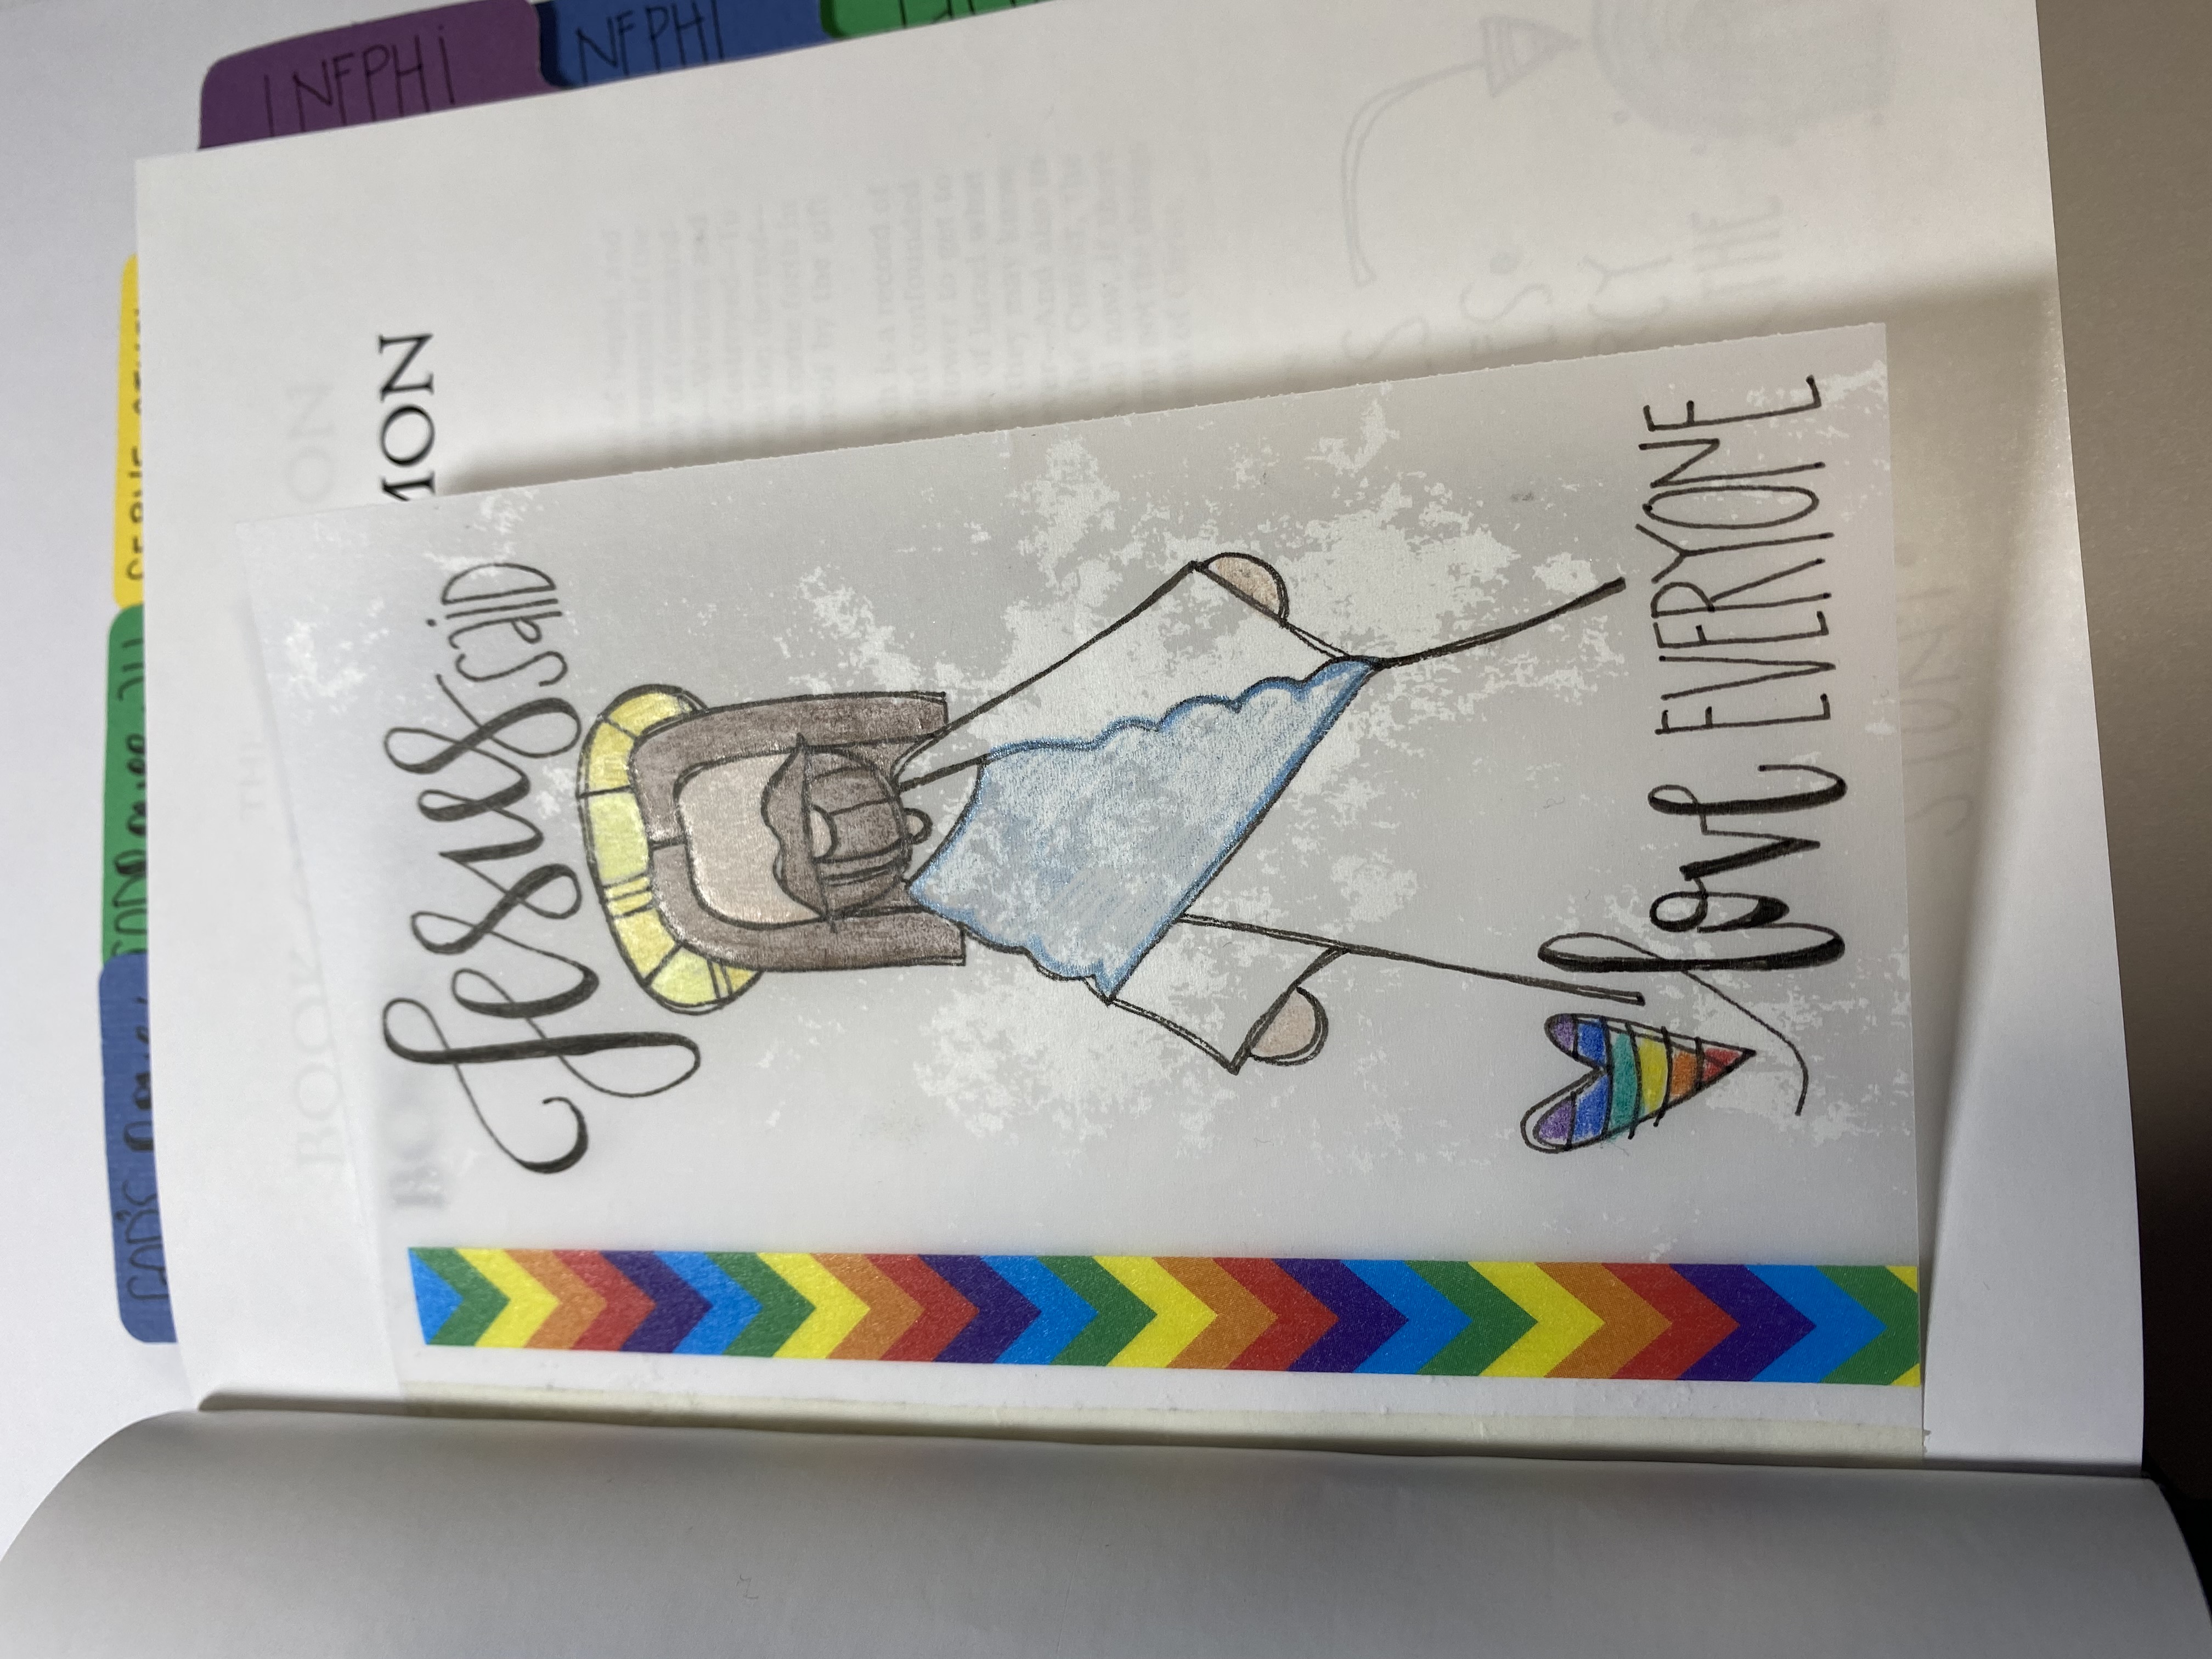
 Melonheadz Illustrating LLC 2021")
To purchase the “Jesus Said” edition PDF
 Melonheadz Illustrating LLC 2024")
Let’s talk faith.
I feel like for the most part we are able to sail through life without a whole lot of
stress. For the most part we get up out of bed, do our daily things, and fall back in to bed
at the end of the day.
Sometimes though, life can change on a dime. At those times one of two things can happen…. continue on with faith,
or struggle through and search for that faith you have felt dwindle.
I don’t know a single person that hasn’t had a struggle with faith.
This edition was born out of a wavering for me. I am choosing to go forth with faith that HE has a plan for me, and
that all will be well.
“Why a cactus theme,” you ask?
Because faith is a like a cactus. Sometimes it thrives in the desert…. it’s dry and arid, and that thing keeps right on
growing…. sturdy and tall. Sometimes you have to dig through the prickles to find the little bit of life saving liquid hidden within
when you’re thirsting to death. Maybe, just maybe, the work of digging to find that faith makes it a little sweeter.
I used the black Triple Combination (Missionary Version), with the hard cover.
 Melonheadz Illustrating LLC 2021")
I chose come beige, green, and terra cotta orange for my tabs, in keeping with the theme.
 Melonheadz Illustrating LLC 2021")
I made a few of the paper clip book marks and used a variety of tab shapes. I LOVE how it turned out.
I used a baby headband from Hobby Lobby s a journaling band in off white. I love how it adds just a hint of something extra to the over all
look of the finished book!
 Melonheadz Illustrating LLC 2021")
 Melonheadz Illustrating LLC 2021")
After I drew up the inserts and processed them on the computer, I printed the pages directly on to velum paper.
I cut them apart, and to the sizes that I wanted, and then colored them in with colored pencils.
 Melonheadz Illustrating LLC 2021 sm")
 Melonheadz Illustrating LLC 2021")
 Melonheadz Illustrating LLC 2021")
 Melonheadz Illustrating LLC 2021")
The picture on the left is the inside cover. I found a quote that I liked and added a cactus to the velum. I used Washi Tape to
attach it to the cover. I used a different glue pen this time, and it worked so well! (I’ll add the link to the end of this post.)
 Melonheadz Illustrating LLC 2021")
I used a scrap piece of velum and found the quote from Joseph B. Wirthlin that I loved, and added in this quote.
I really love adding in some surprise things that the reader will find as they study.
 Melonheadz Illustrating LLC 2021")
 Melonheadz Illustrating LLC 2021")
 Melonheadz Illustrating LLC 2021")
 Melonheadz Illustrating LLC 2021")
 Melonheadz Illustrating LLC 2021")
There are SO MANY quotes!!!!I really had a hard time weeding through them. I ended up sticking quotes that spoke to me radomly through the whole book. I just really LOVE this one. What better way to share your testimony and make someone feel super special, than to give them an extra special book, embellished with love?
 Melonheadz Illustrating LLC 2021")
If you’d like to purchase the Cactus Edition PDF
This is the new glue that I mentioned earlier.
It has a pen tip on one end, and a wide tip on the other end.
It also stands up! I reccommend trying this one out, 100%.
CLICK HERE
To find it on Amazon.
 Melonheadz Illustrating LLC 2021")